
Lemme sit down and write this foyer design post. Finally and truthfully.
Such a fundamental part of me resists these types of write-ups.
I want to be honest.
I want to share but I don’t want to project a false image. My foyer looks shiny and kinda fancy right now. But I don’t feel fancy or shiny. (On the contrary, this Wisconsin winter has me dried tf out.) I’m anxious and I’m not sleeping that well and I worry my friends think I forgot them but they probably worry about the same thing because we are all sad and separate and shovel-y.
Not to annoy you with self-conscious doublespeak about how nothing really matters right before I flash exactly seventy eight images of a new thing that matters to me.
What I really want to say about this project is that it took over two years and it wasn’t really a project as much as like twenty little tasks that dug me deeper into a necessity to finish. The stairs had paper on them for almost a year because I had finished them but masked them off to paint, only to be like… “how am I gonna paint like 12 feet up? Better think on it for five months.” My husband slipped on the paper once and I heard him bounce a few times from my office. I would Pin ideas to feel like I was making progress and I have *swear to gods* not looked at those pins since. They might have been dreams.
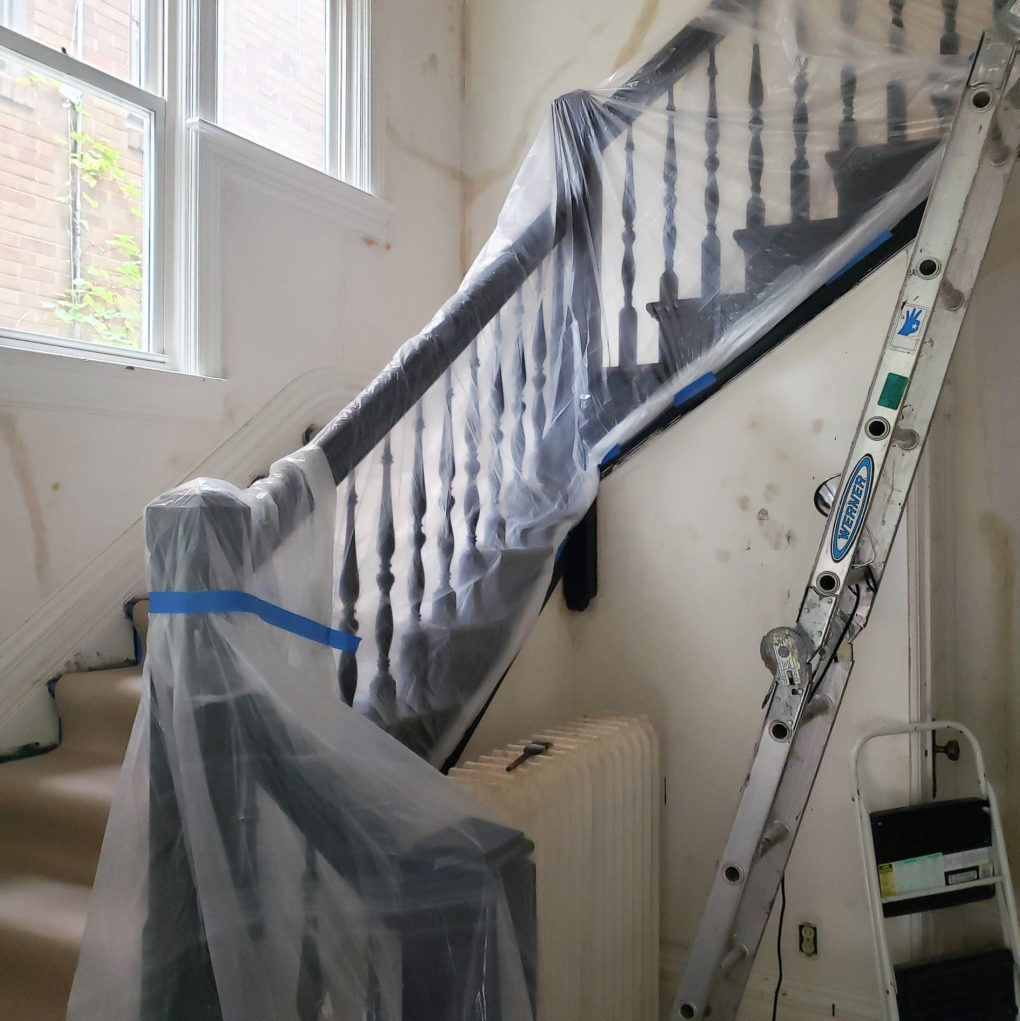
Mercifully, I have had work to keep me busy. I totally light up to actualize other peoples’ design projects while averting my eyes from my own work zones. Why is literally nothing more motivating than avoiding one really specific thing?
But enough was enough (I think that’s how Nick phrased it.) and I got through this foyer like a lot of us are getting through everything right now: by just waking up and doing a thing or two that moves us forward. Maybe not enthusiastically but committed enough to the things we once cared about because we know we will care about them again.
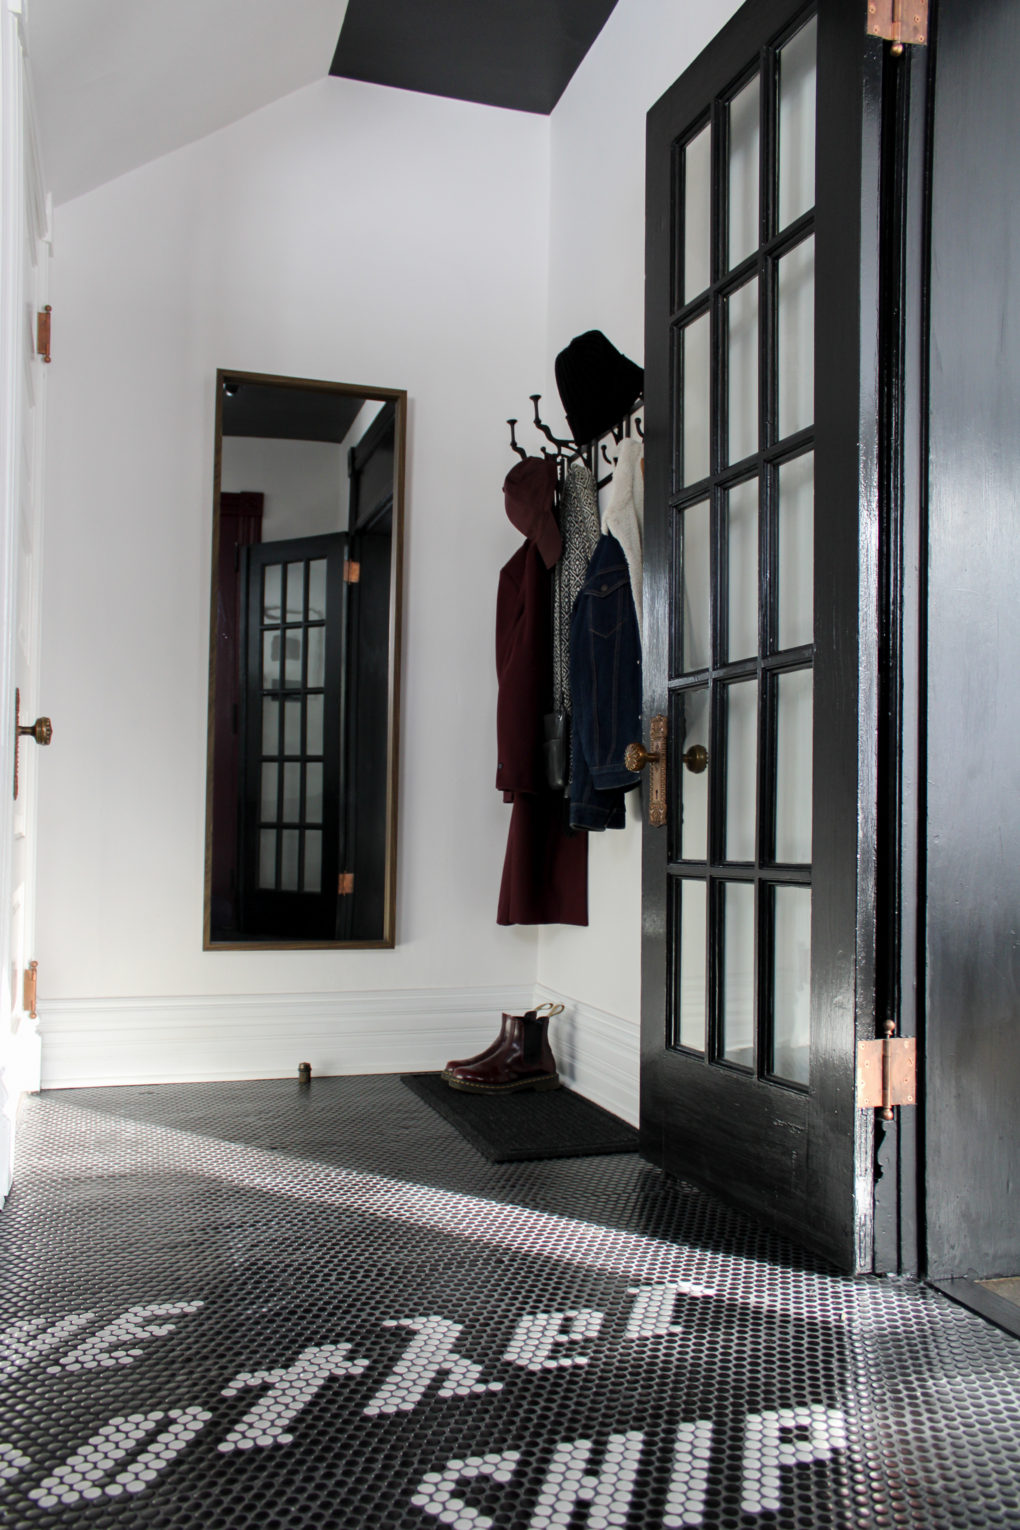
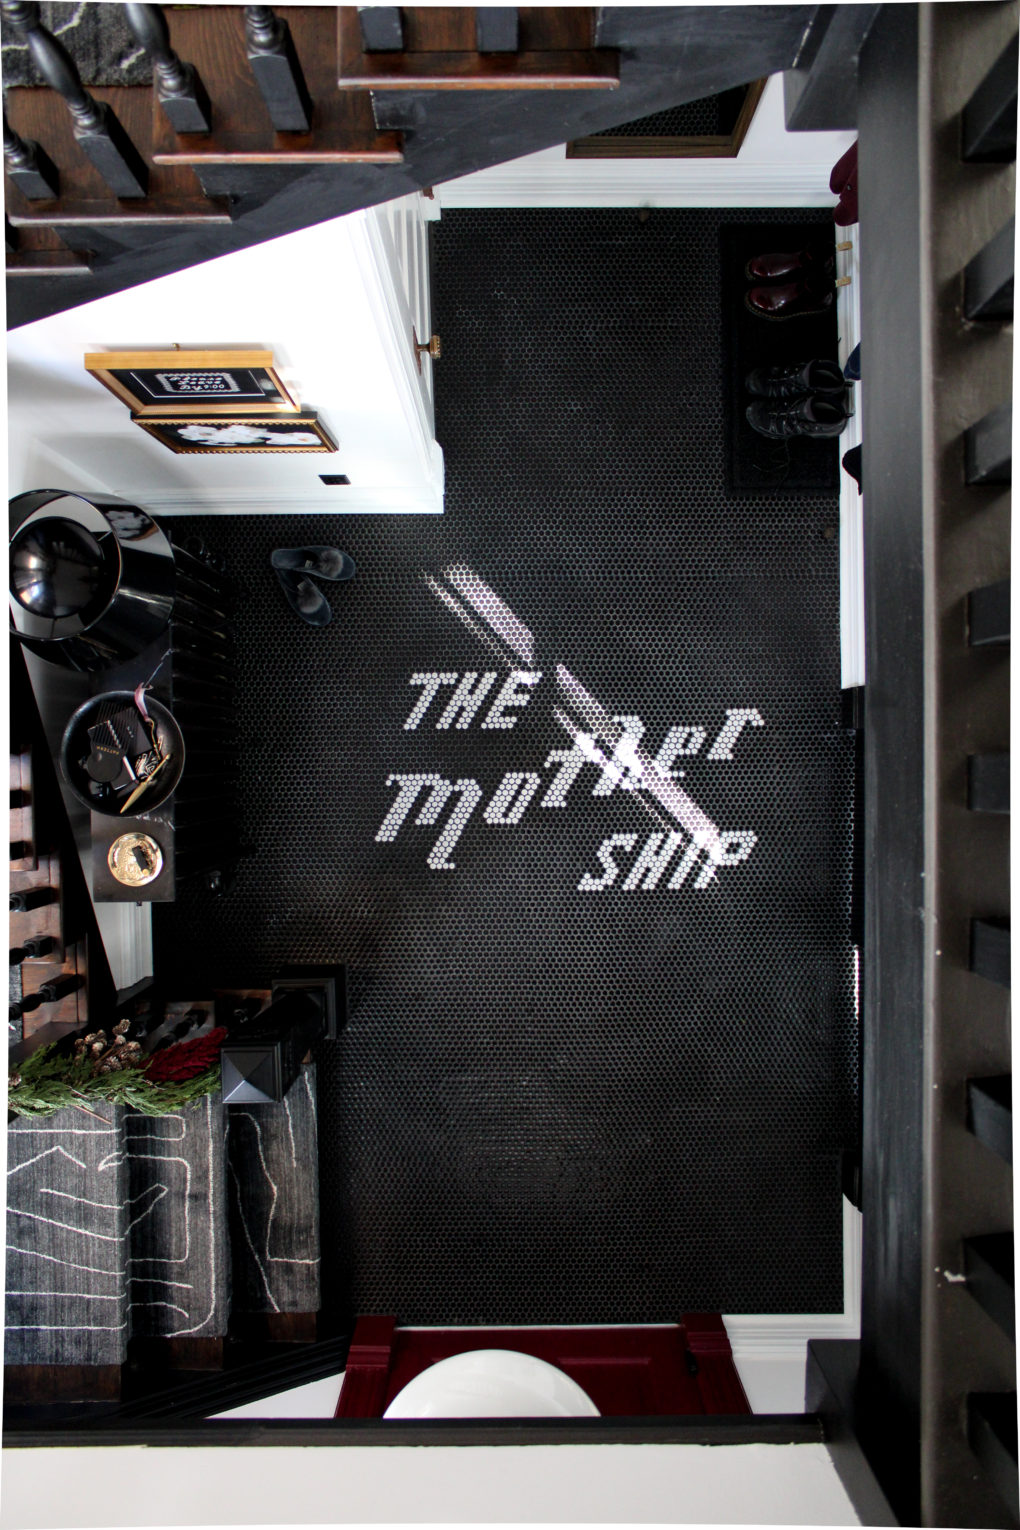
We named this house The Mothership because it’s supposed to be a hub for our most beloved weirdos. But it’s not right now. This foyer and this whole house feel aspirational. Shit. I feel aspirational right now. But this project makes me smile and if I ever actually leave my house again it will be a nice way to be greeted home. And most importantly, a great way to greet you too.
Now I know what you’re thinking…
“Aw Damn, Angela! You know how to tile?”
-You
“Have you ever refinished stairs before?”
-Also you
“Okay but do you actually know how to assemble and operate that saw?”
Woooow. -Still you
One: I really don’t need that type of negativity. And two: No to all of those.
I design. I’m not a contractor. So when I DIY something new, instead of working with a professional, I’m crossing my fingers and hoping I don’t regret it.
But I really like to learn how to do new things! So I figure them out at my house and beg Her forgiveness. And what results is usually quite a mixed bag, emotionally speaking.
This is one such instance…
The Golden Era…
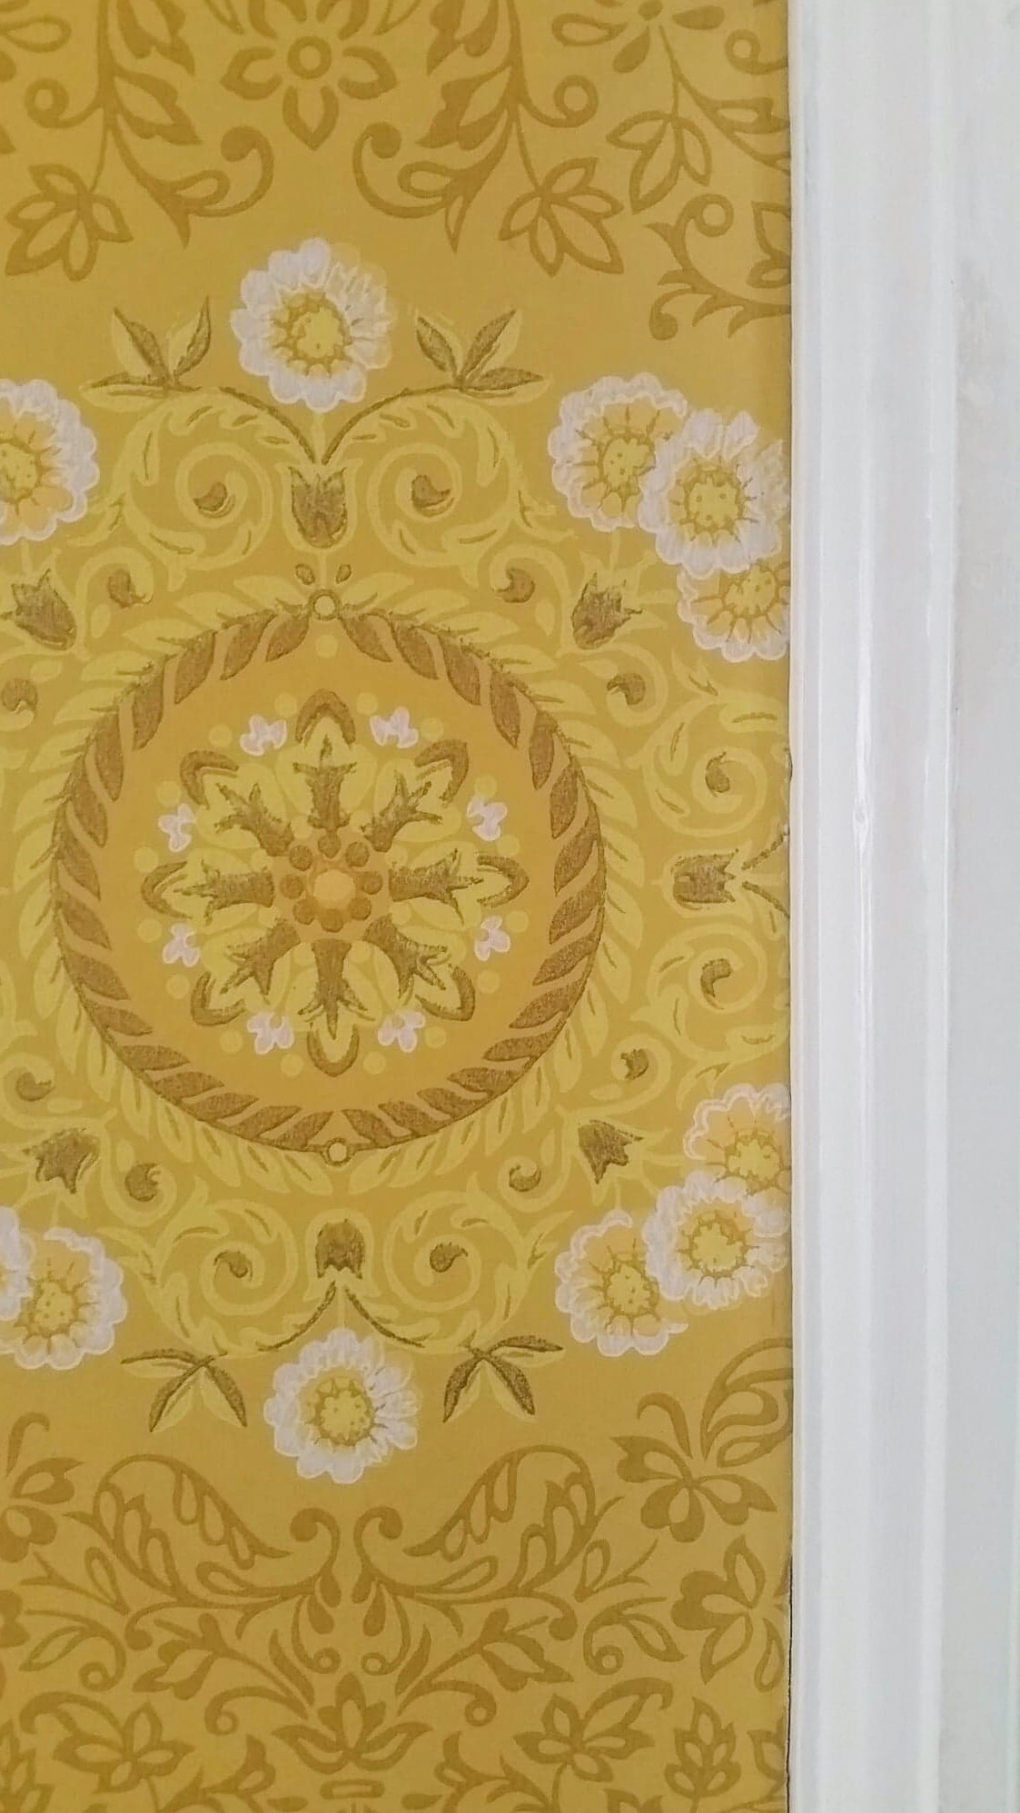
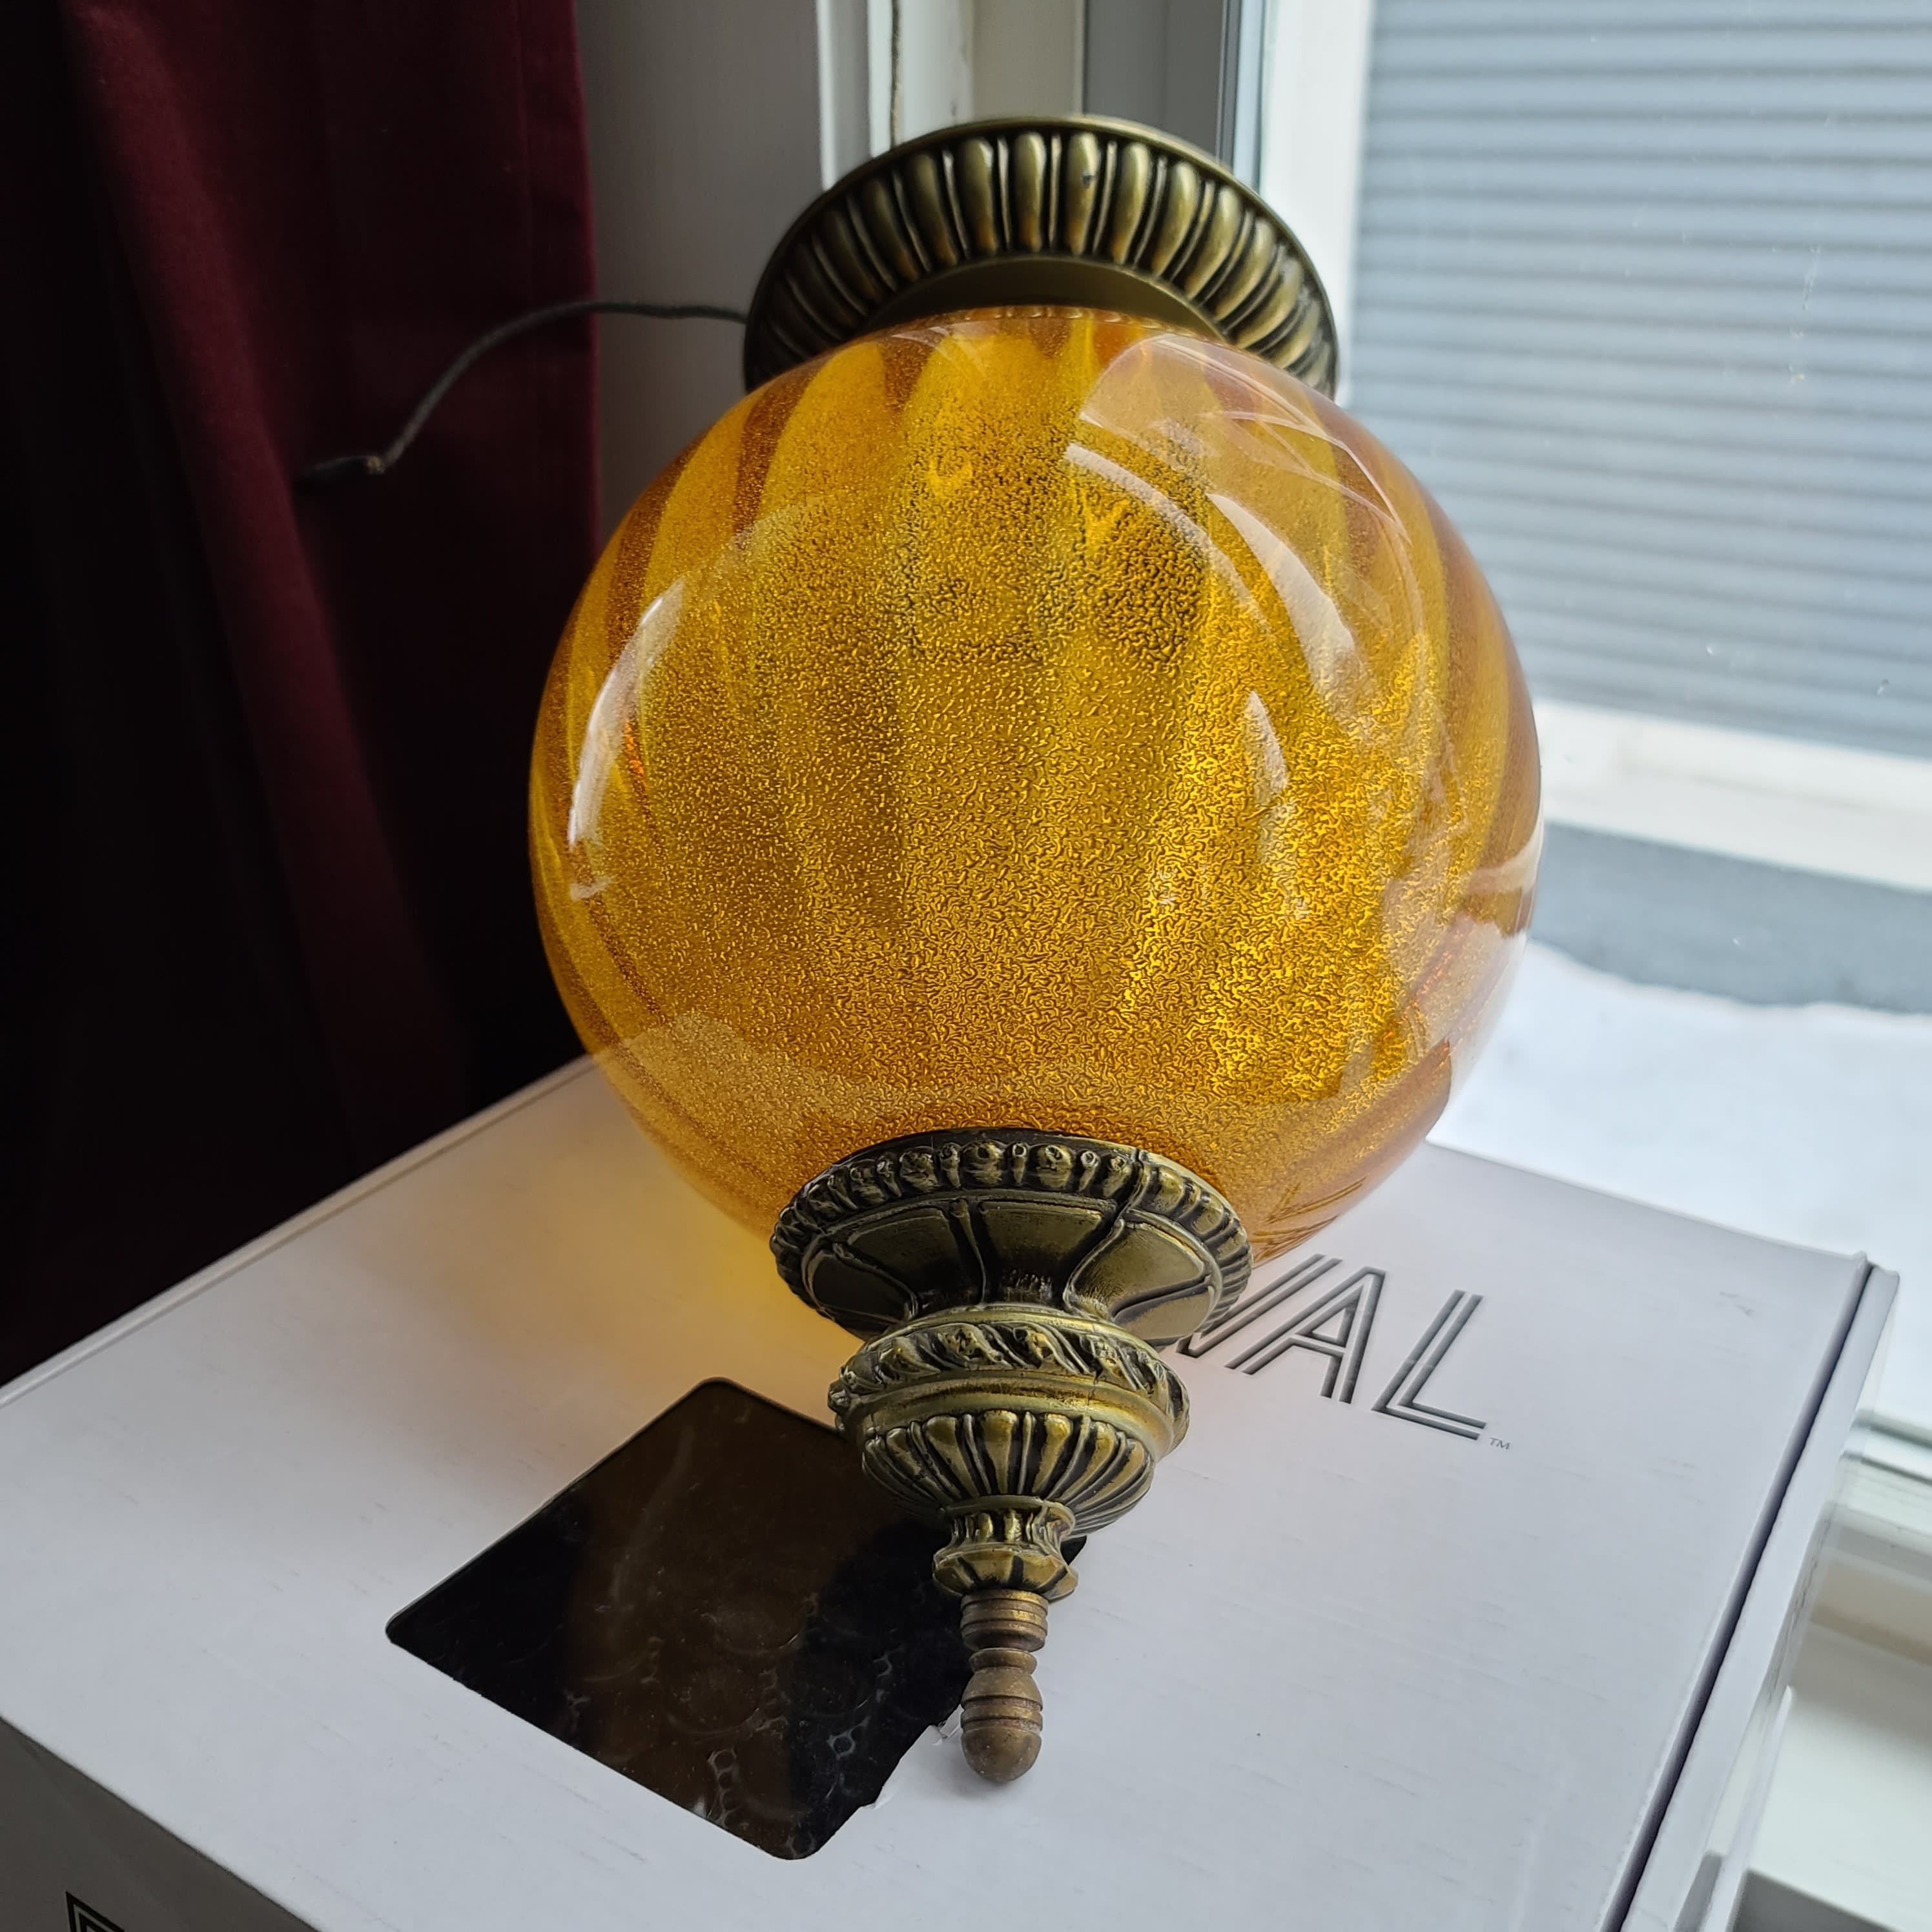


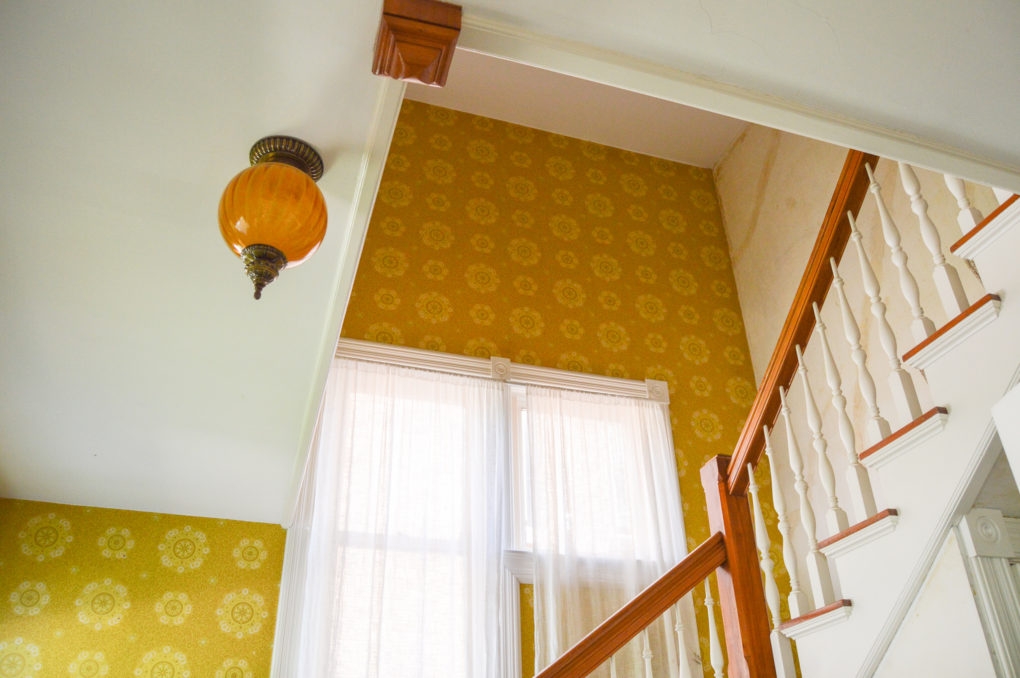
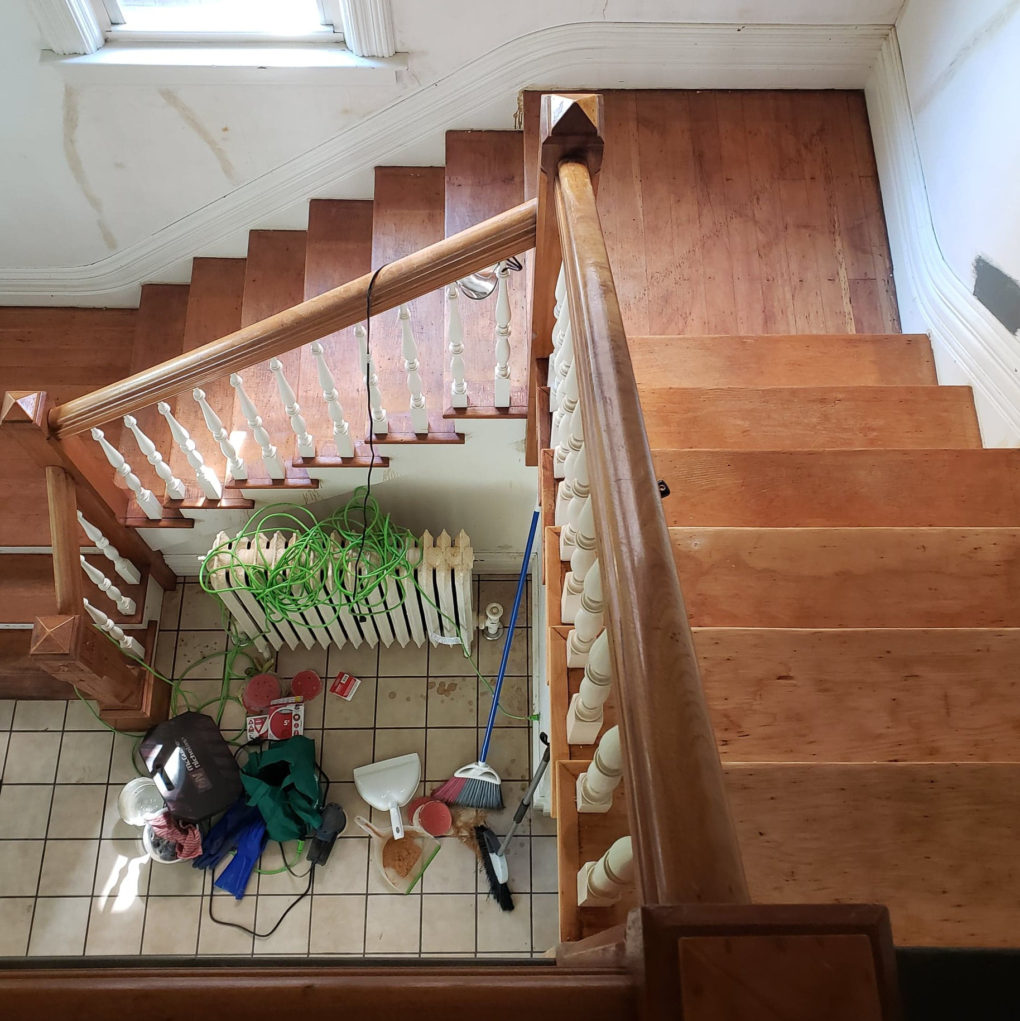
No good reveal is complete without some good and crusty befores. In this case, upon entry one was served 70s harvest gold realness. Very ungroovy. Tons of people helped me take down the wallpaper when we first moved in so it actually looked worse than this for the past six years.
My friend Betsy joked that it looked like that distressed Anthropologie abject-poverty-chic aesthetic. You know the one.
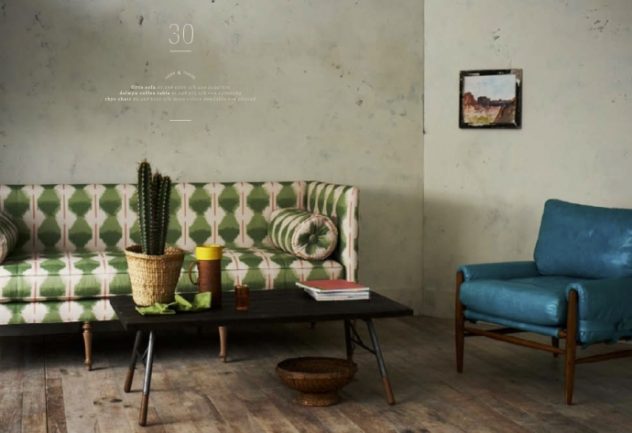
If you’ve followed any of my other Mothership projects like the fireplace update or Nick’s office makeover, you already know the vibes.
Black and white.
Personalized.
Modern.
Bold.
And just slightly hostile to the implied sophistication historic homes warrant. The entry will be no exception.
The Stairs
One day I broke down in a spontaneous moment of weakness and just started ripping up this terrible dirty carpet because I was sick of vacuuming it like it was a treasured feature. (I also used to vacuum the thin wet carpeting on my front porch and that ended in a similar way.)
Once I started ripping it was pretty much on.
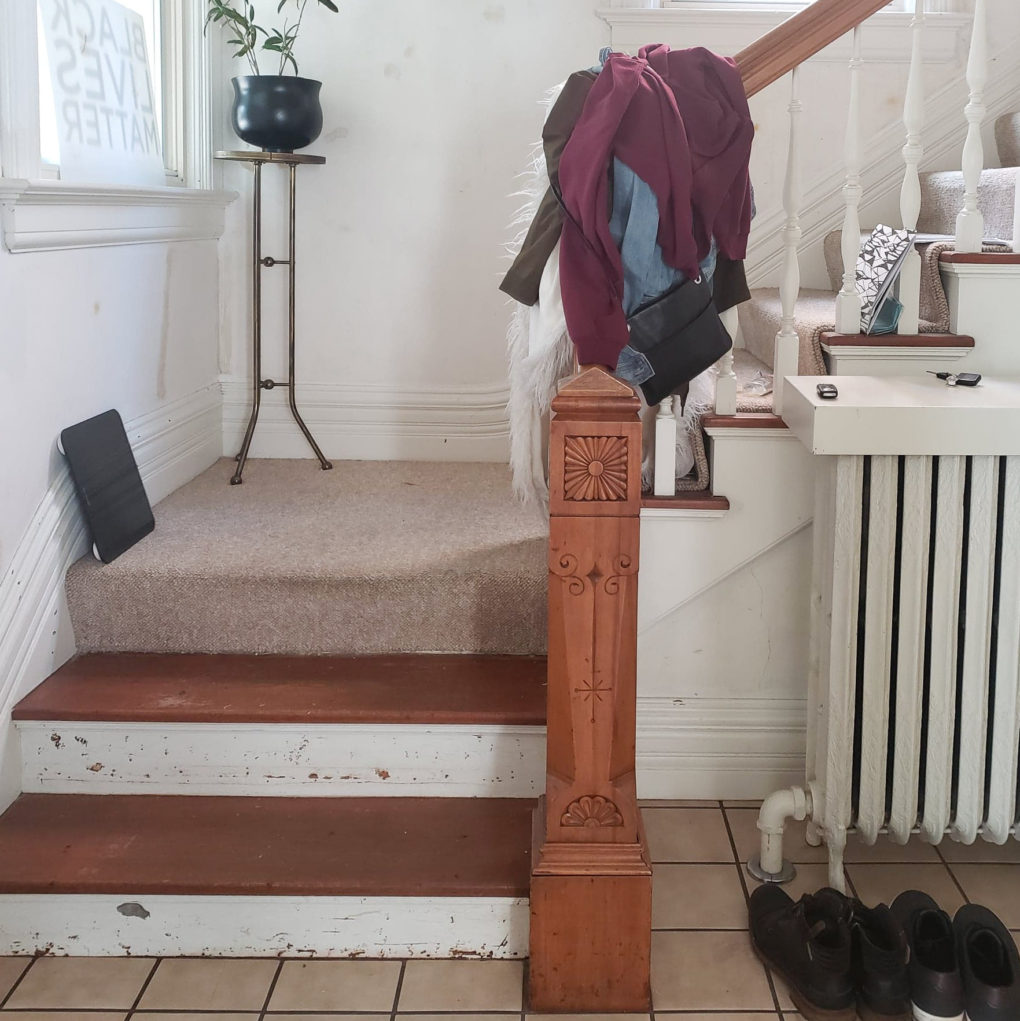
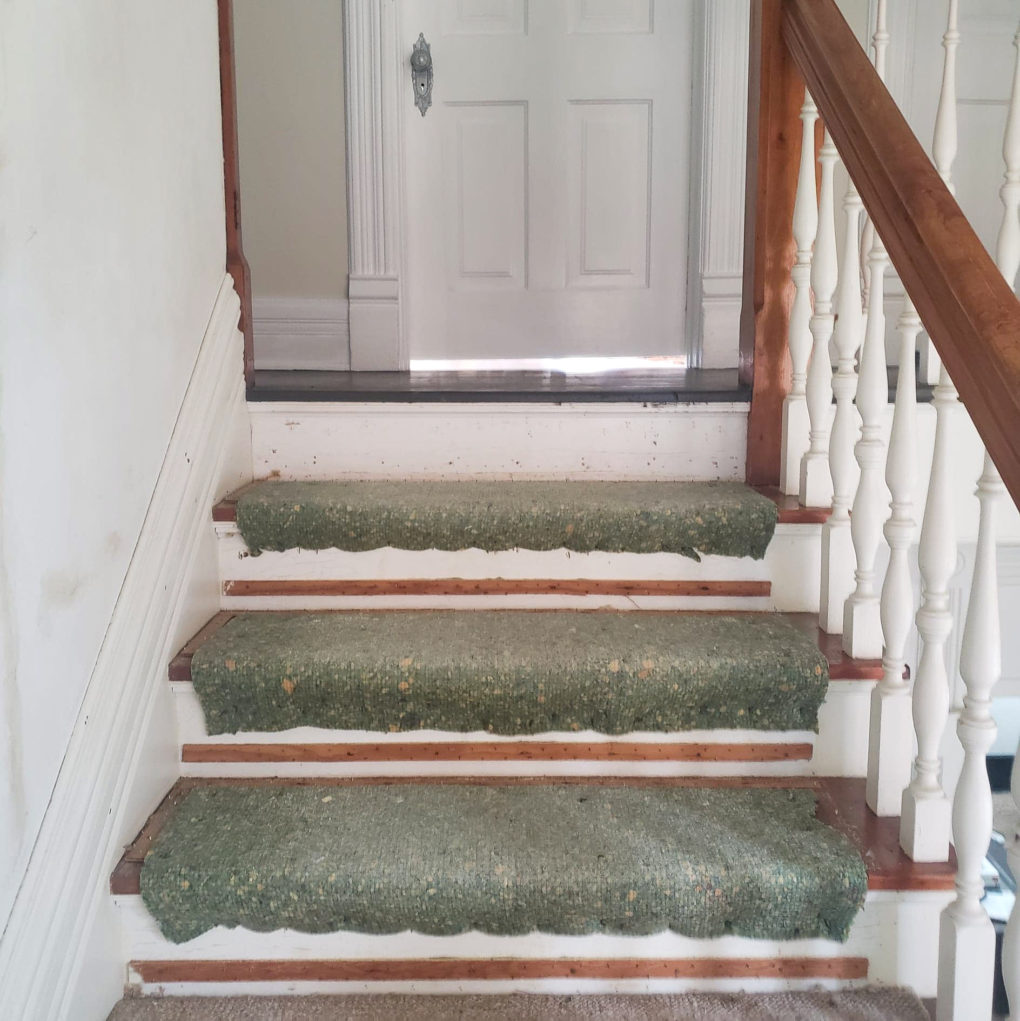
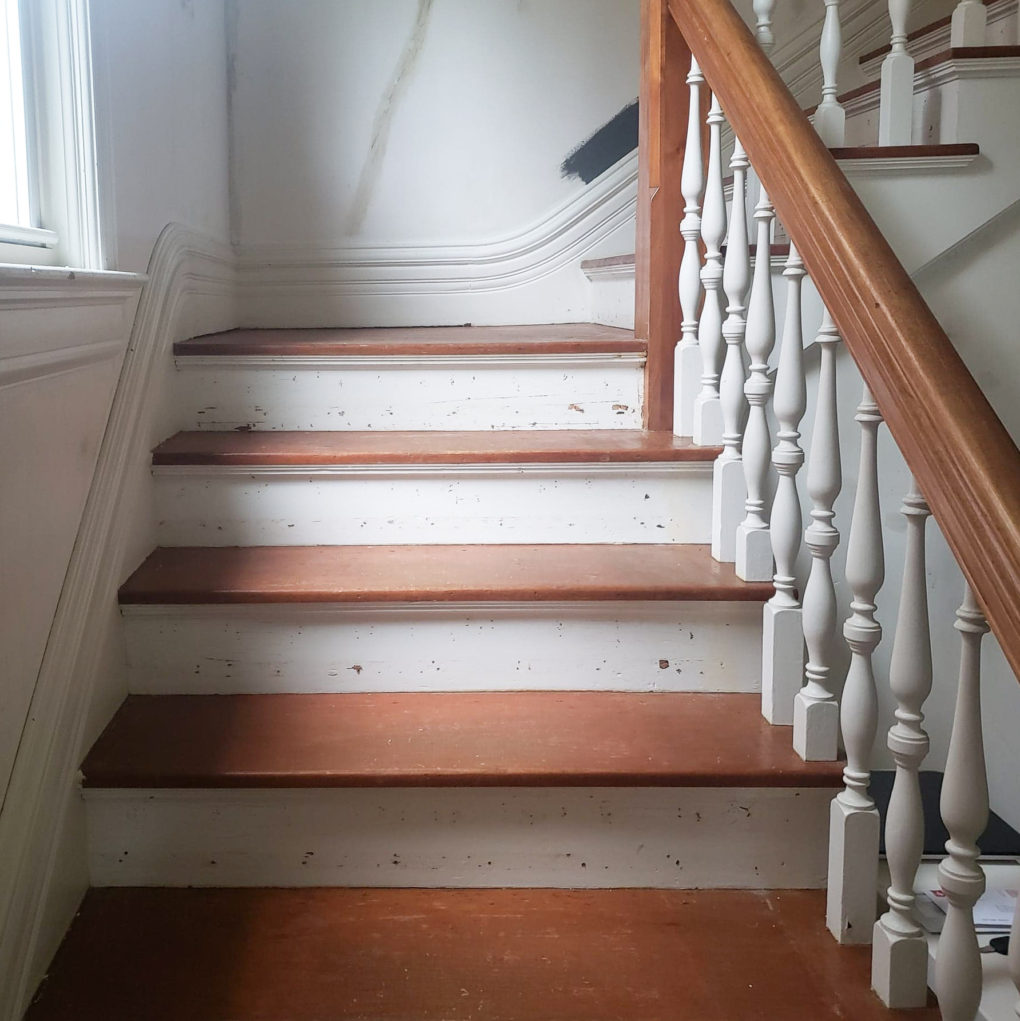
The initial frenzied ripping was followed by the tedious but somewhat therapeutic removal of eight kabillion staples and scraping any loose paint.
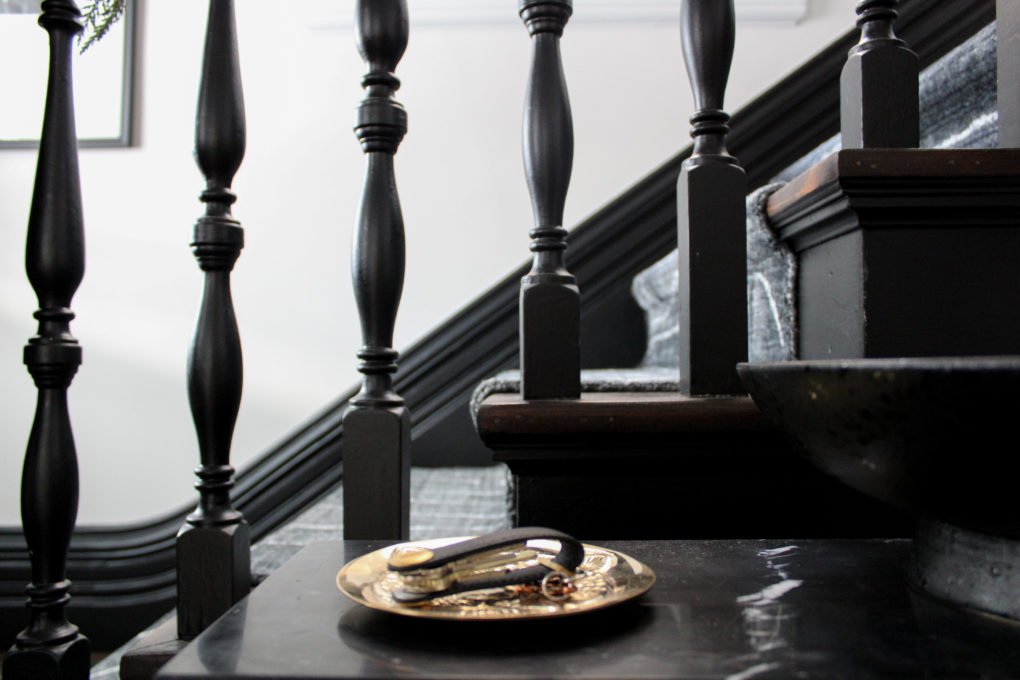
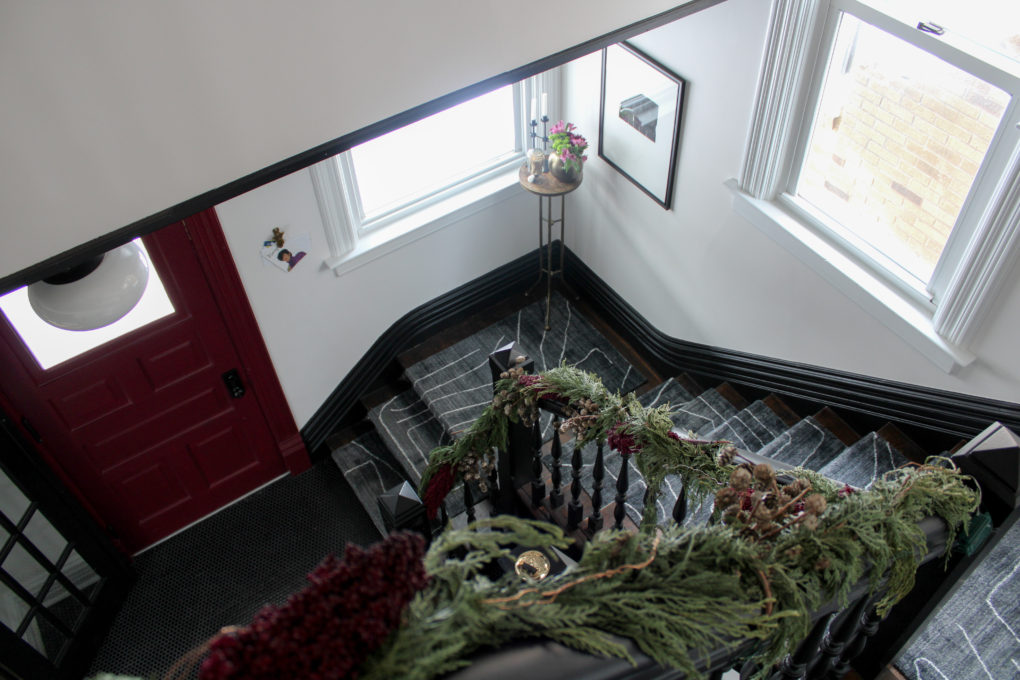
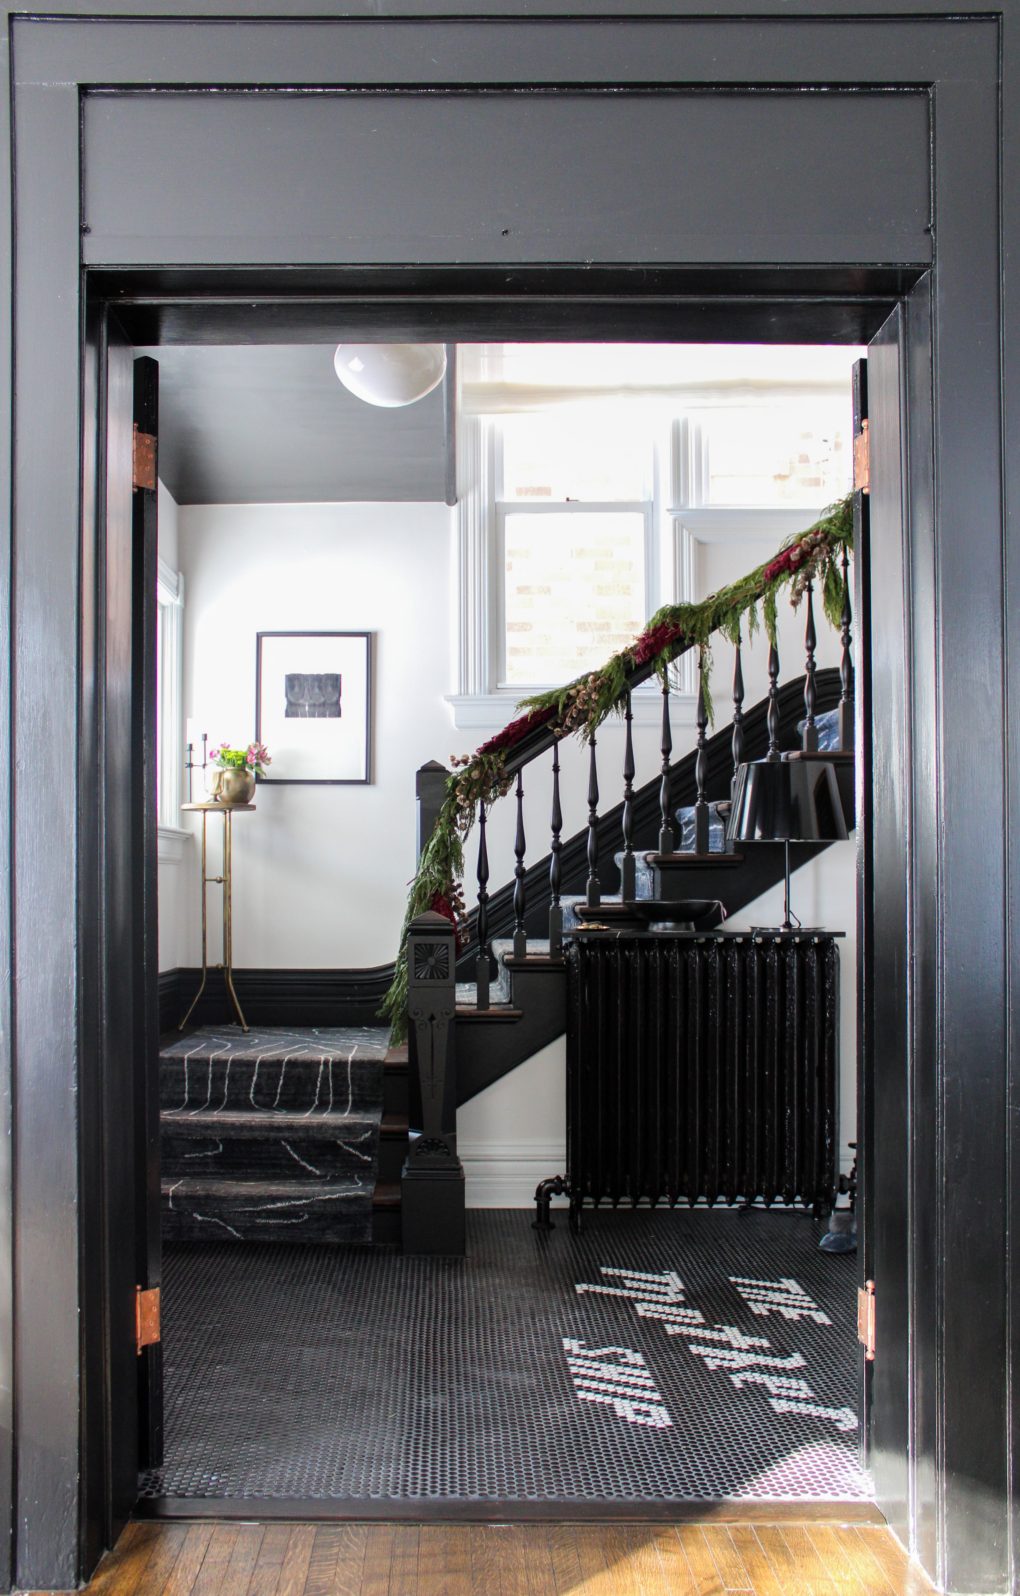
Then I used a chemical stripper and then a few small sanders to get the poly layer and then the finish off of the treads. I thought about doing the risers too but since they were already painted I decided they would be going black, which is a theme in this house.


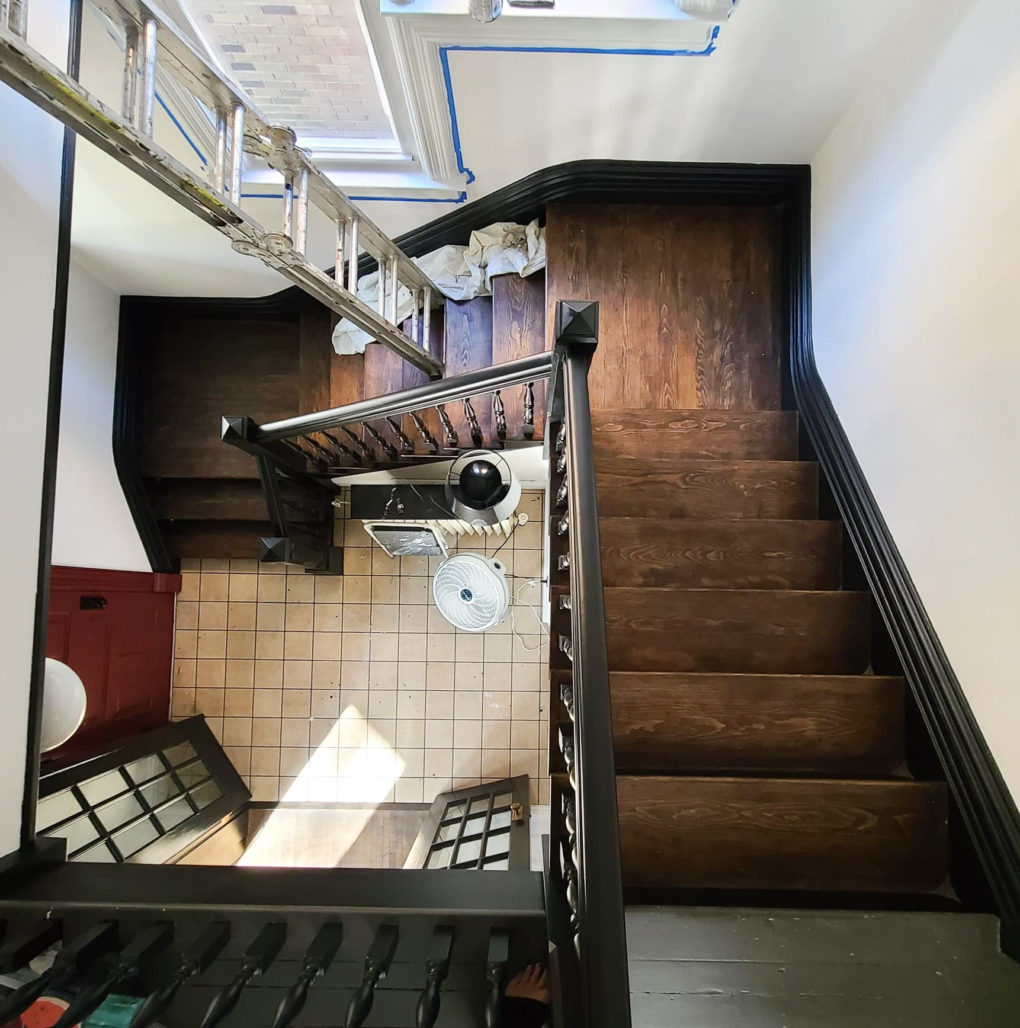
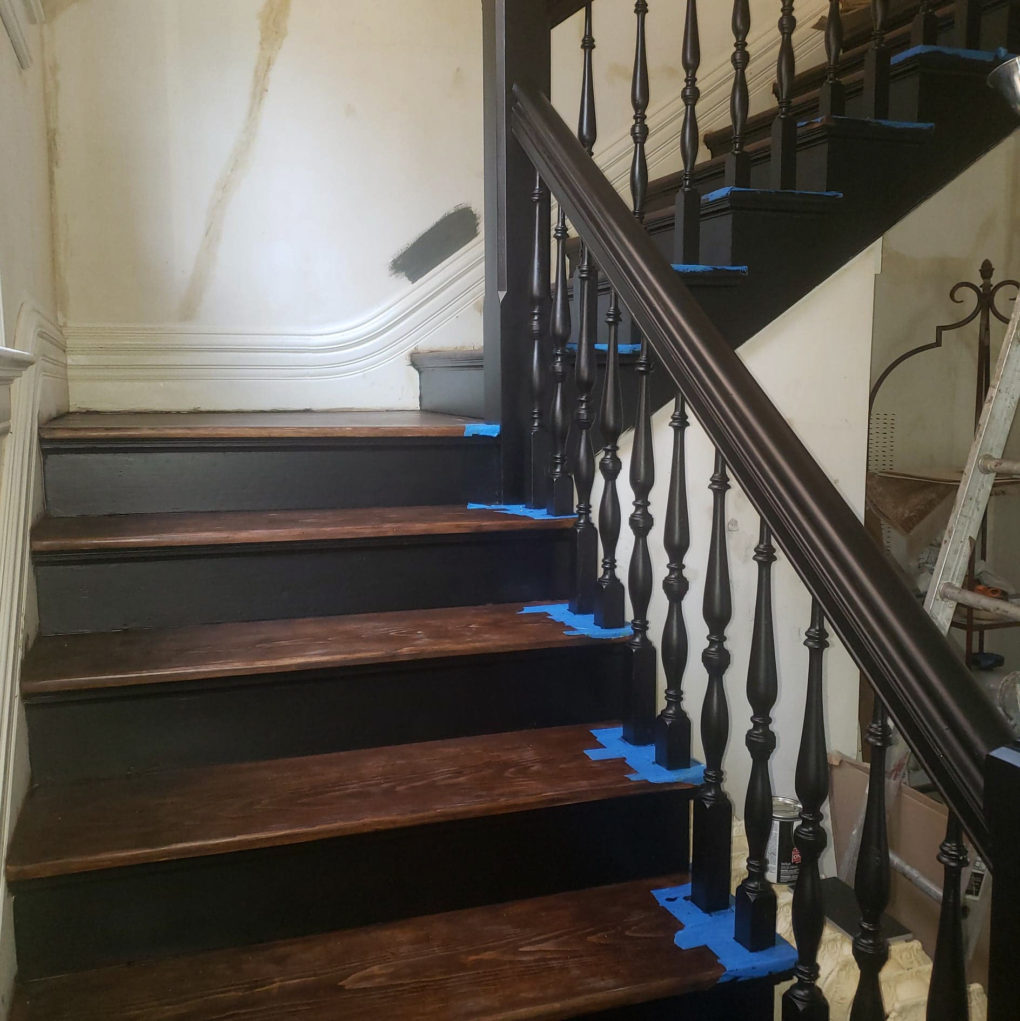
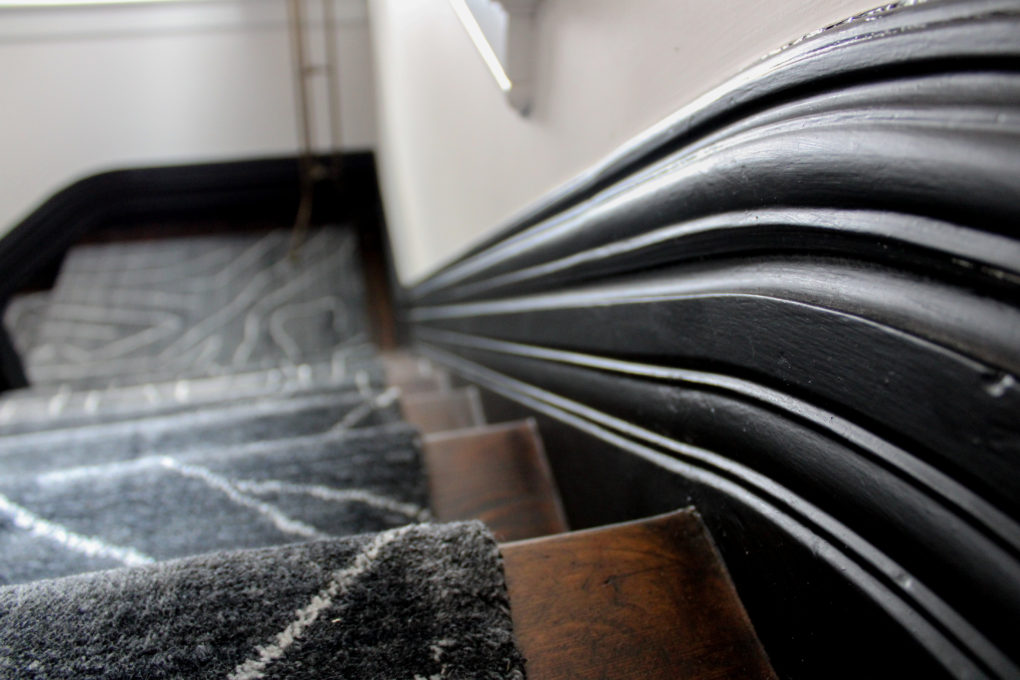
After cleaning them down with mineral spirits and conditioning them I stained the treads and mixed in a little of the black Polyshades that I would use for the risers and railing. It created the darker shade I wanted but it was also so that I wouldn’t have to hit it with clear coat after staining. If you’ve never used Polyshades to go over wood it will change your life. I know I’ve mentioned it before. It’s just stain with poly in it already. It requires no sanding to prep, finishes super hard and dries really smooth to minimize all that extra “character” on your old furniture surfaces.
Next up was the runner. It took me so long to find one that hit all the right notes.
Wool.
Good at not looking dirty.
Modern but not goofy.
The right pile. Lush, but won’t disappear earring backs.
I finally found this one at Solo Rugs. I needed three for the length of my staircase, which includes two landings. They only had one in stock so they custom made the other two for me. The dye lots were slightly different but I was able to piece them strategically so it’s not noticeable.
Then I cut up the runners and stapled them down. I want to make it sound more technical and professional than that, but why? That’s the gist of it. I mean, there was some finessing. I had to keep measuring to make sure my runner was centered, I used rug tape on the risers and again to place nonslip pads on each tread. I had to use the right staples to get through the carpet thickness and hold into the wood. I stapled underneath the nosing and at the bottom of each riser.
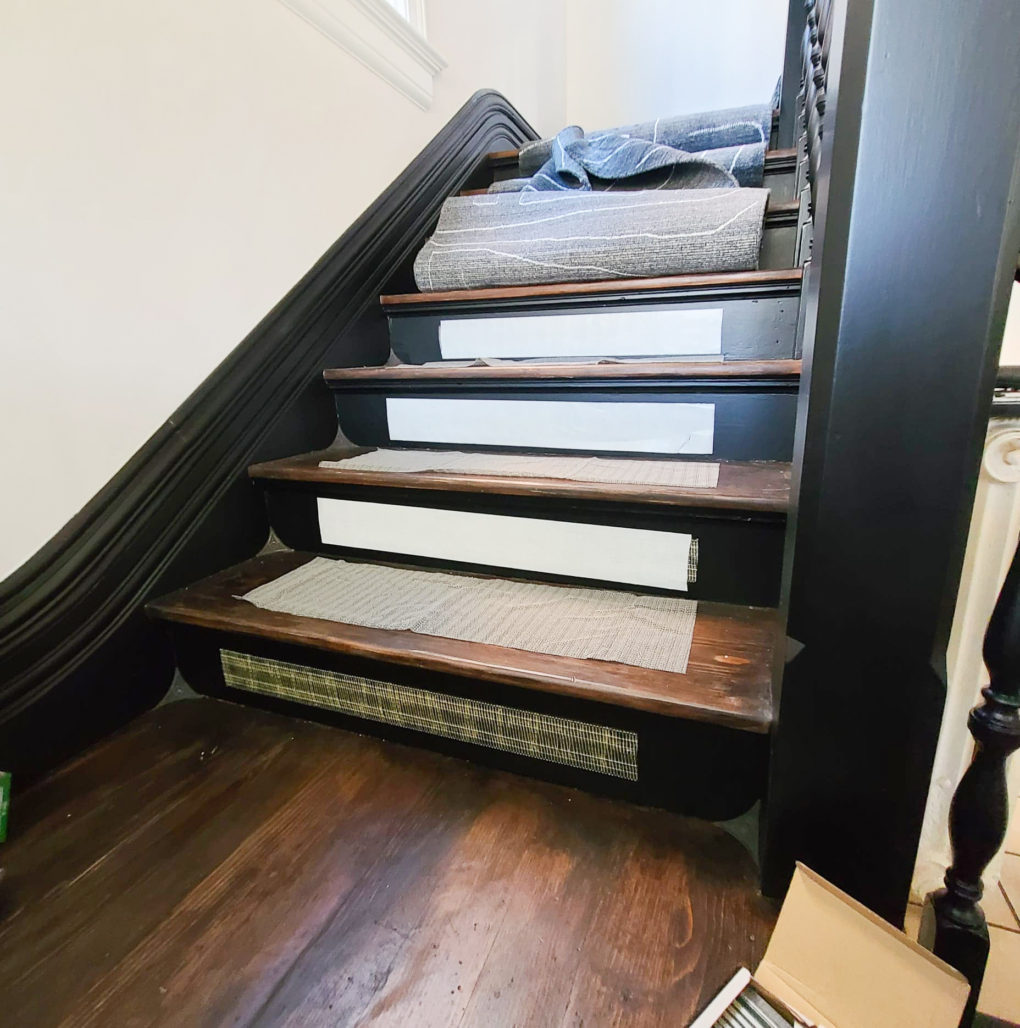
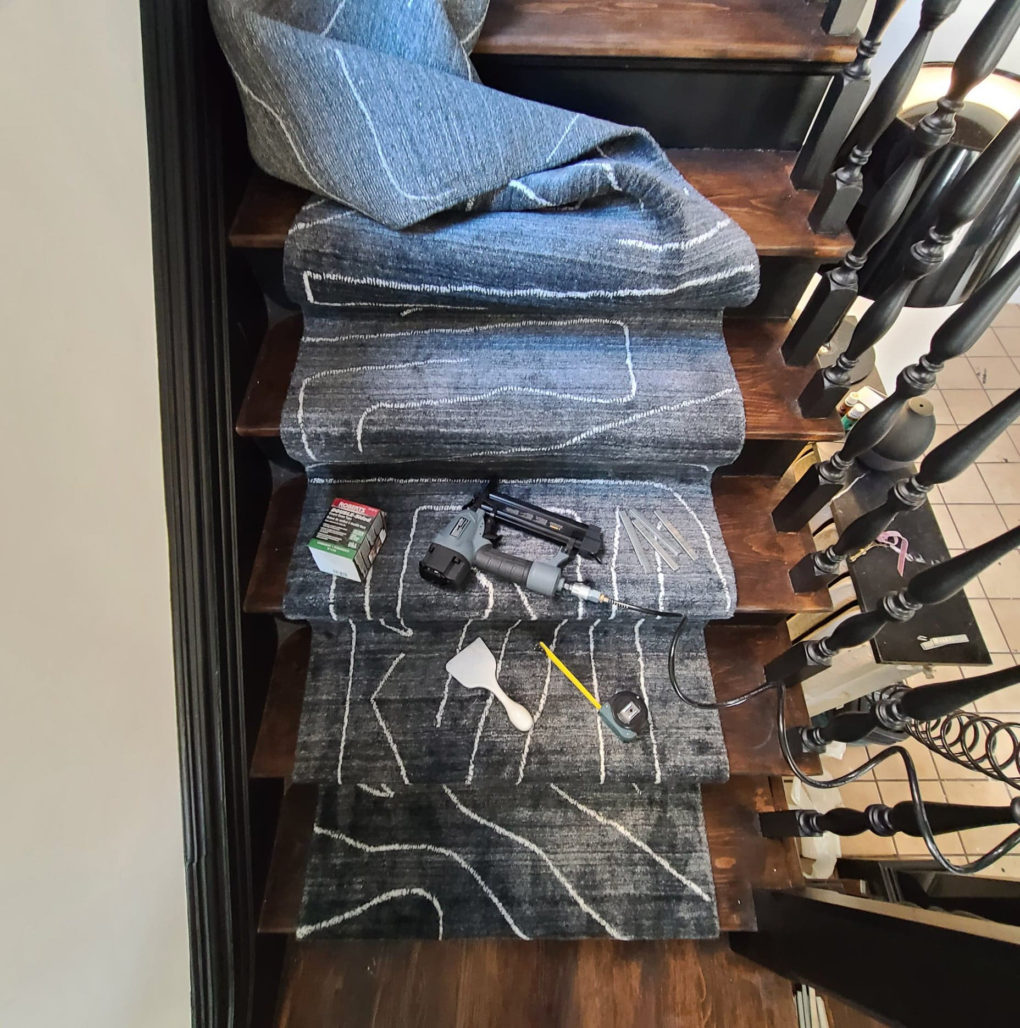
Tools used for the runner: Air compressor, staple gun, staples, measuring tape, rug tape, non-slip rug pads, sharp scissors, and a carpet tucking tool to push the rug into the joints.
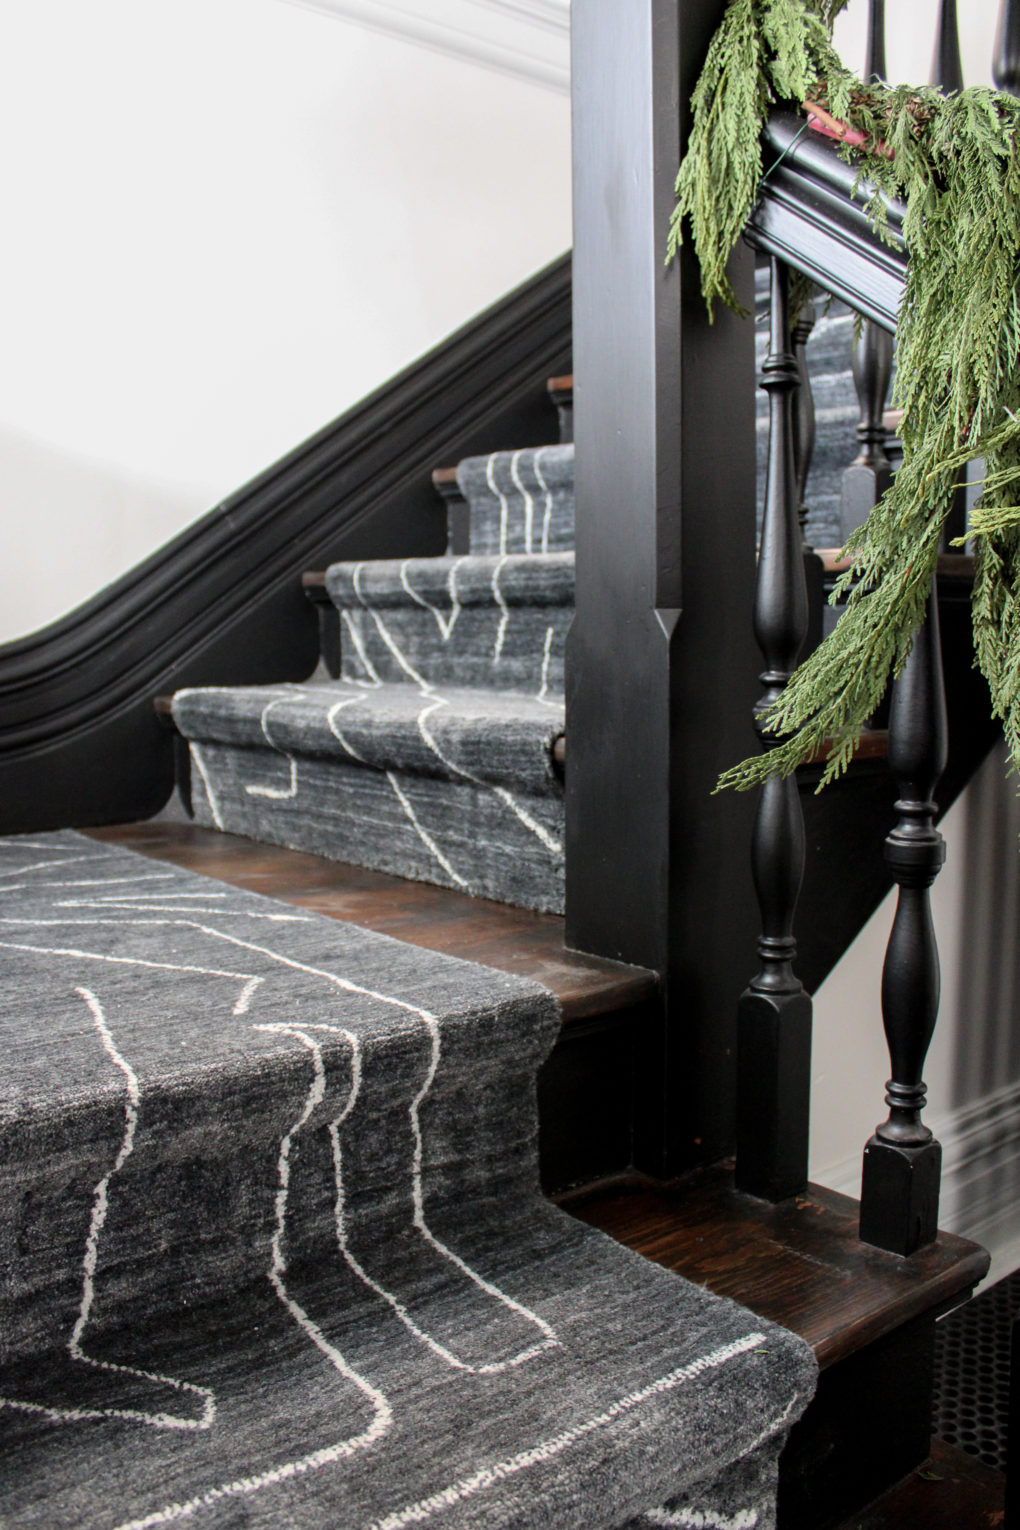
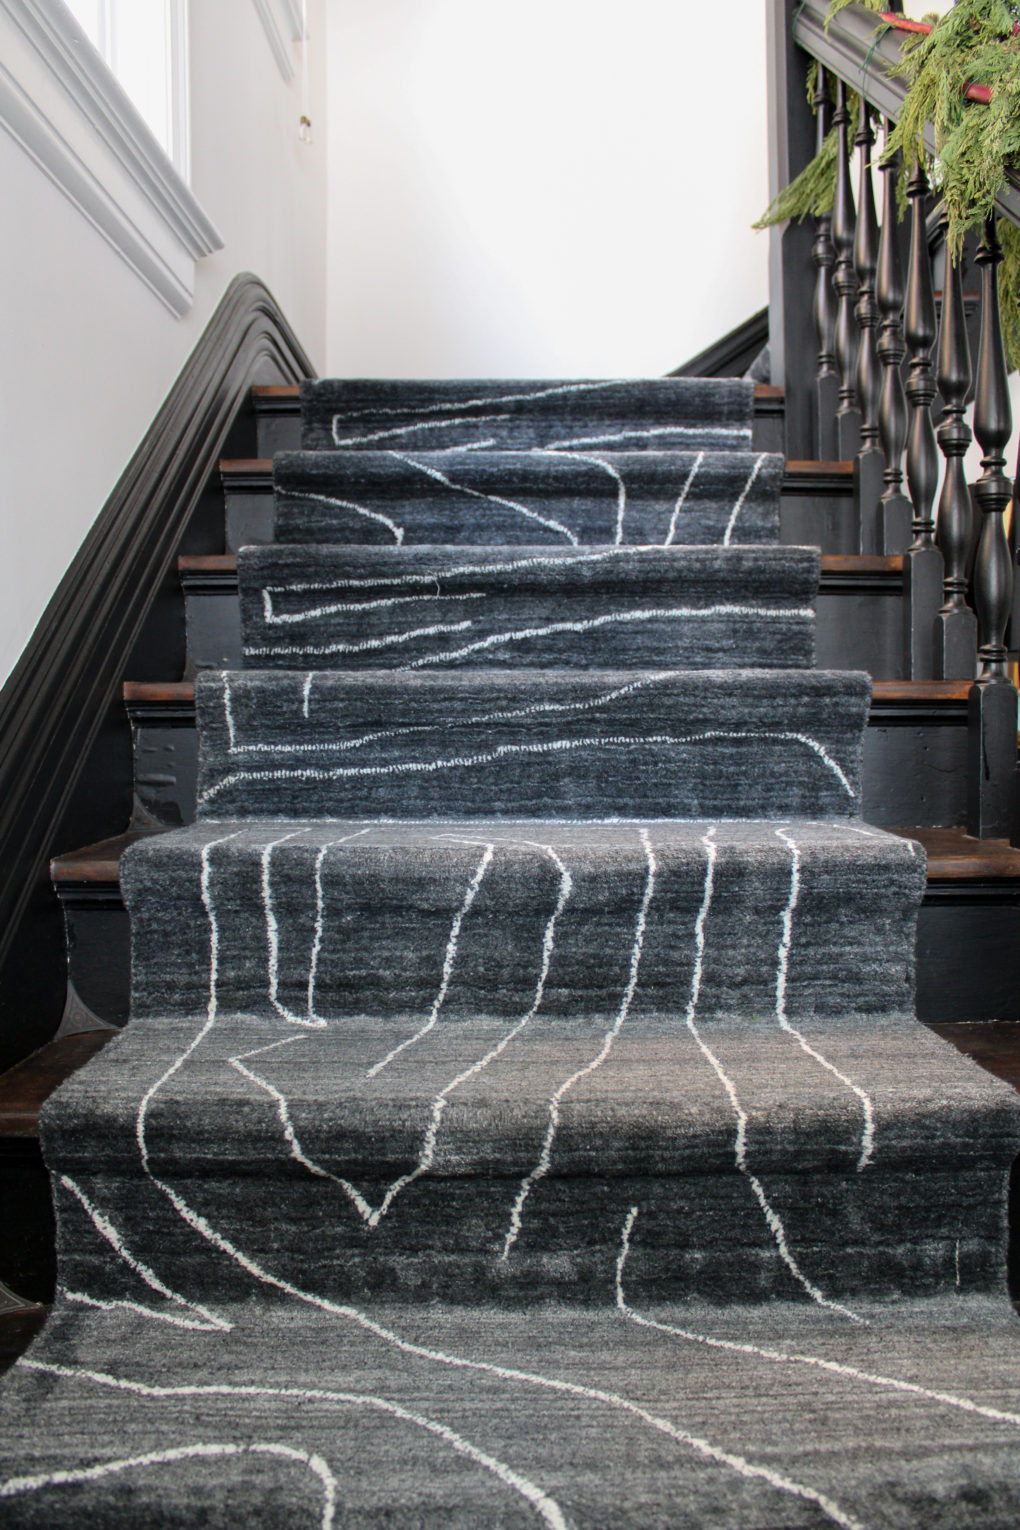
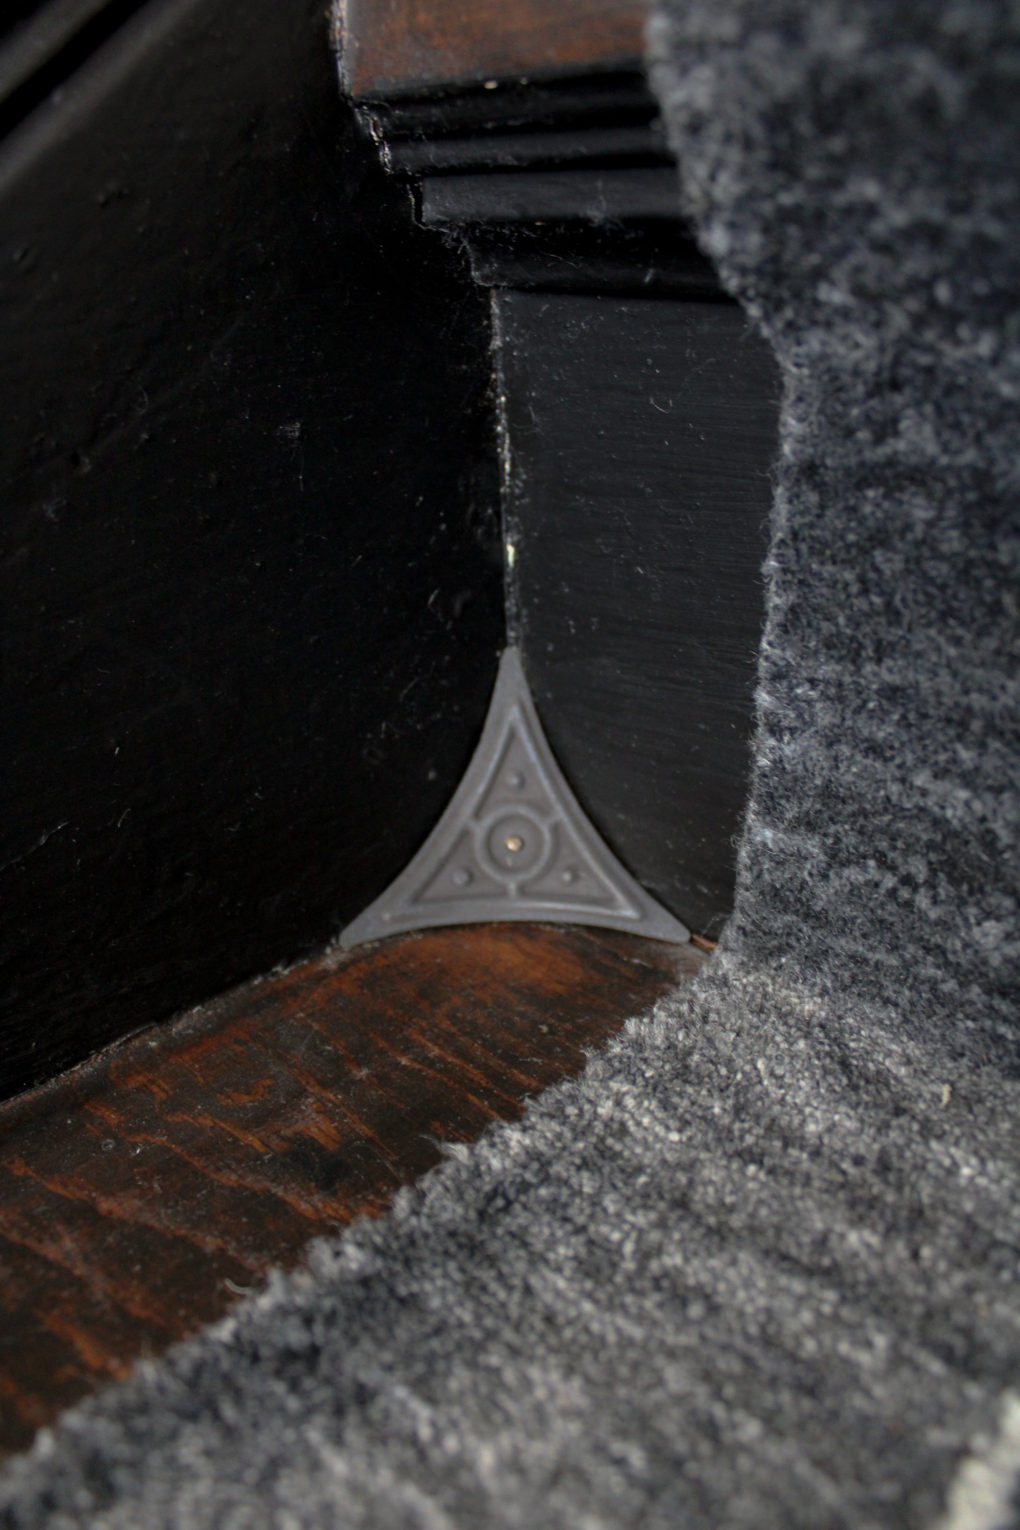
I also sourced some cool reproduction dust corners to add back a little Victorian charm. *I was initially going to install stair rods but they are much more expensive and also seem like they might be kind of annoying, practically speaking, for quarterly vacuuming. (I know who I am.)
These actually serve the opposite purpose of keeping the dust from the… well it’s right in the name.
The Paint Job
Finally, it was time for painting. That’s always my favorite part.
Months of overthinking culminated in a single text to my friend’s dad to borrow an extra tall ladder. Fellow paint enthusiast and person who’s painted in every house in town, Betsy, came to help. She used to paint professionally so I like to lure her over however I can when there’s painting to be done. Pretty sure not having to look at those abandoned asylum walls when she visits anymore was probably enough motivation this time.
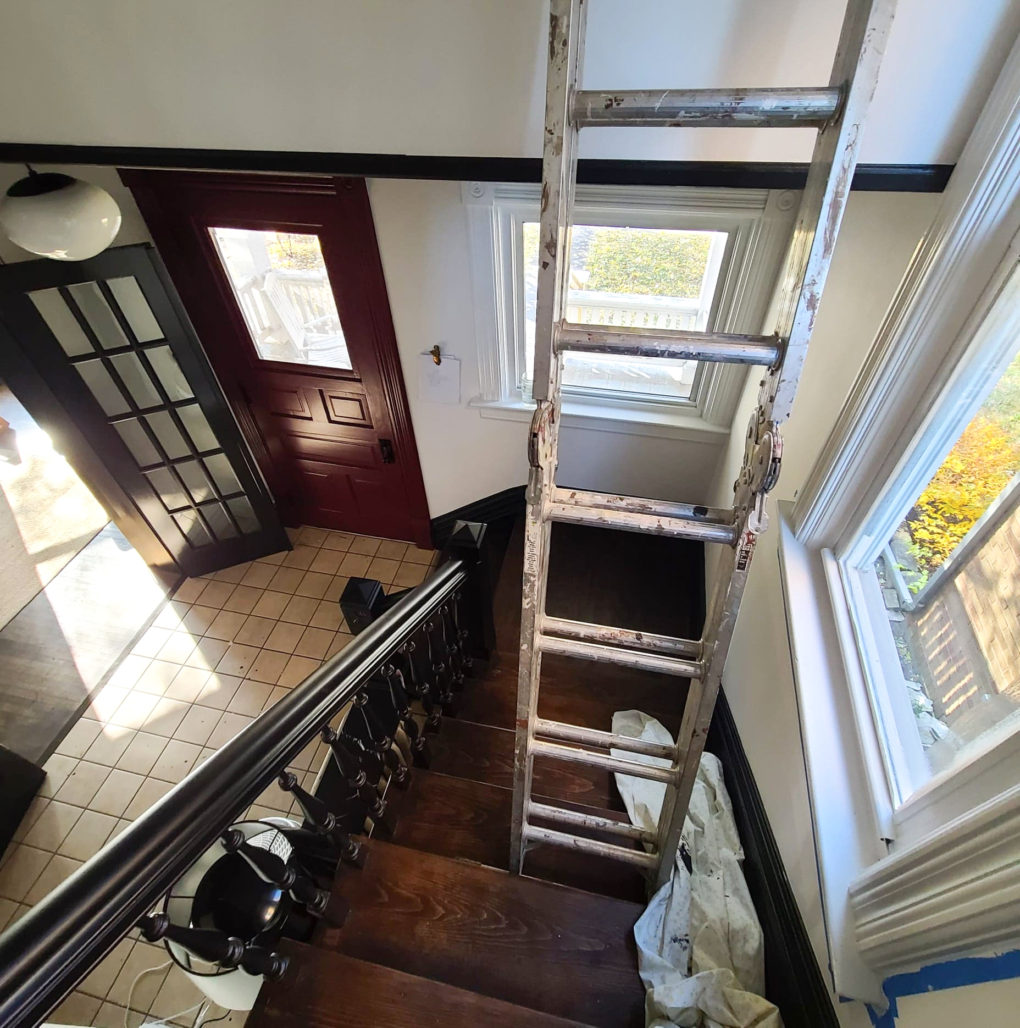
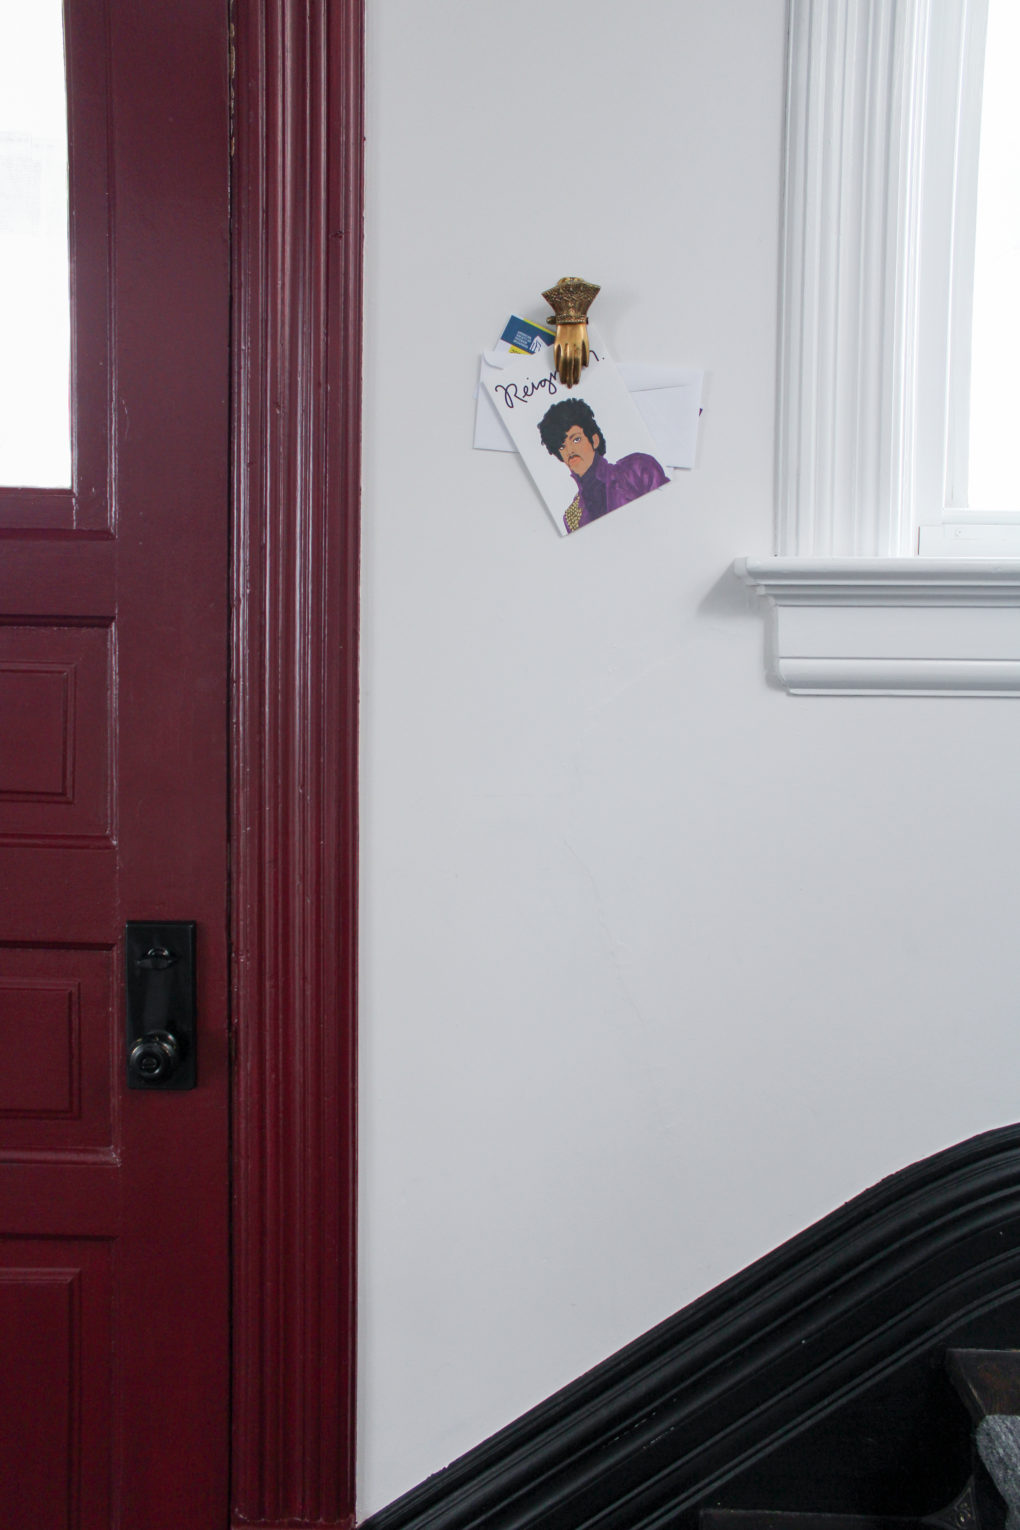
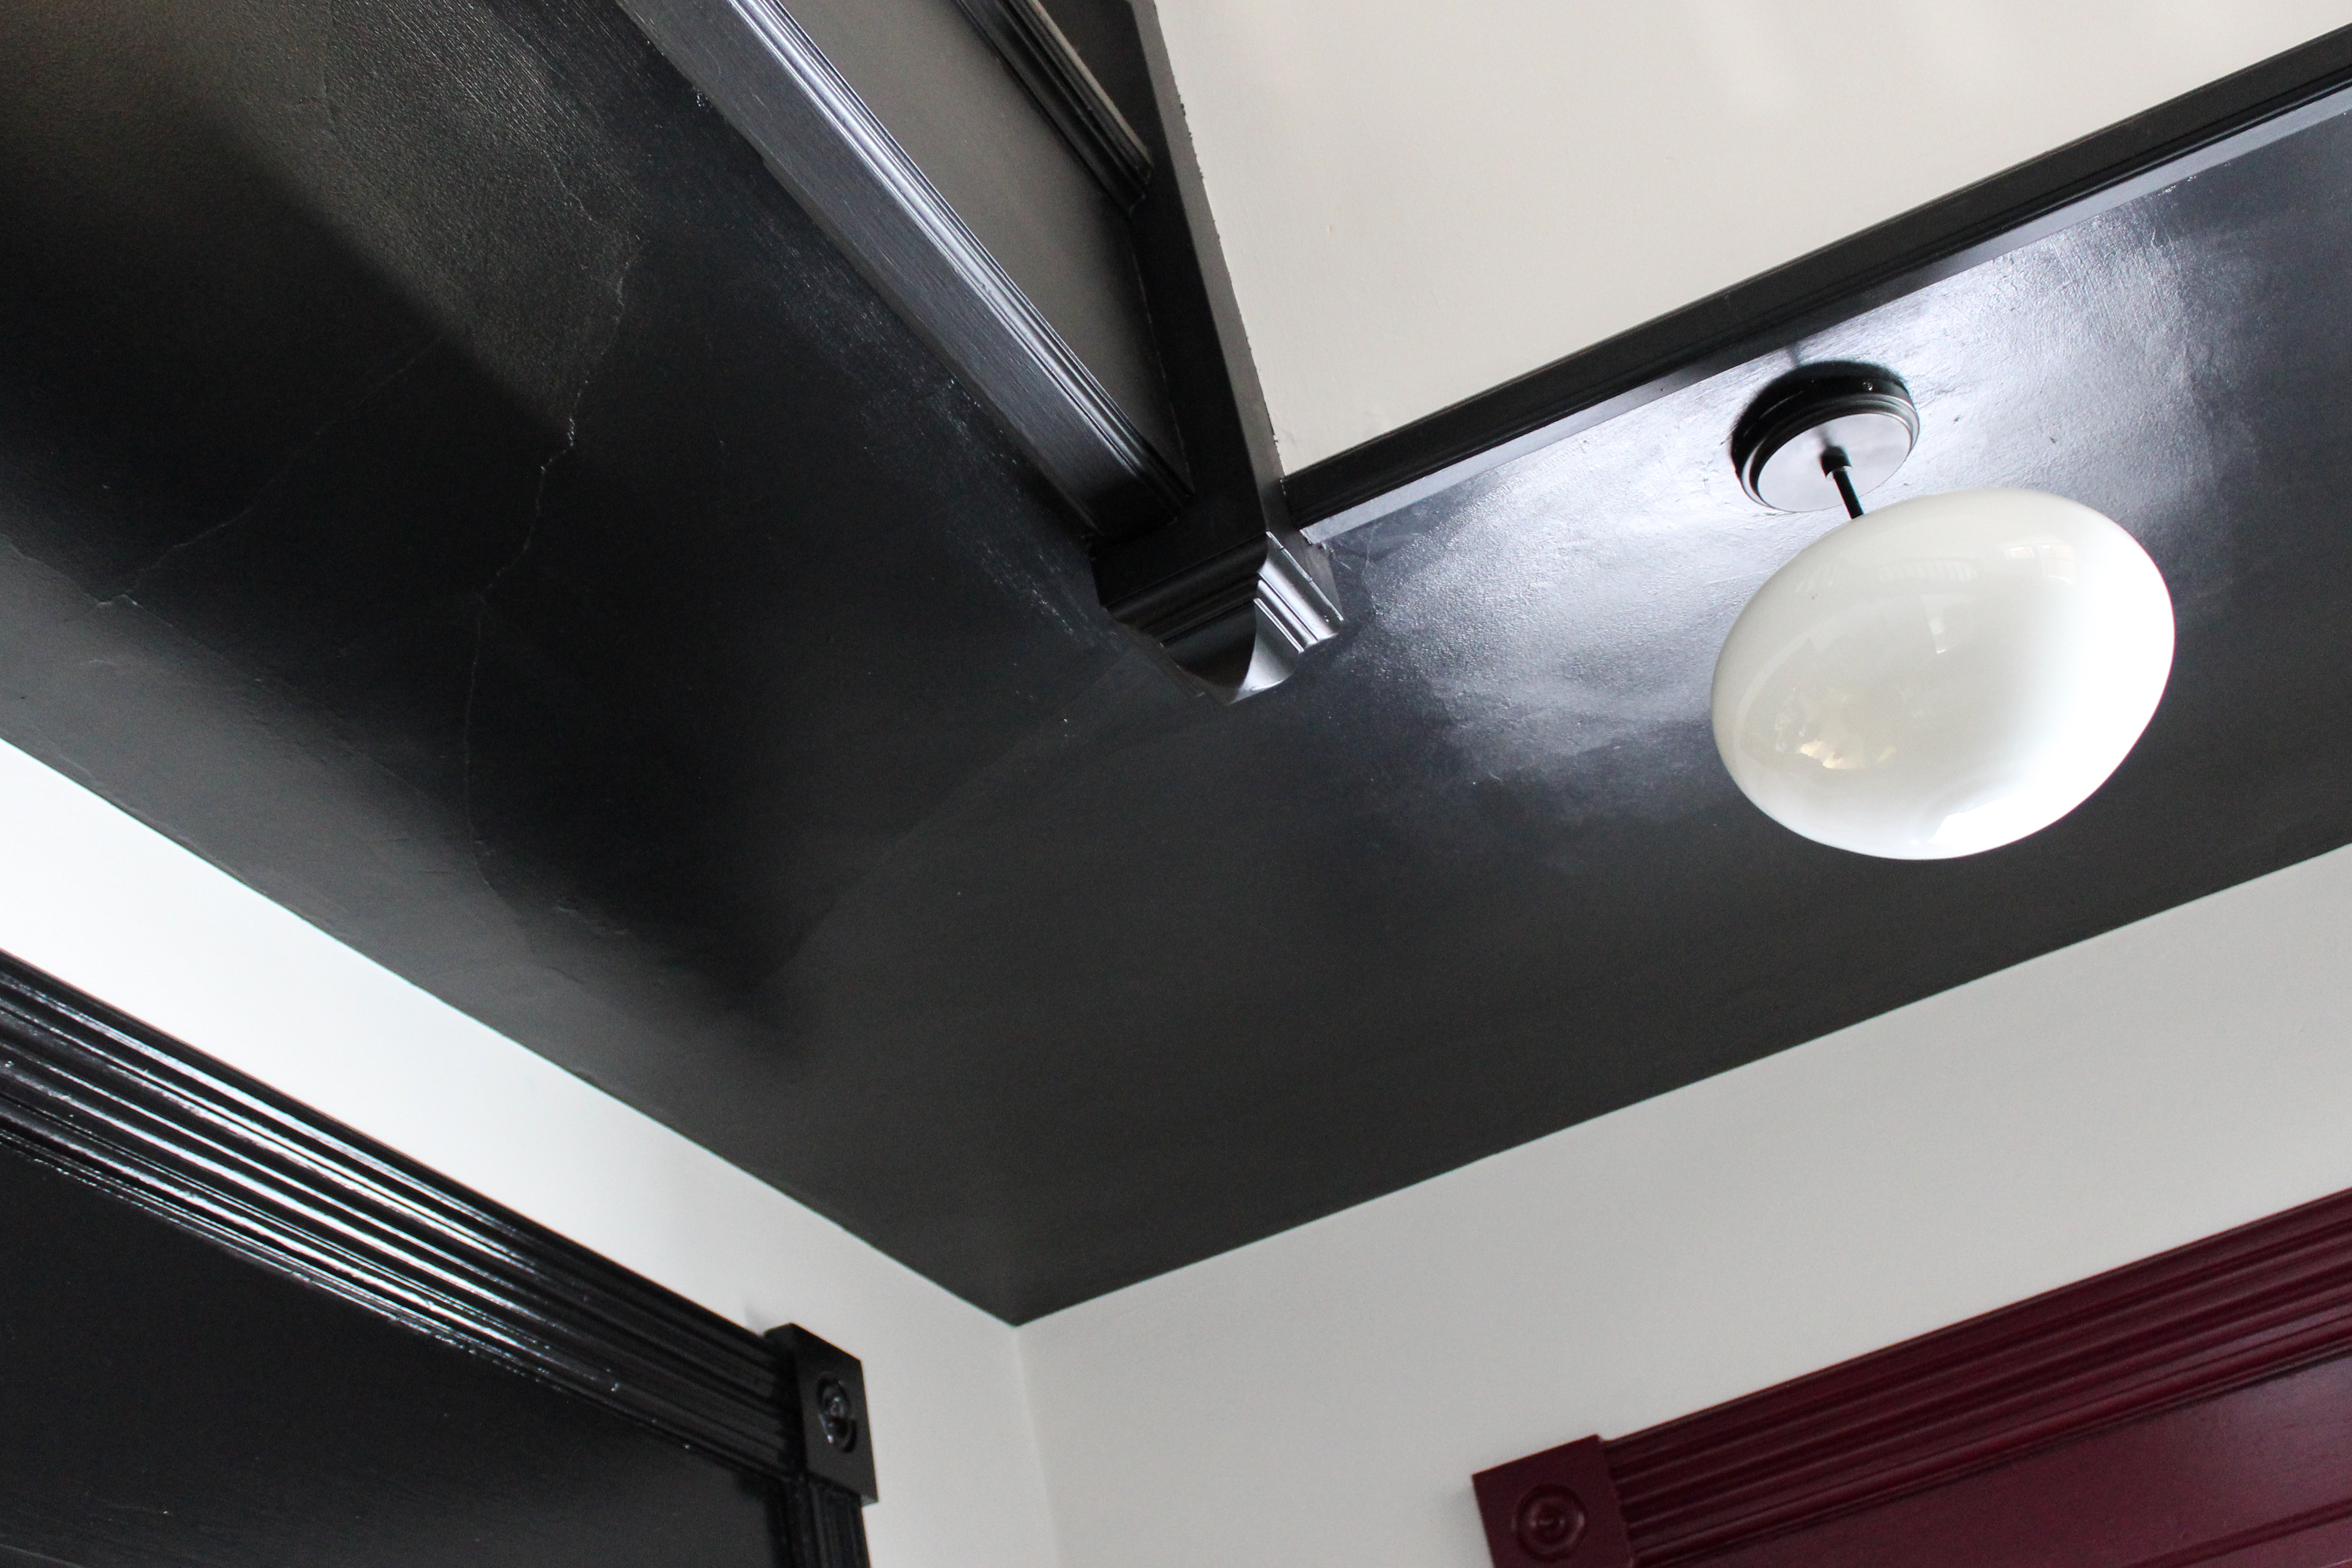
I cleaned, taped and gathered all of my colors and formulas. Two different whites/ black / burgundy/ high gloss for the french doors/ exterior for the front door (because I’m going to do the other side too)/ matte for the walls/ ceiling paint/ trim paint. I really want to stress the importance of using appropriate formulas for each application and for your lifestyle, tempted as you might be to just use whatever is lying around. For instance, I use matte on all my walls to hide the imperfect plaster texture but I don’t have kids or pets to clean up after, so I don’t need the wipe-ability of a higher sheen. Cleaning dusty trim or cobwebs from corners or snow/ mud from a door is going to creep up to annoy you later and be harder than it needs to be if you don’t choose your finishes appropriately in the planning phase.
Also, never feel like you have to use colors in the same brand. Every brand can color match other brands’ colors. Don’t feel like if you use Benjamin Moore paint, you have to pick all Benjamin Moore colors. Just make sure to have the color name/number on hand and anyone should mix any color for you. (They might say they can’t guarantee the quality in another brand’s color but I’ve never had an issue.)




And here’s where I admit that one late night I overestimated my own flexibly and tried what can only be described as painting parkour to reach a spot on the window over the stairs. I fell and twisted my ankle, sliding down like two stairs to the landing and laugh-crying like a dummy by the time Nick came running to investigate the ugly noise it made.
This should have been the easy part. But it turned on ya girl.
The Floor Saga
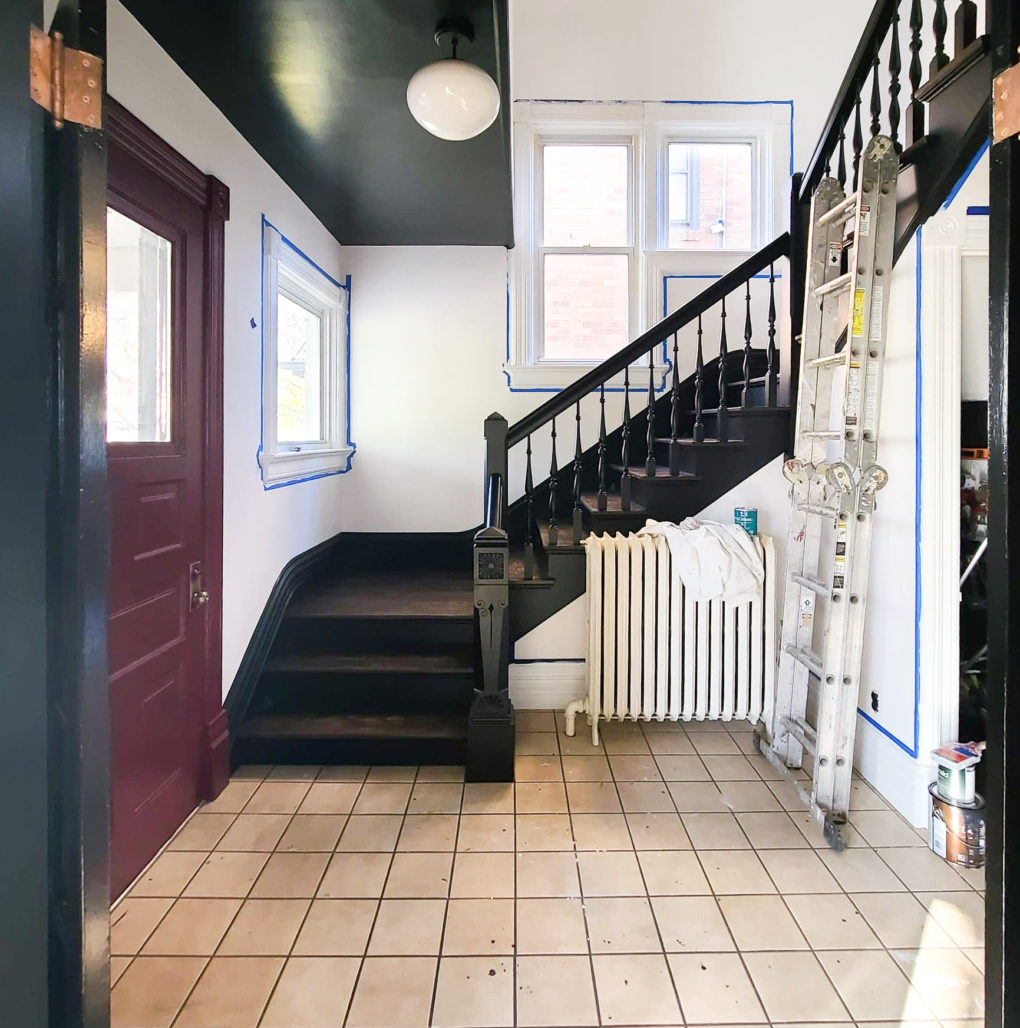
Believe it or not I was going to be done after painting. I thought I would just wait for Spring and have somebody come lay some new simple tile. But after the fresh paint, ooo weee she was ugly. So it was time to learn to tile.
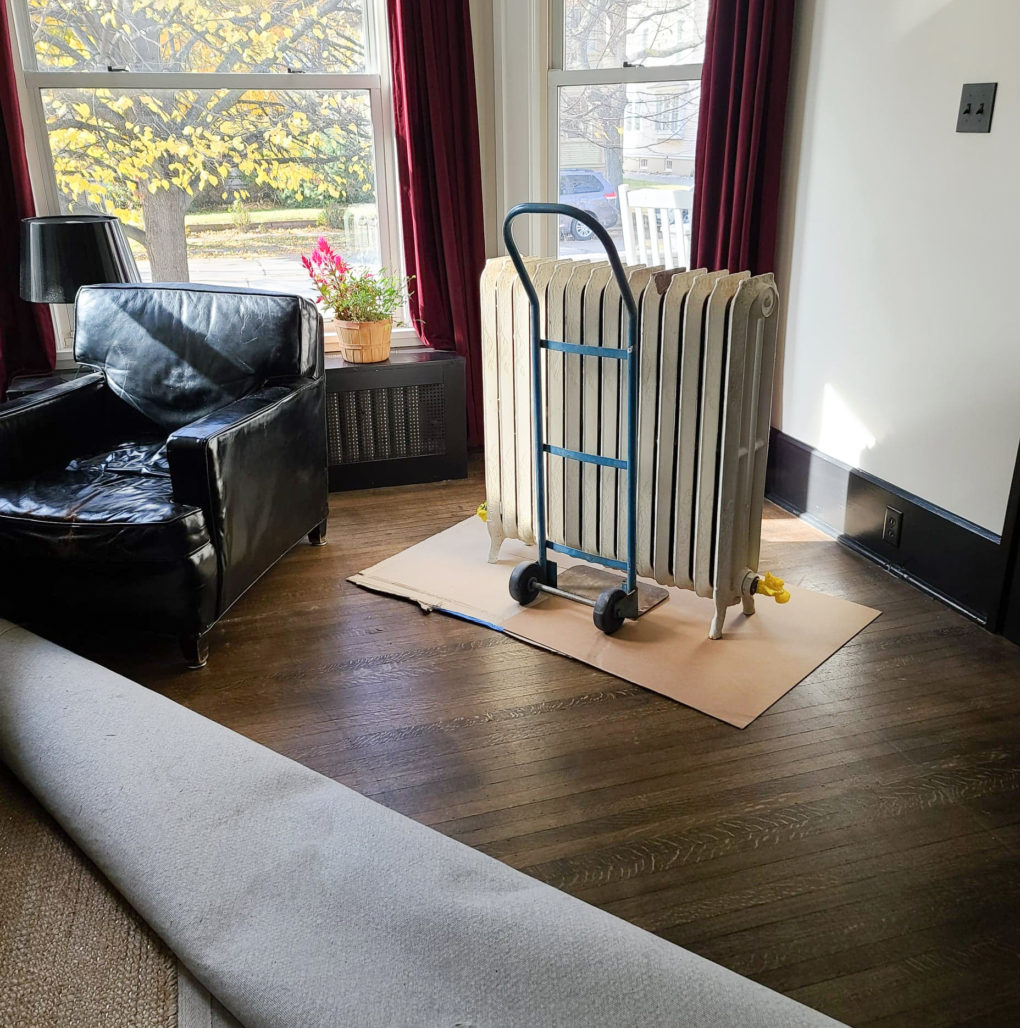
Buddy Dustan and Nick removed the radiator and wheeled it to the living room.
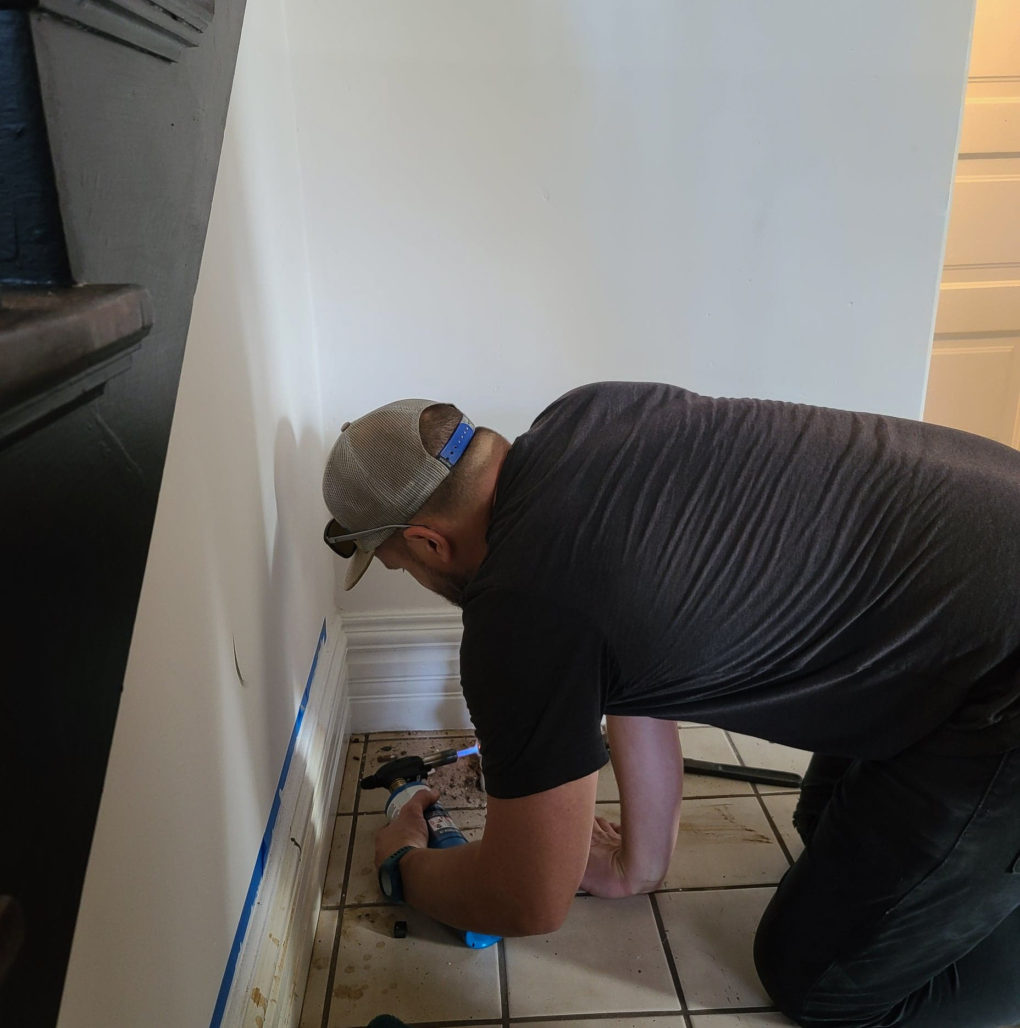
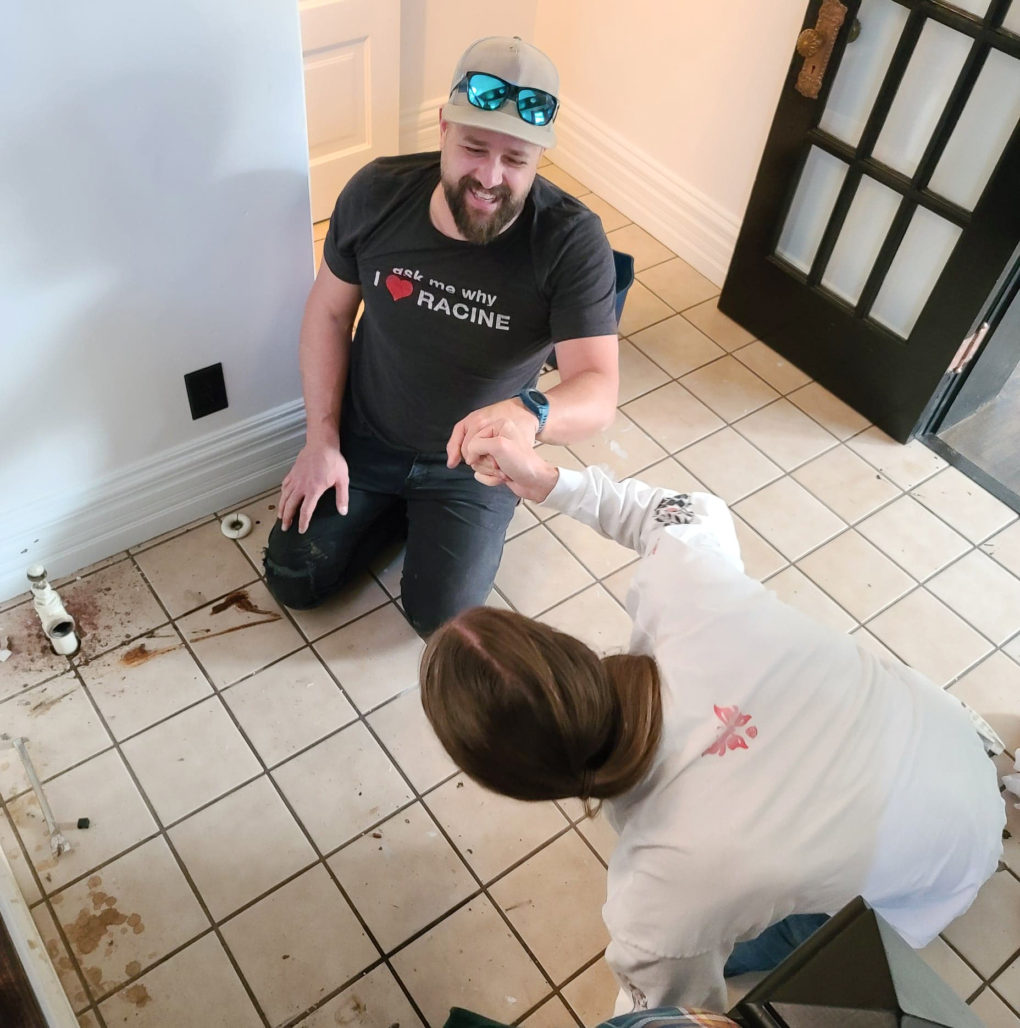
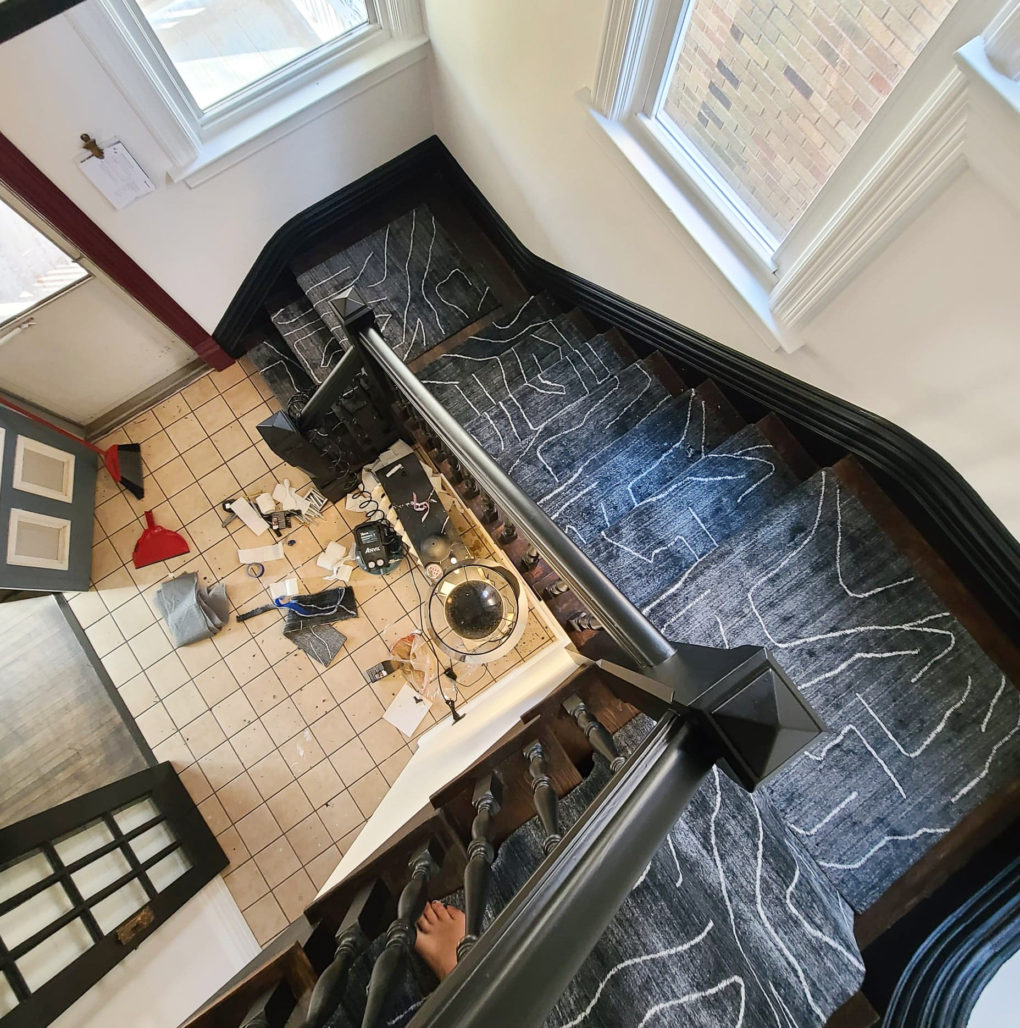
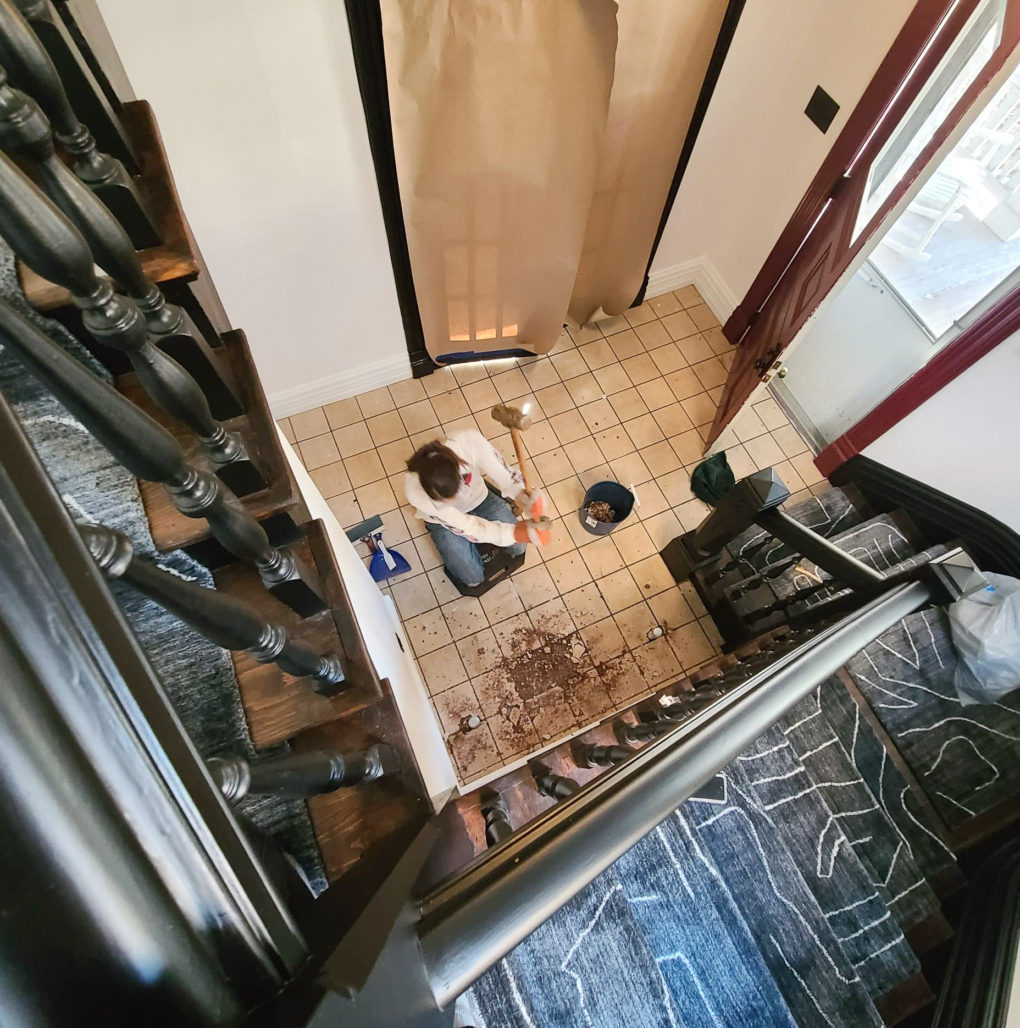
I wanted no part of demo. I masked passages off as best I could, closed every door and Nick busted it all up in a few hours while I scrolled IG on my phone on the back porch with ear plugs in.
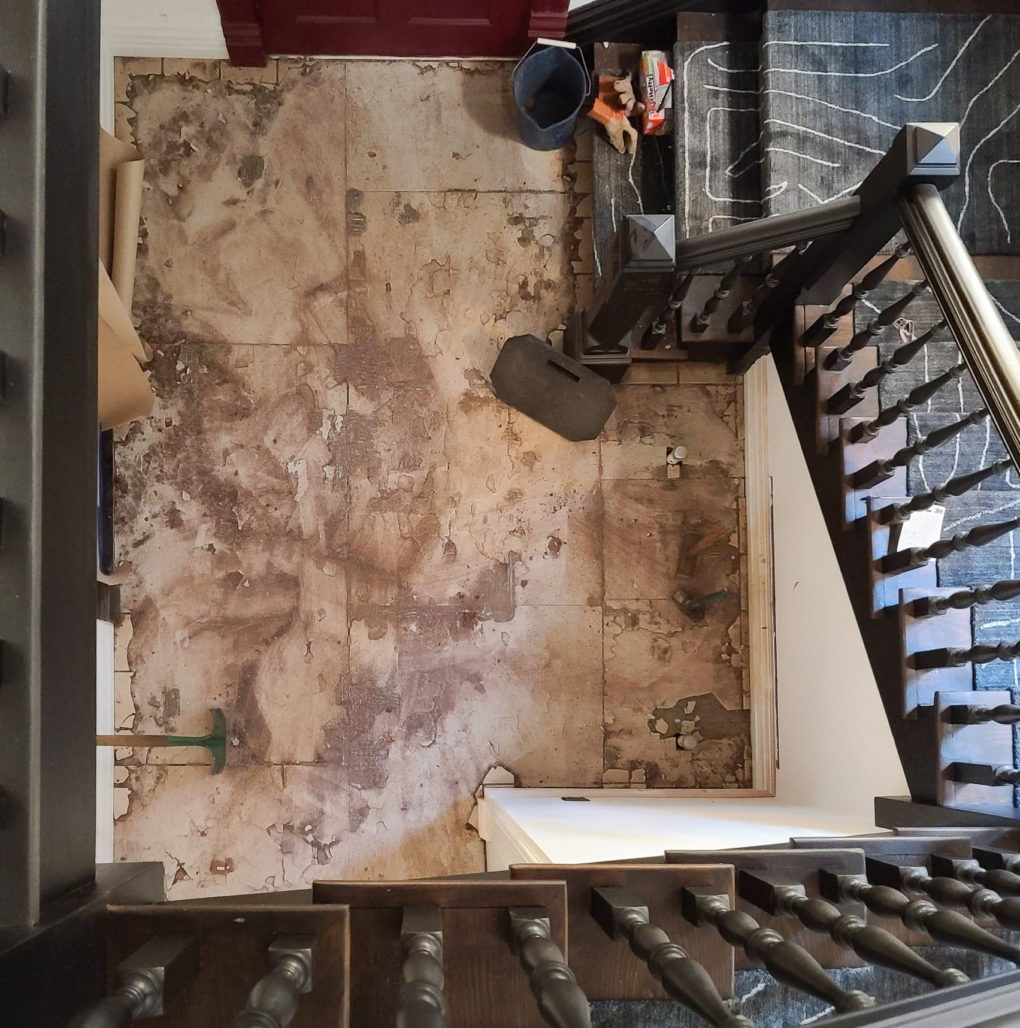
My friend Kelsey helped me rip up the brittle cementboard hiding underneath and pound down the staples used to secure it, to get as smooth a subfloor as possible. We started out pulling them up but apparently last time they tiled, some jive turkey had gone about three times too hard with the staple gun. So we quickly made the best decision for our mental health and changed course.
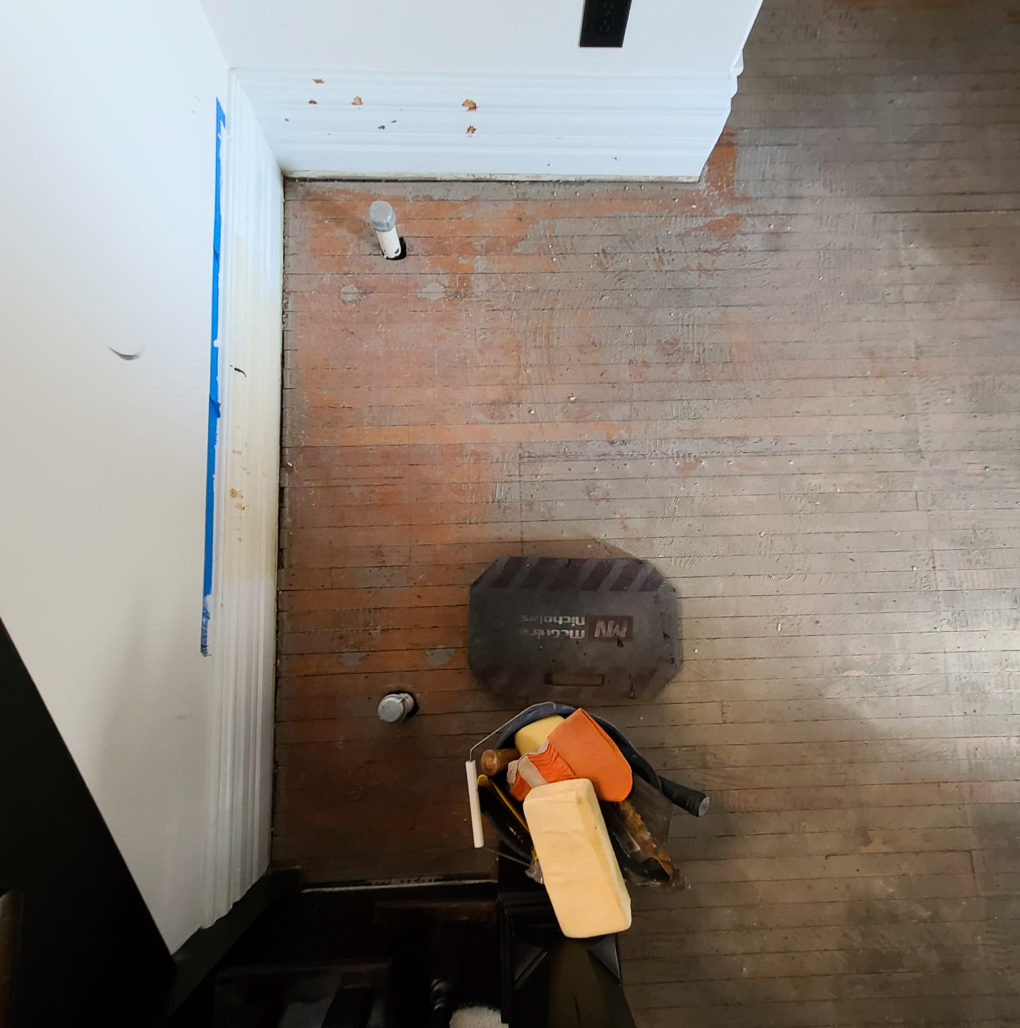
Here’s another opportunity for realness.
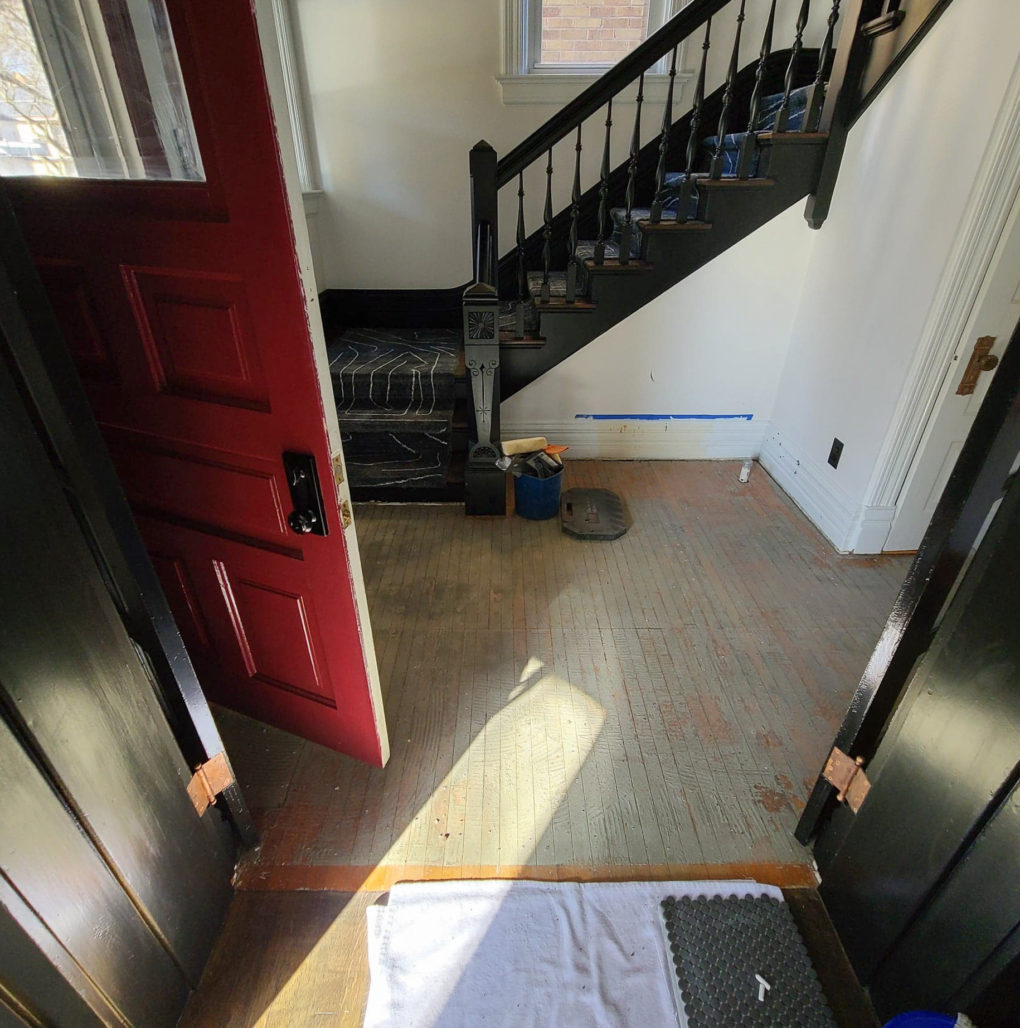
I almost shed big ol’ adult tears when I discovered that despite my best efforts, every surface and every item upstairs and downstairs was covered in dust. Because of the way the foyer is open to the upstairs and because there is a 1″ gap under all my doors due to flooring changes over 125 years, it was really hard to block everything off and that stuff just floated freely. I’m still not sure how it got to the kitchen at the back of the house. I contemplated arson. Then I pulled it together and called my mom, who is the best and always comes through when I’m under stress of my own making. She probably heard the felony in my voice. She spent the entire next afternoon deep-cleaning the house with me. Love-cleaning.
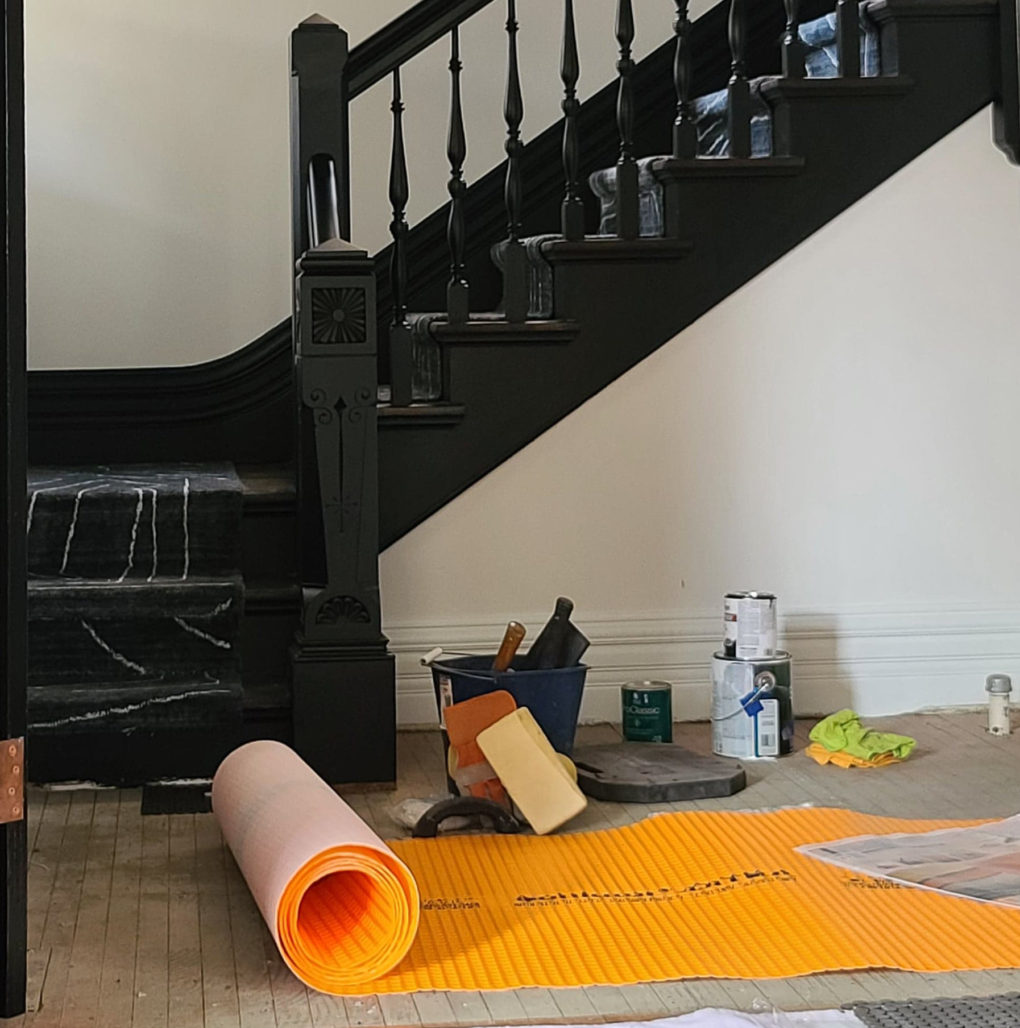
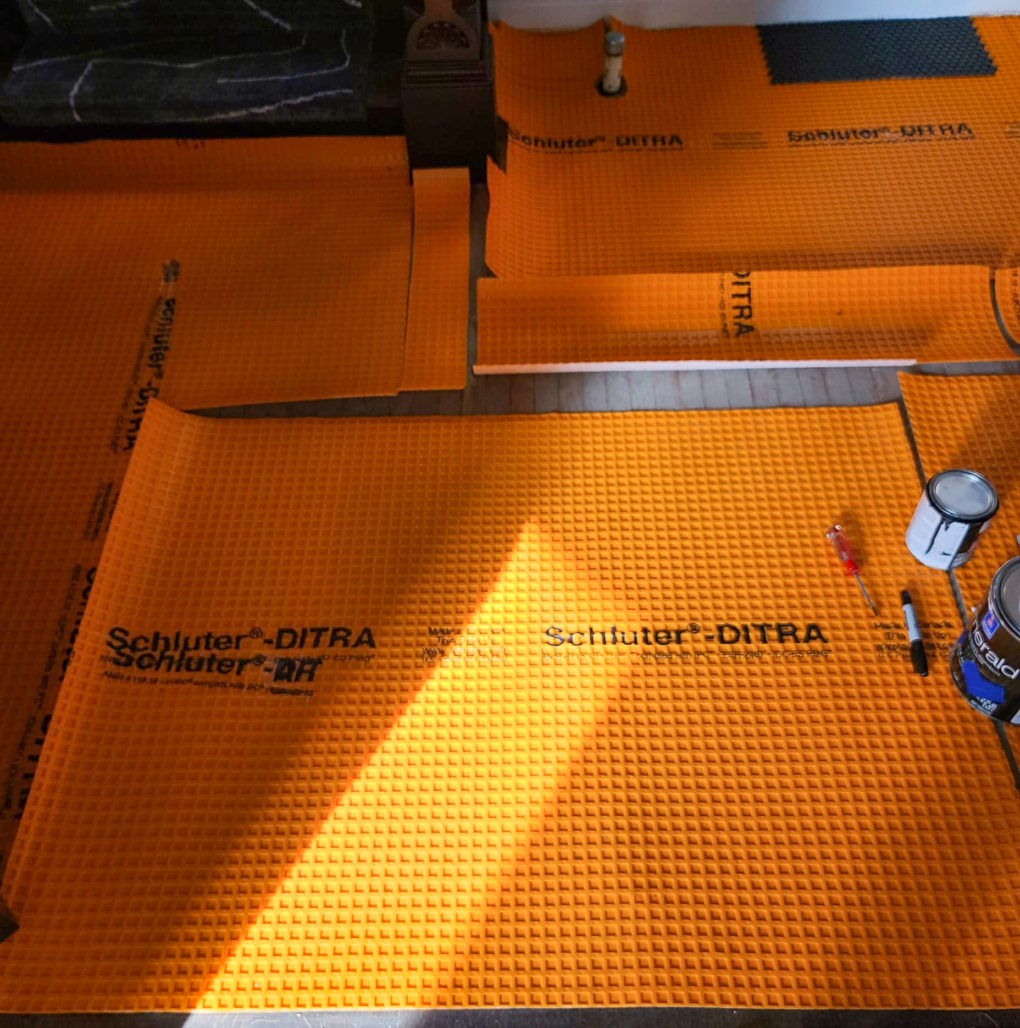
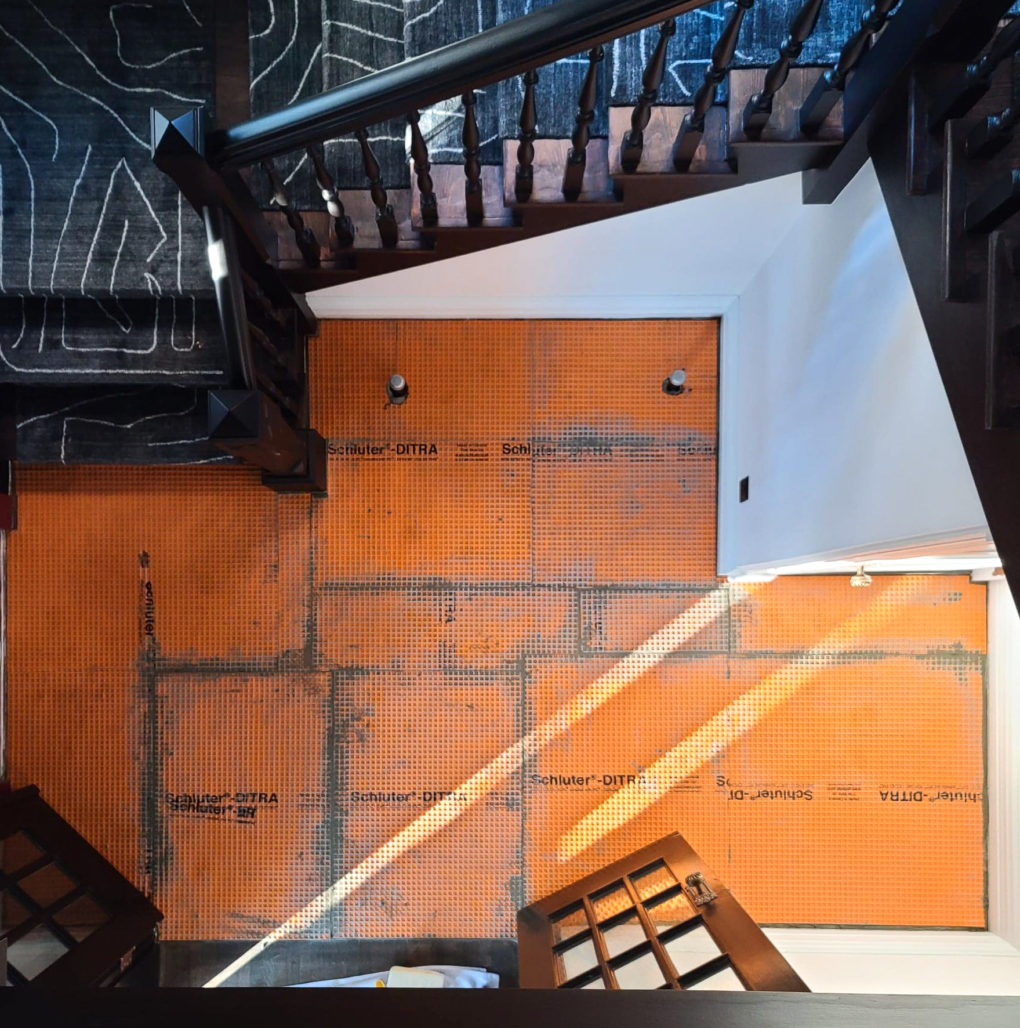
From there it was just a matter of late night Youtube tutorials and trips to Lowes. I used some thin-set to put down this uncoupling membrane. The basic premise is that it uncouples your tile from your subfloor (in my case old hardwood) so that as the wood naturally expands and contracts with temperature and moisture changes, it doesn’t try to take your tile with it. That’s how you get cracks and problems. It was easy to work with. You just cut it with scissors and lay it down with thin-set, making sure to saturate the felt backing. After it sets you just tile right on top of it.
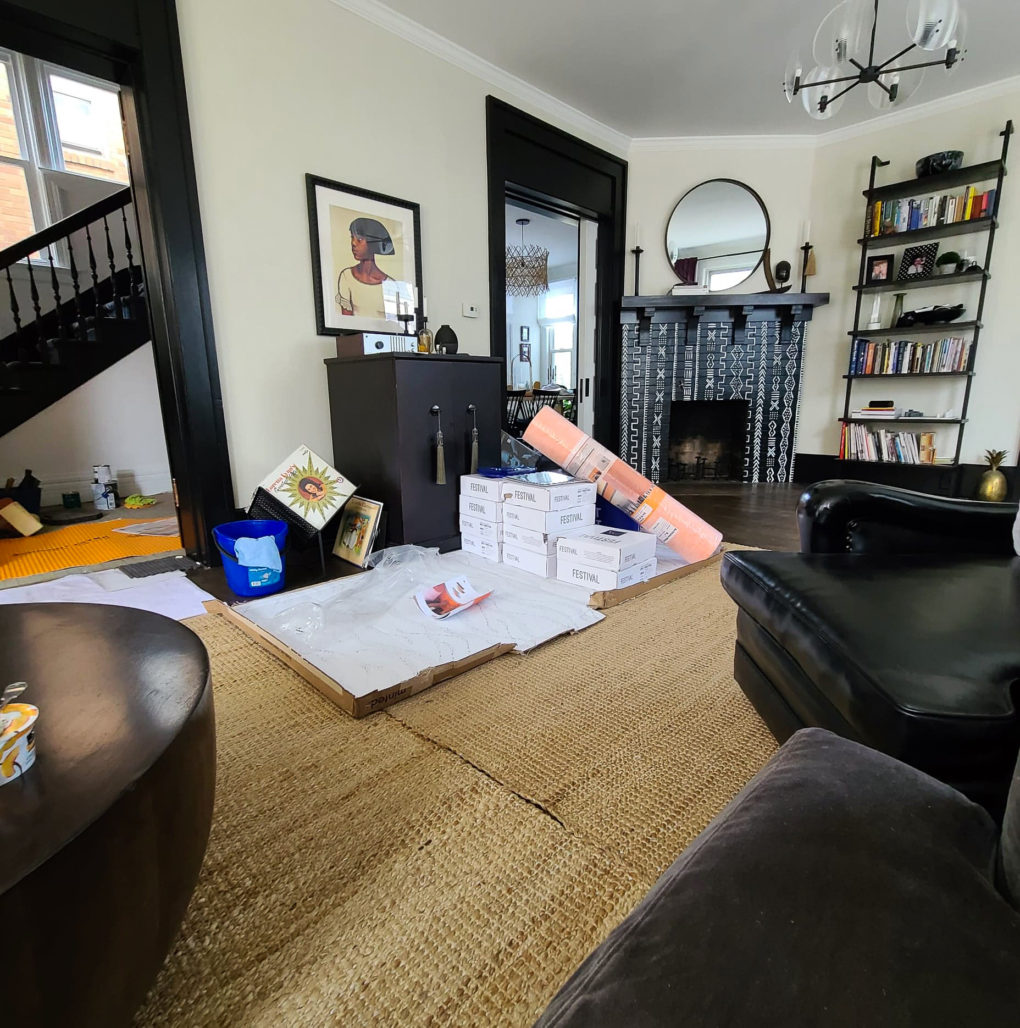
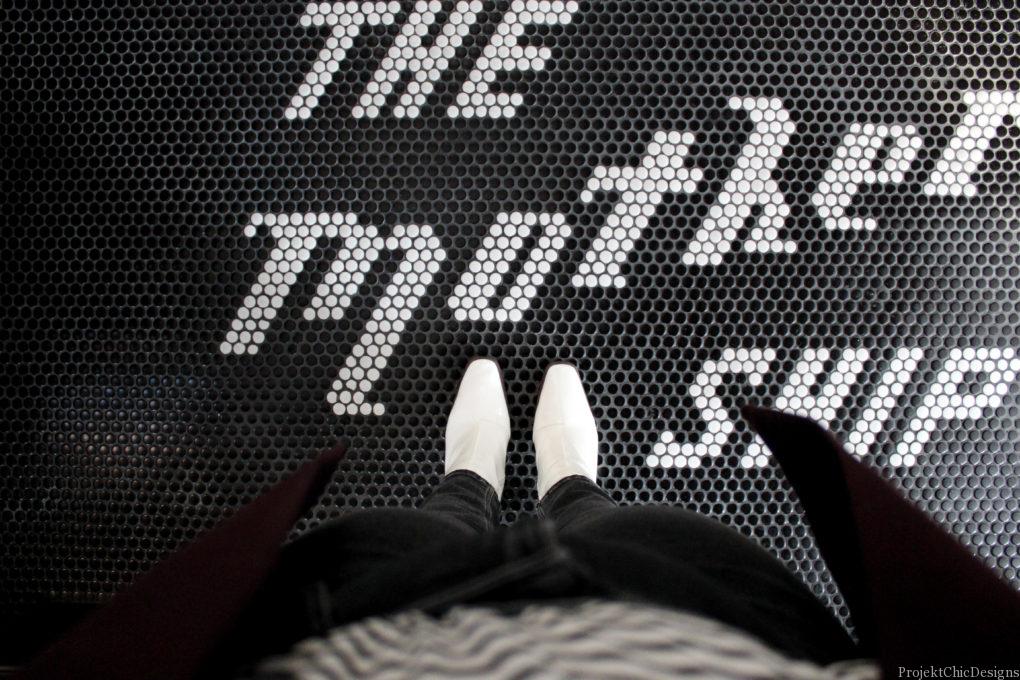
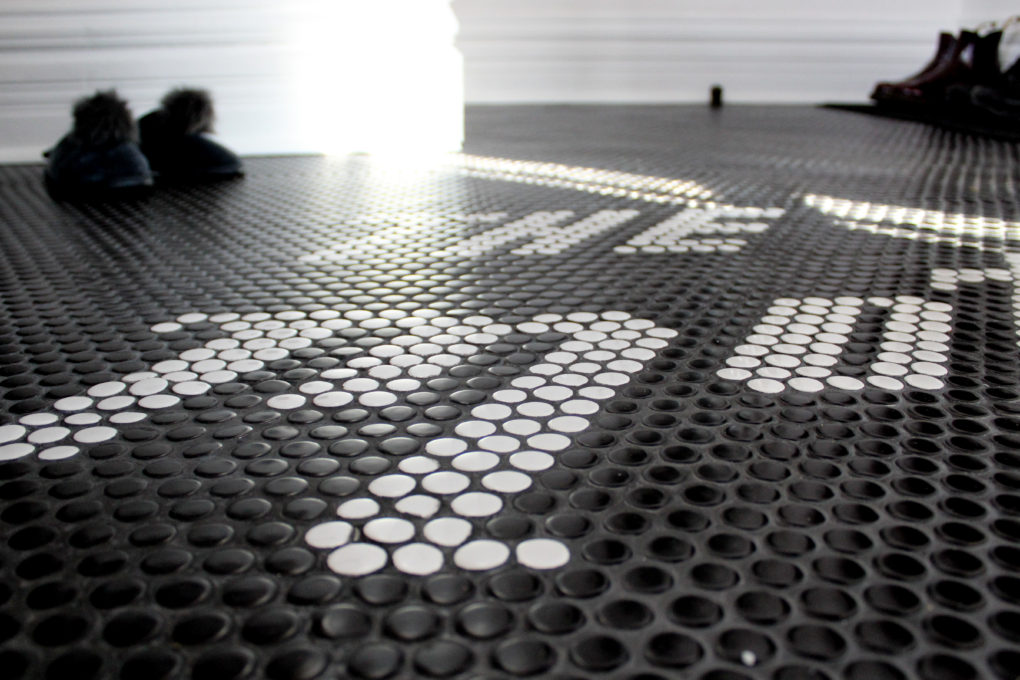
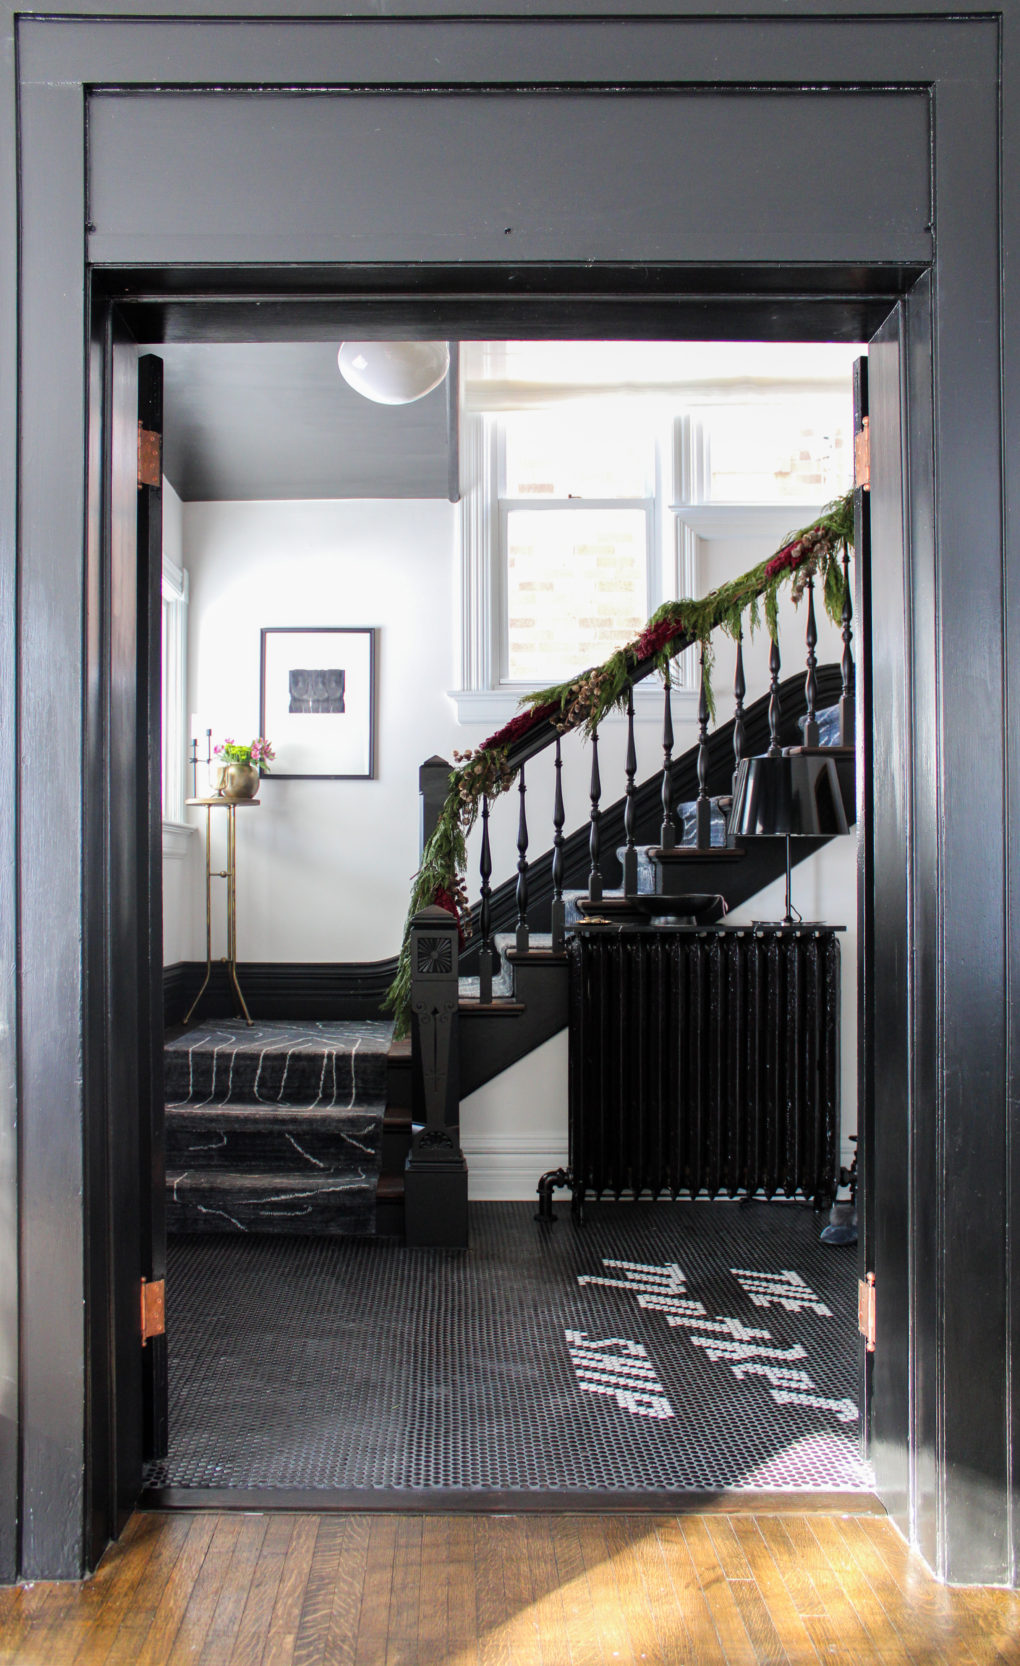
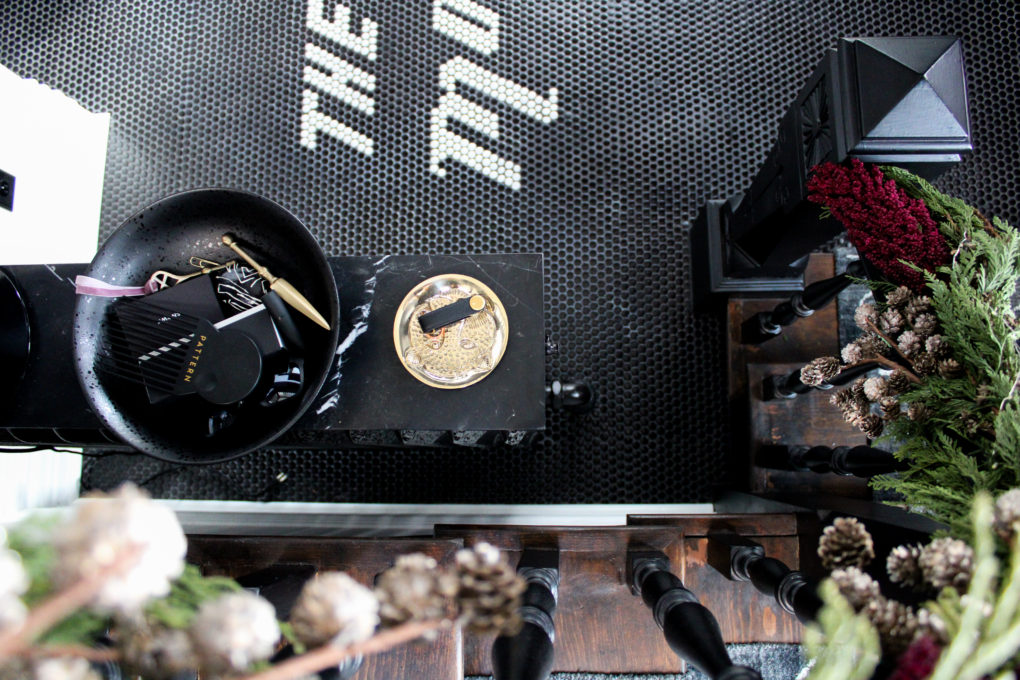
This is where things got really fun. I called my friend Kim for help. Just kidding it was obviously Betsy again because among all her many talents she also does beautiful hand lettering and has a really good eye for fonts. I had laid out all of the black tiles the day before. We spent a whole evening drinking wine and planning out the lettering for a very basic white-on-black mosaic. It might have been half an evening without the wine. We simply popped a bunch of white tiles off their mesh backing and placed them over the black tiles to map our lettering on top.
I experimented with some bougie borders and designs but the results felt over-designed for the small footprint and also kind of like a bathroom.
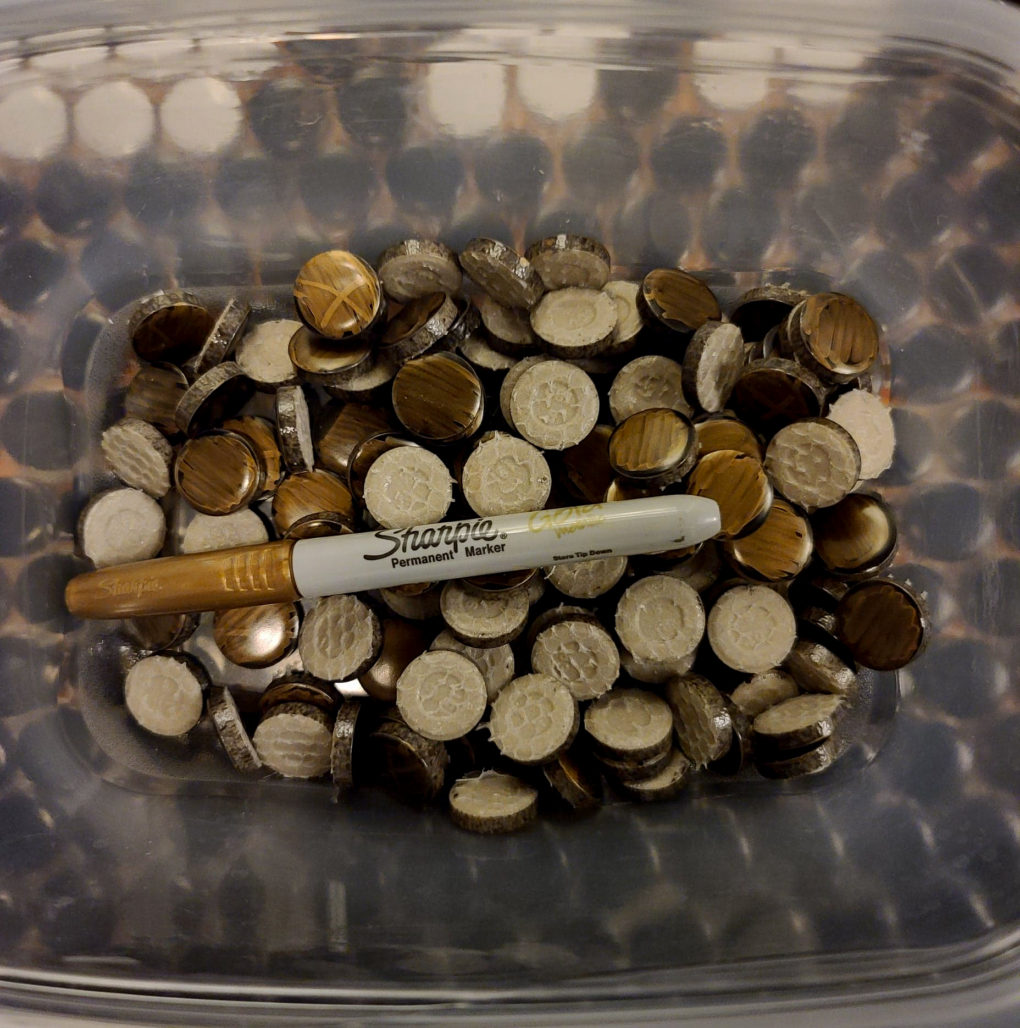
After some more tweaks the next day, I was satisfied with our layout so I carefully removed each white tile one at a time and marked each black one underneath with a gold sharpie. When I was finished, I popped out the gold tiles and hot glued white ones into place on the mesh, alternating between popping and gluing so I didn’t get confused.
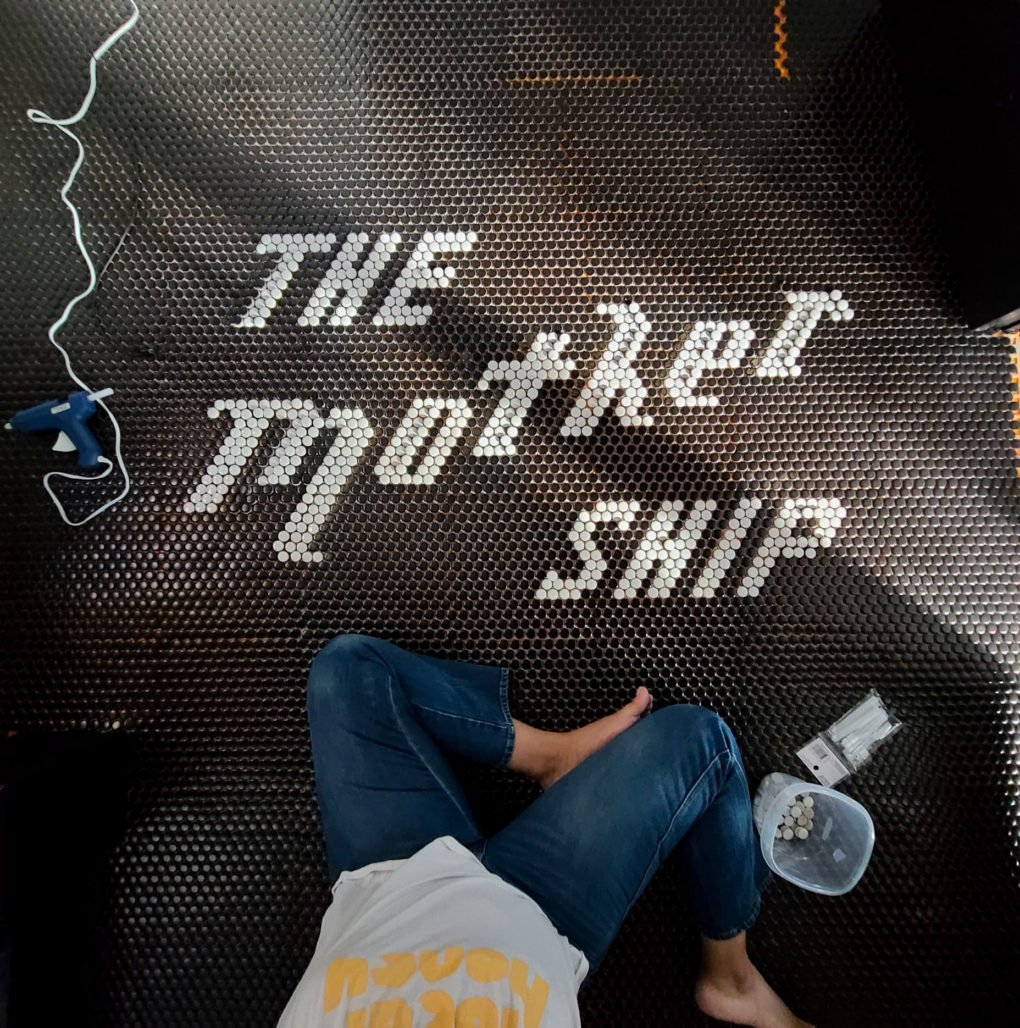
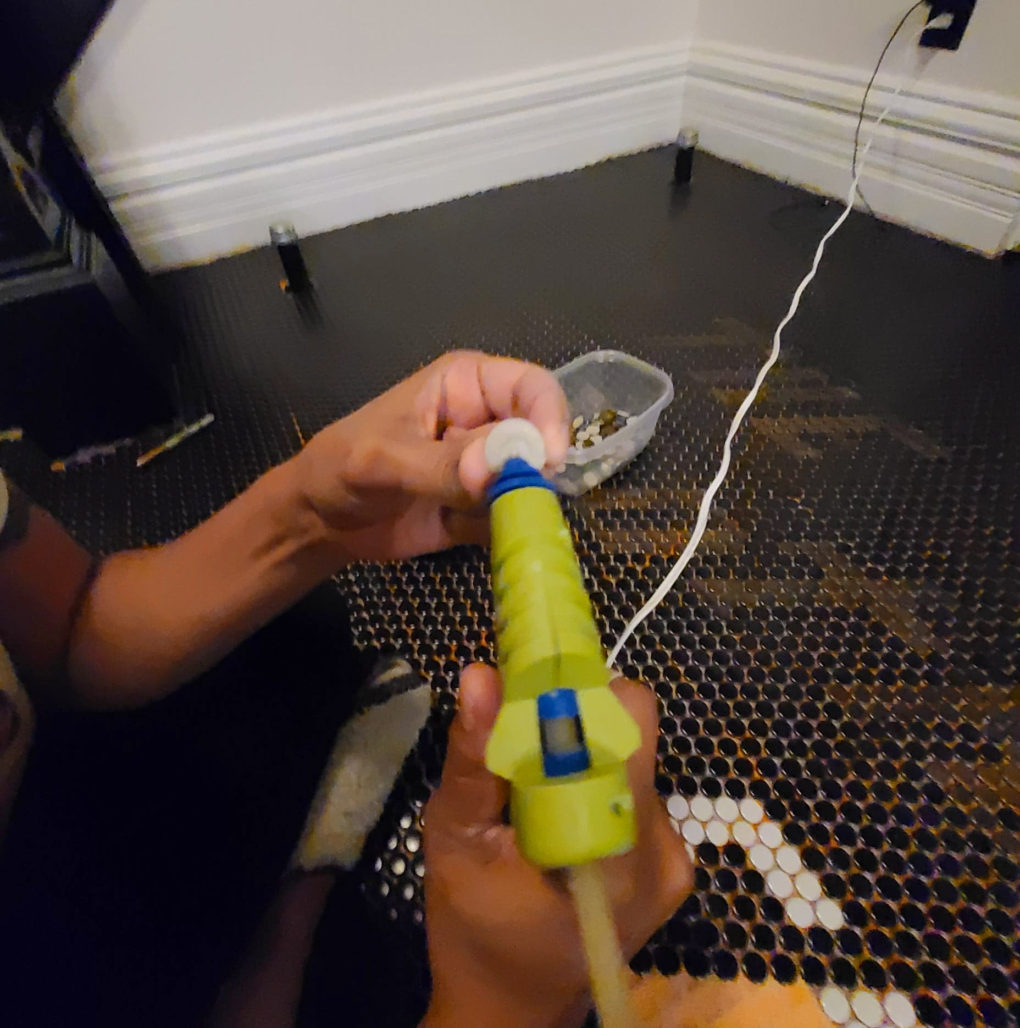
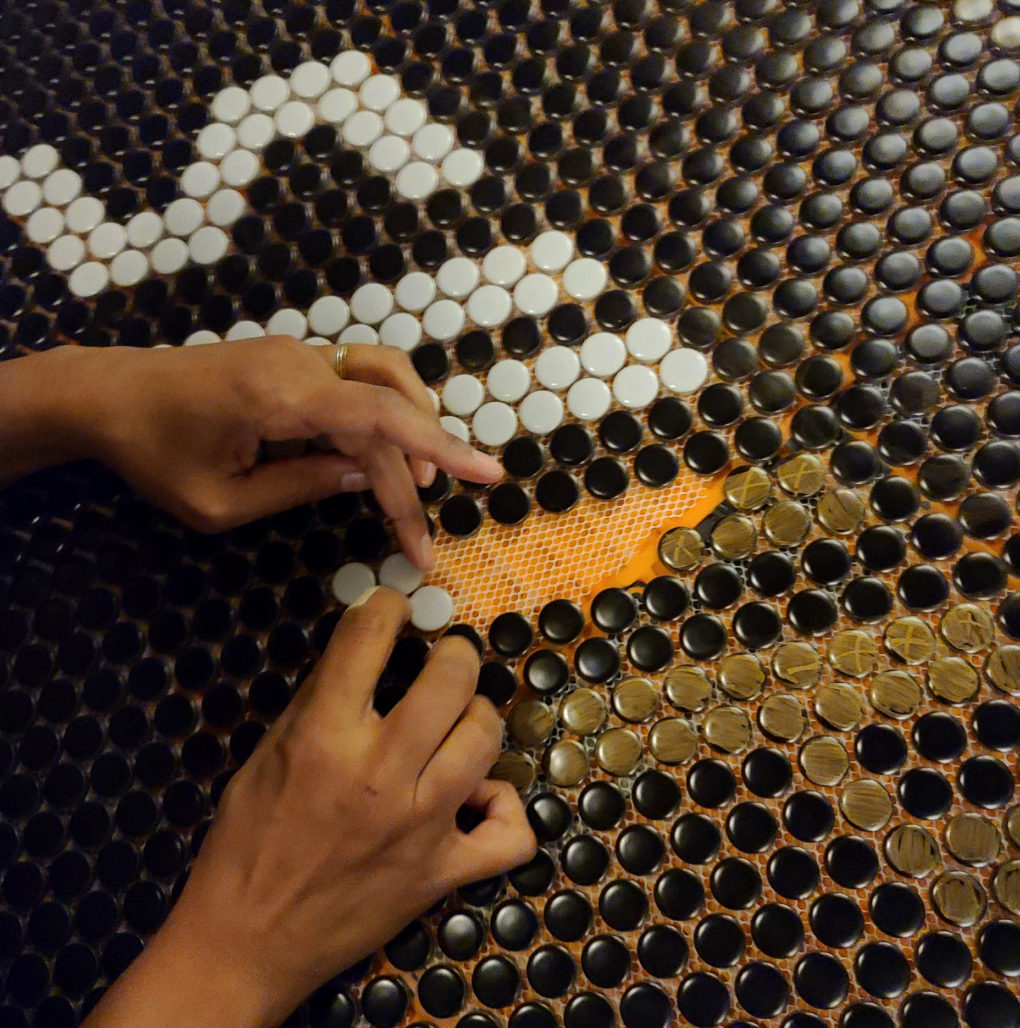
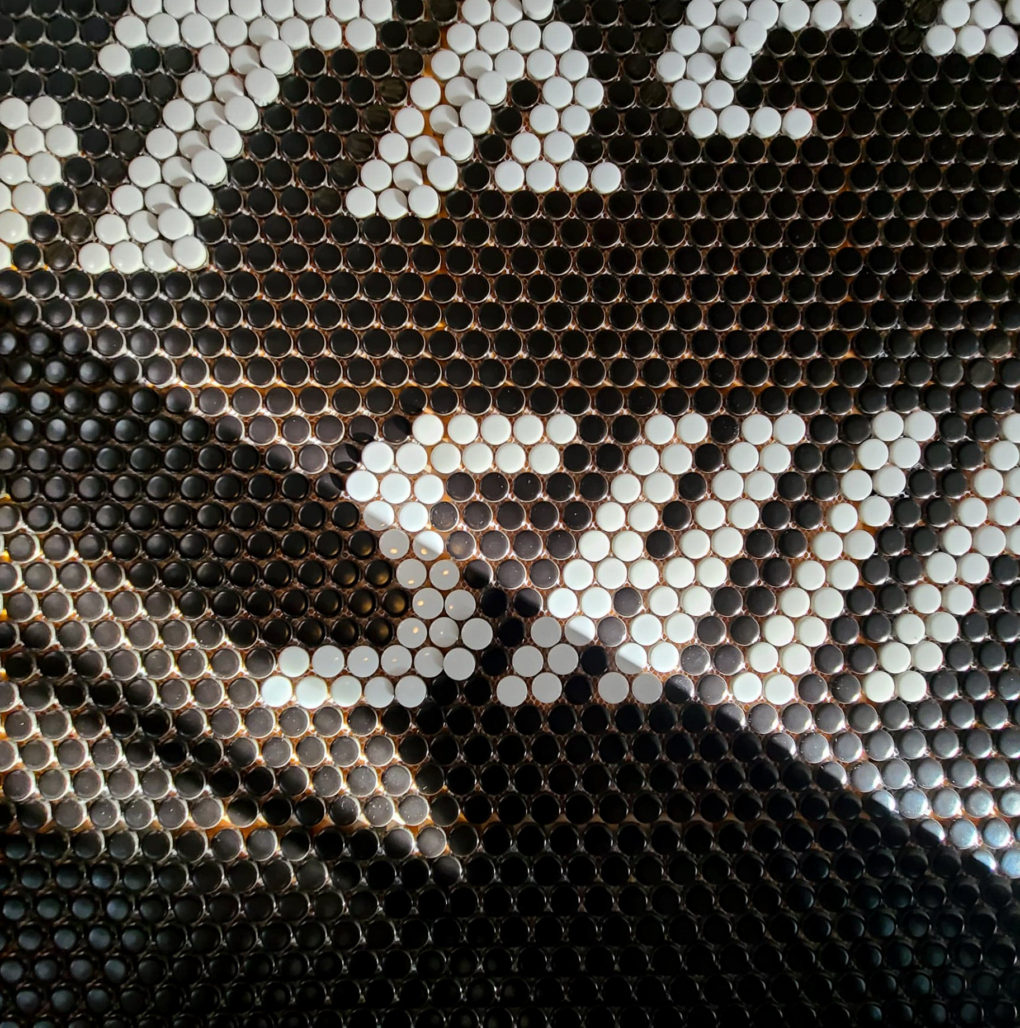
Finally, I was able to finish the tiling process. I laid more thin-set and my tile, waited a few days, grouted in black, wiped and wiped and wiped some more, waited a few more days, sealed everything and then picked apart my own work as if I had hired a 3rd generation Italian mosaic master at great personal cost. I’m a terrible client.
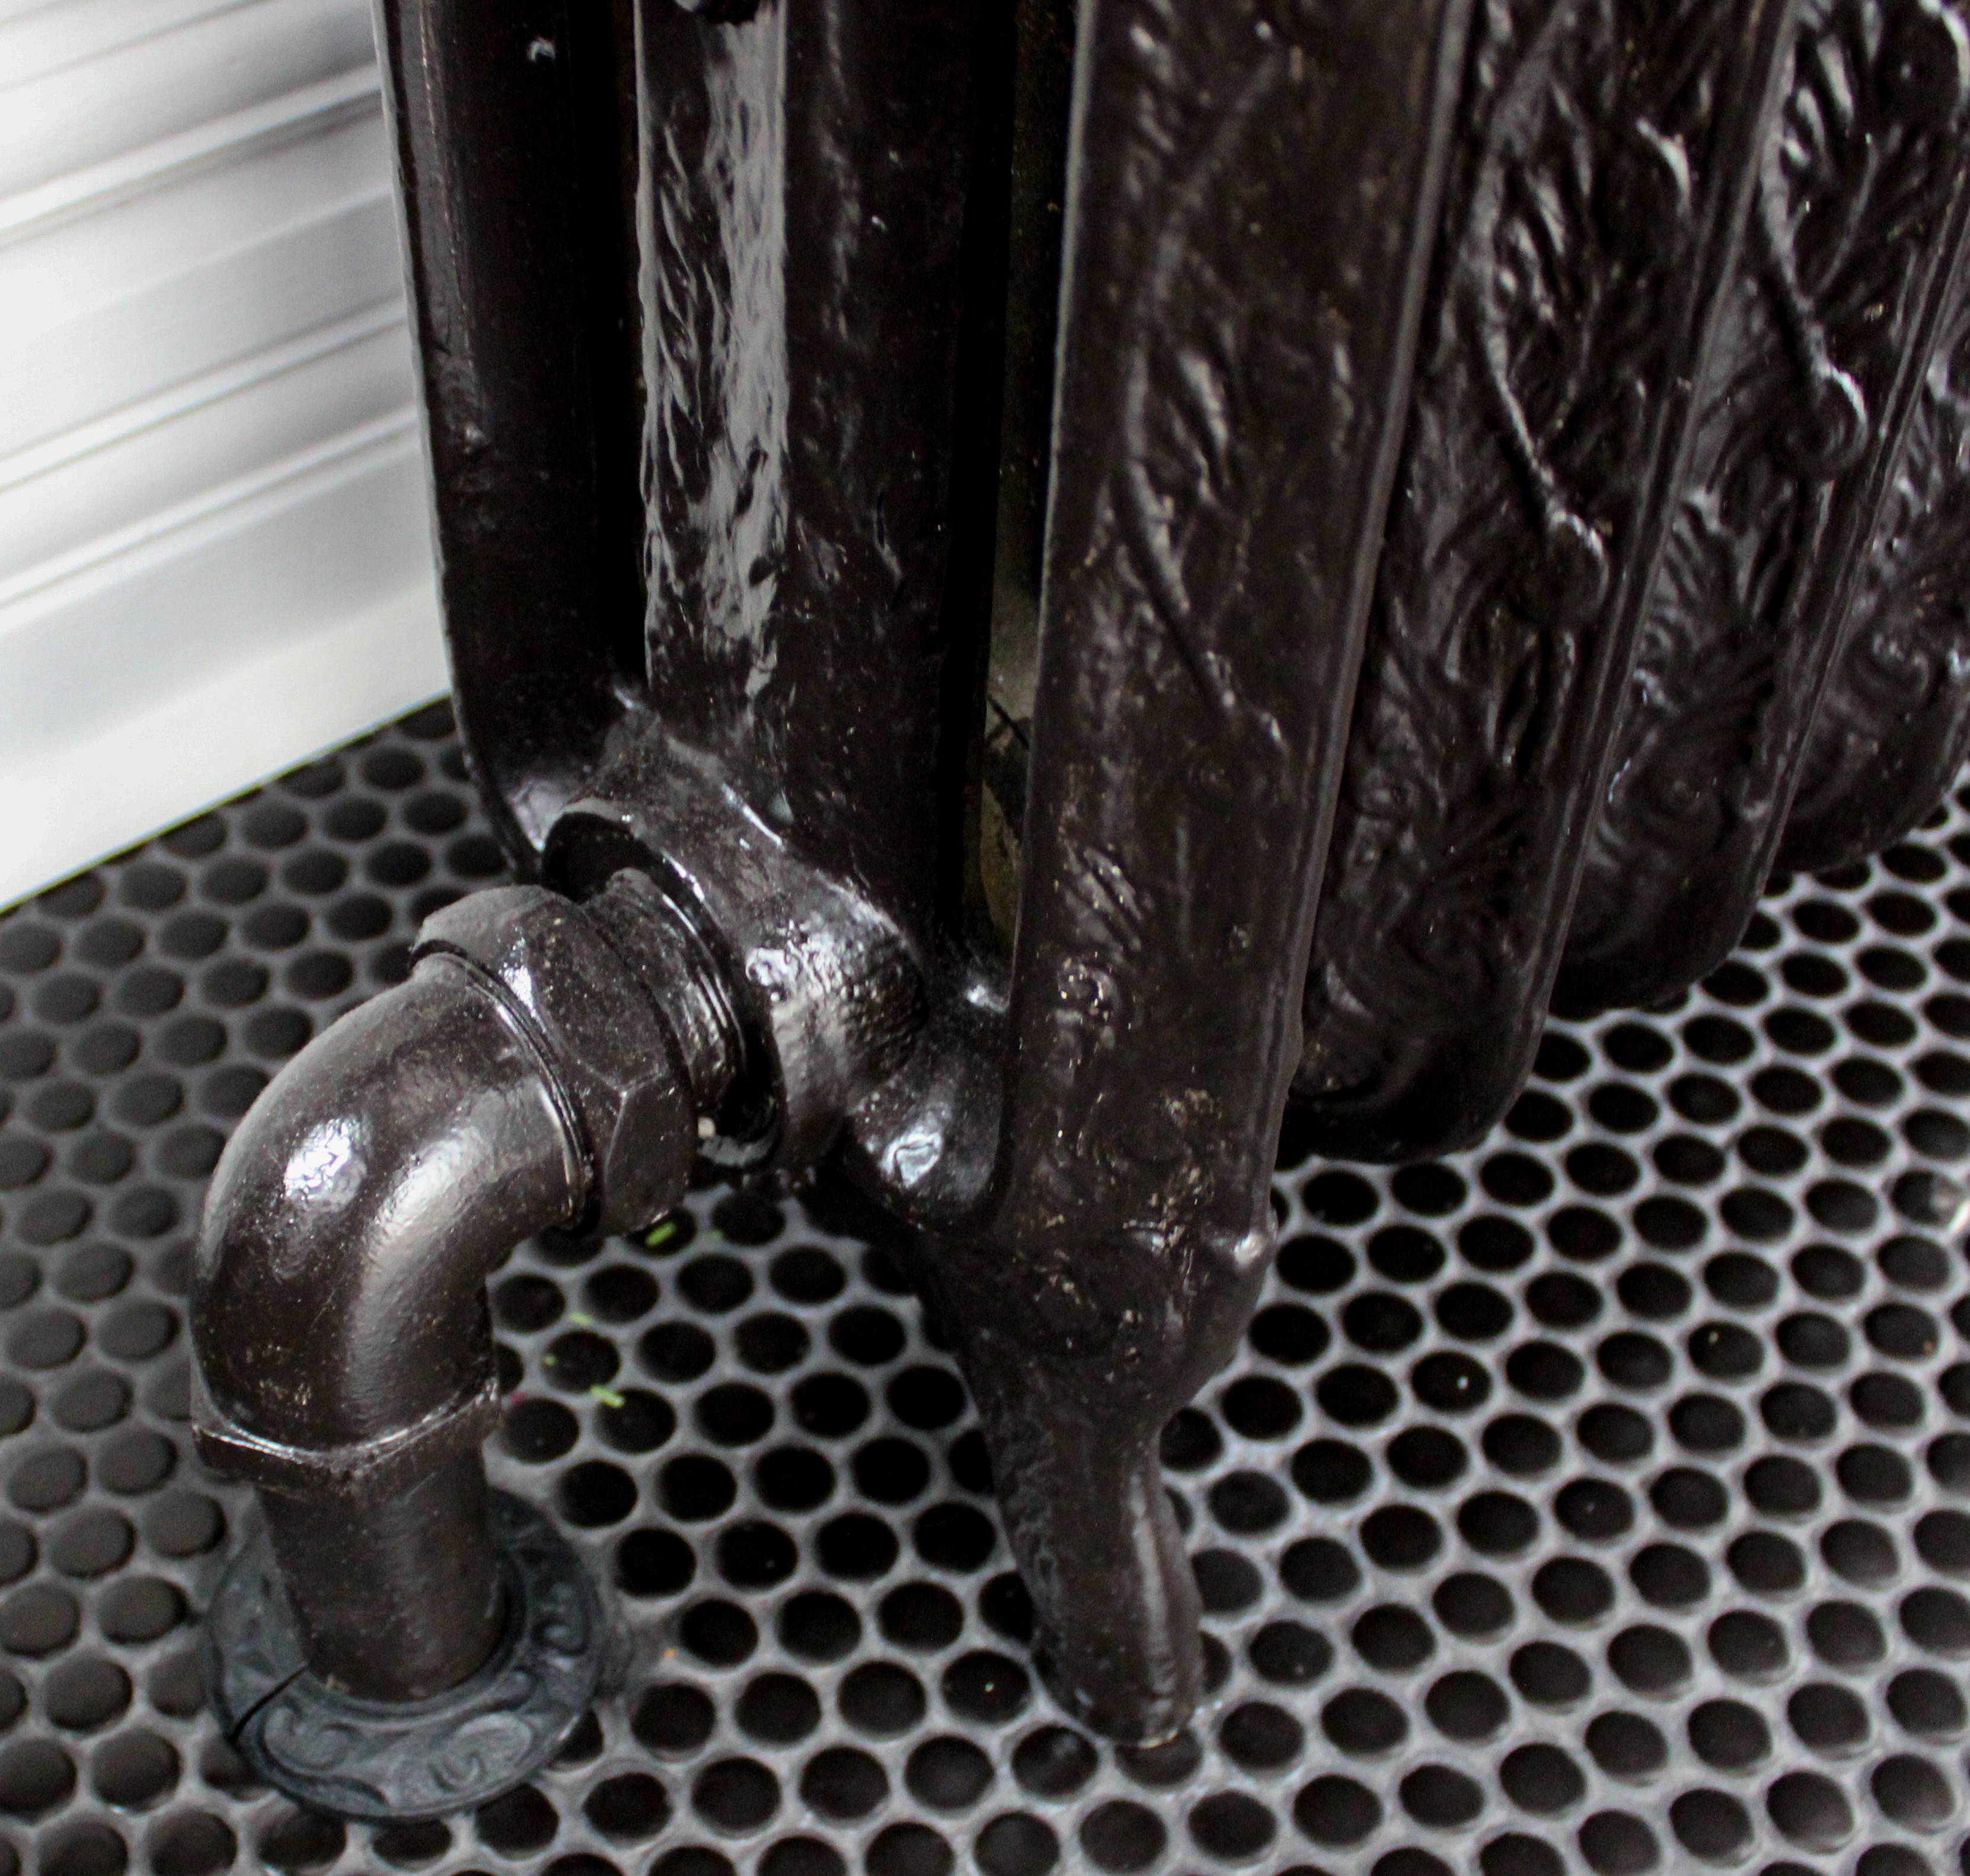
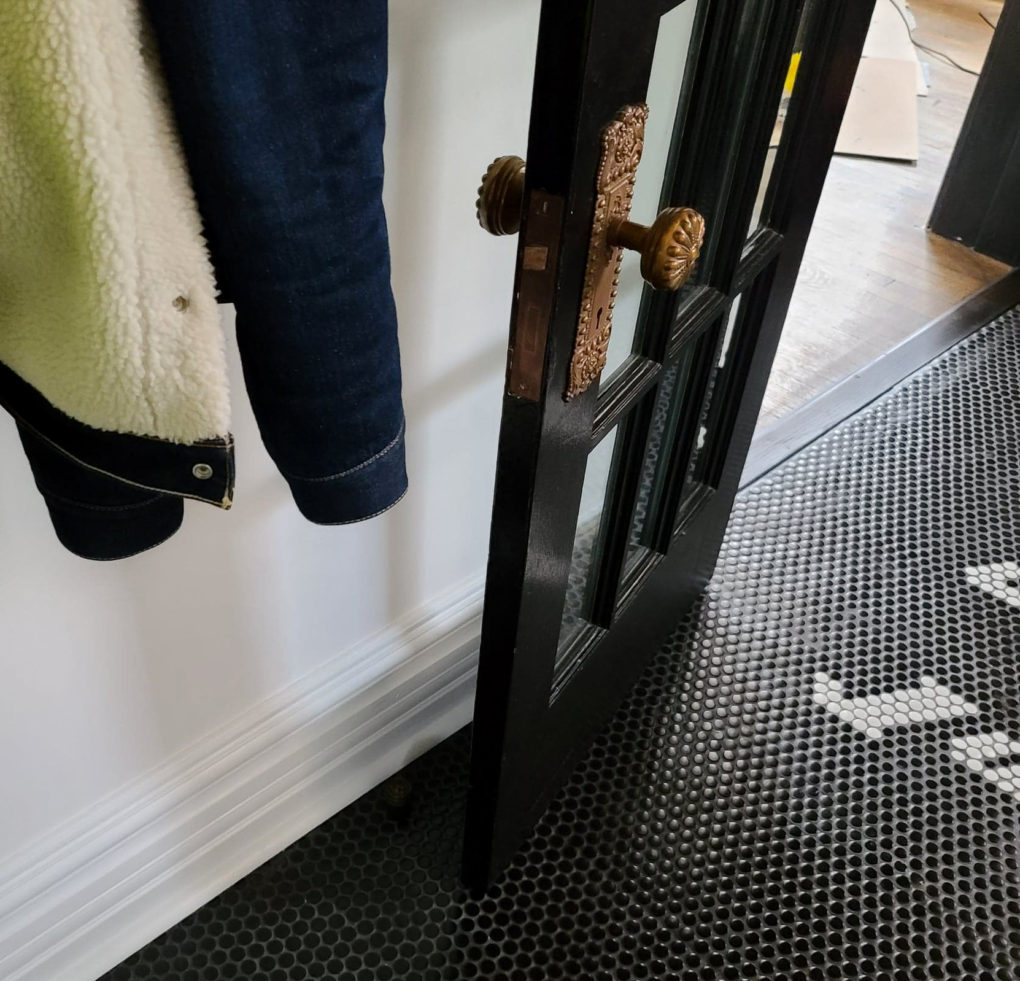
I got to use the miter saw I received for Christmas to cut some shoe molding to finish it off and Dustan came back and reinstalled the newly painted radiator, which got some sexy new flanges (no kink-shaming) to cover the rough tile edges around the holes.
And I was done!
At last, I sat on that floor staring at my pandemic foyer, defiant and victorious, ankle throbbing.
The Details
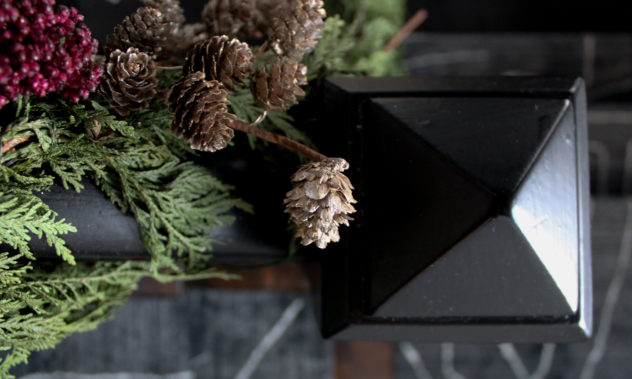
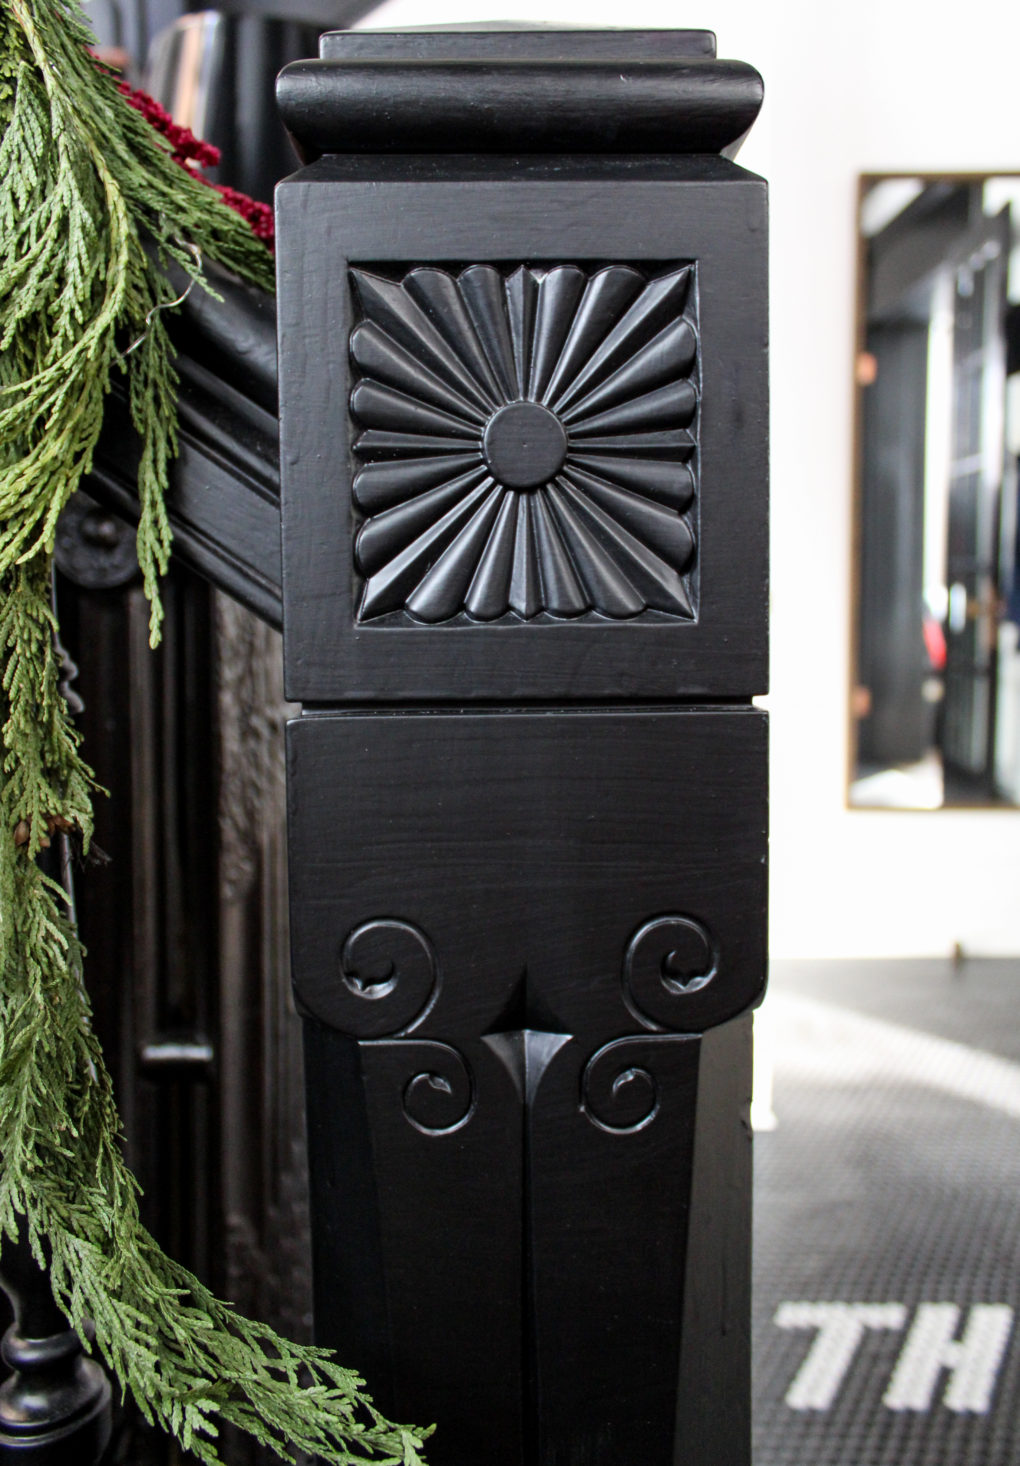
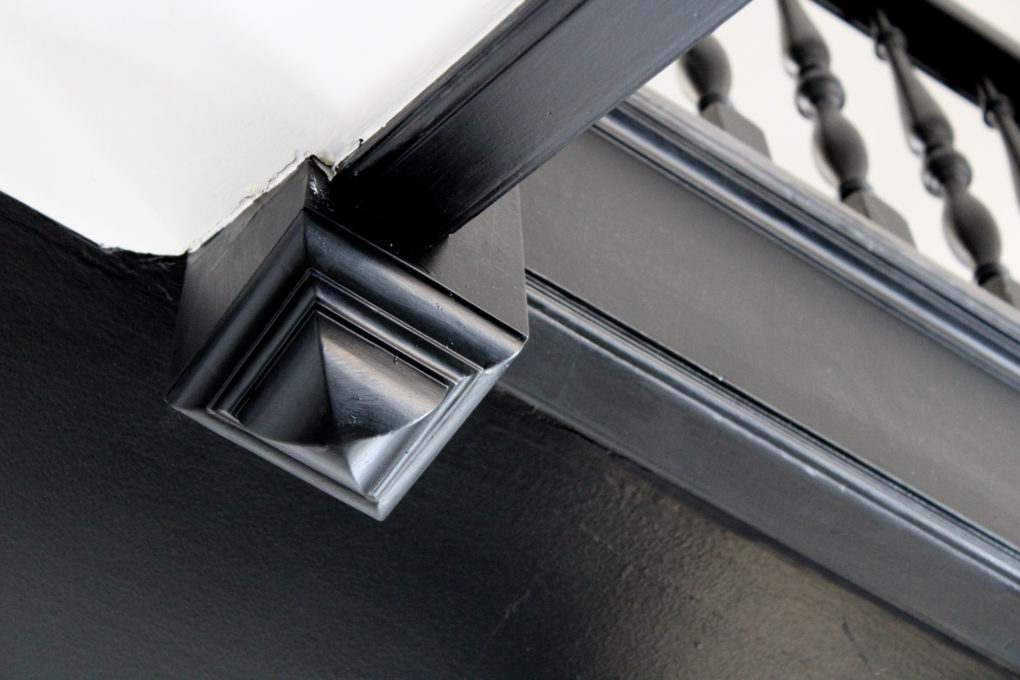
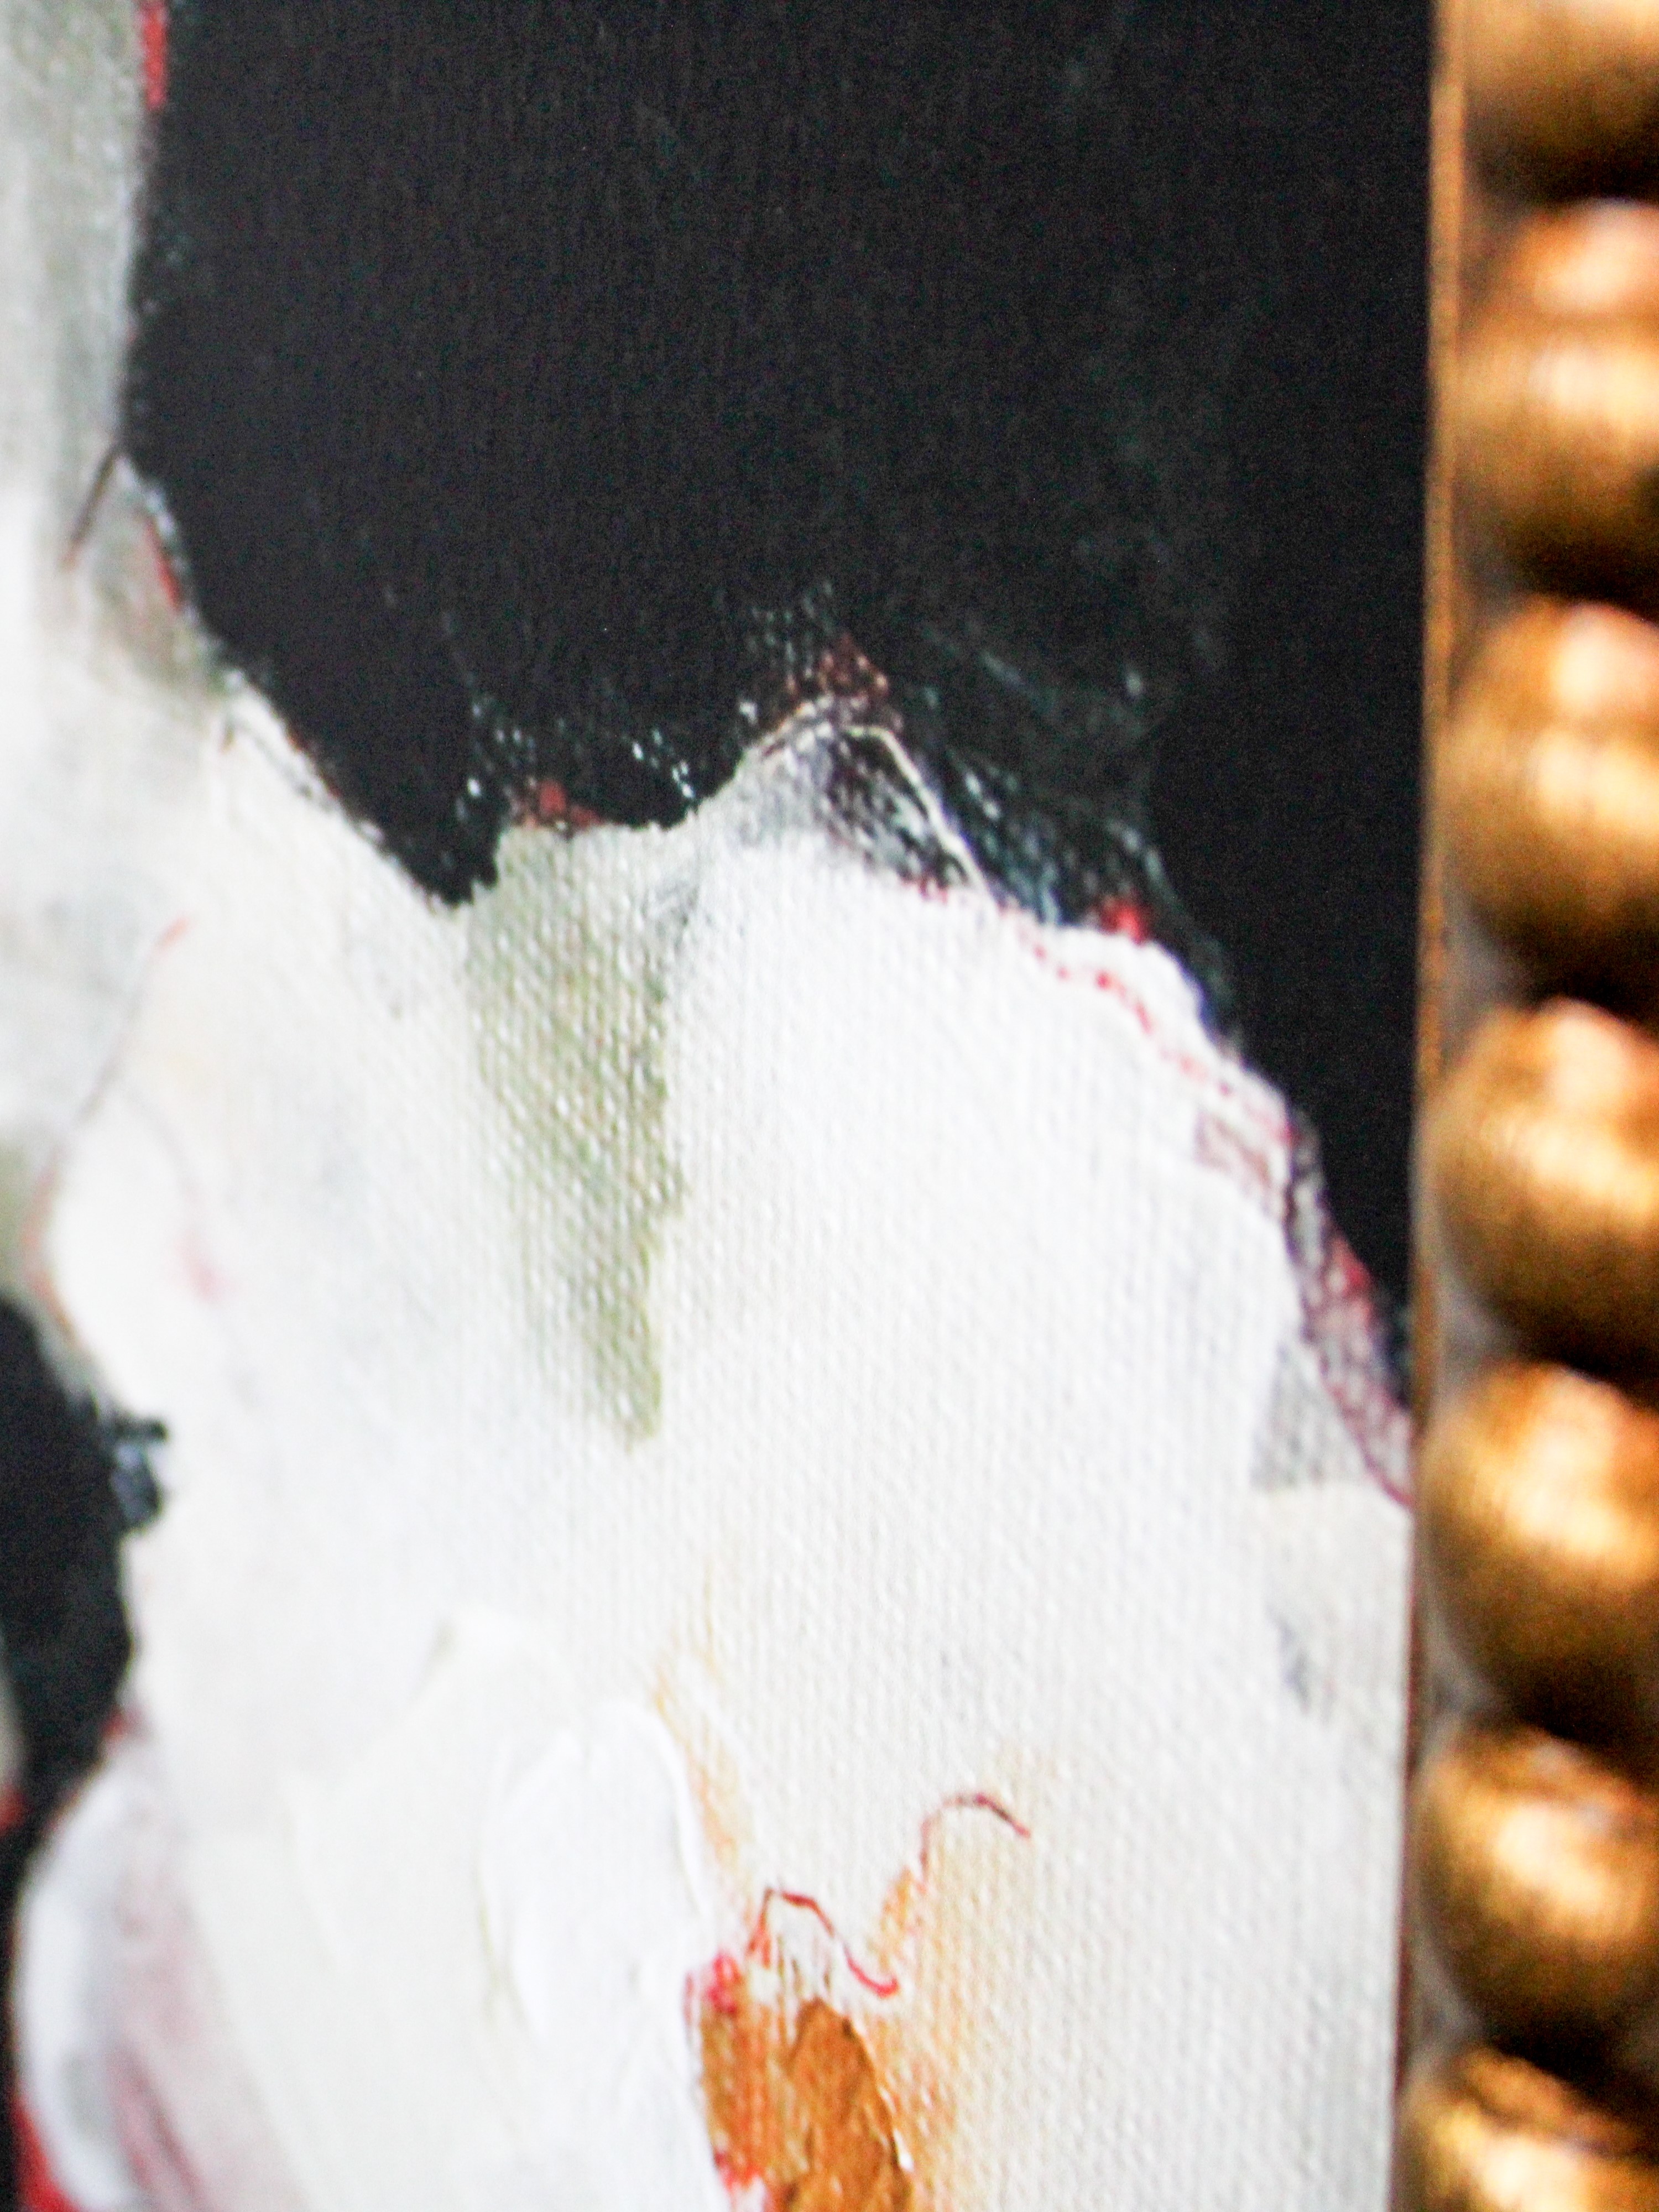
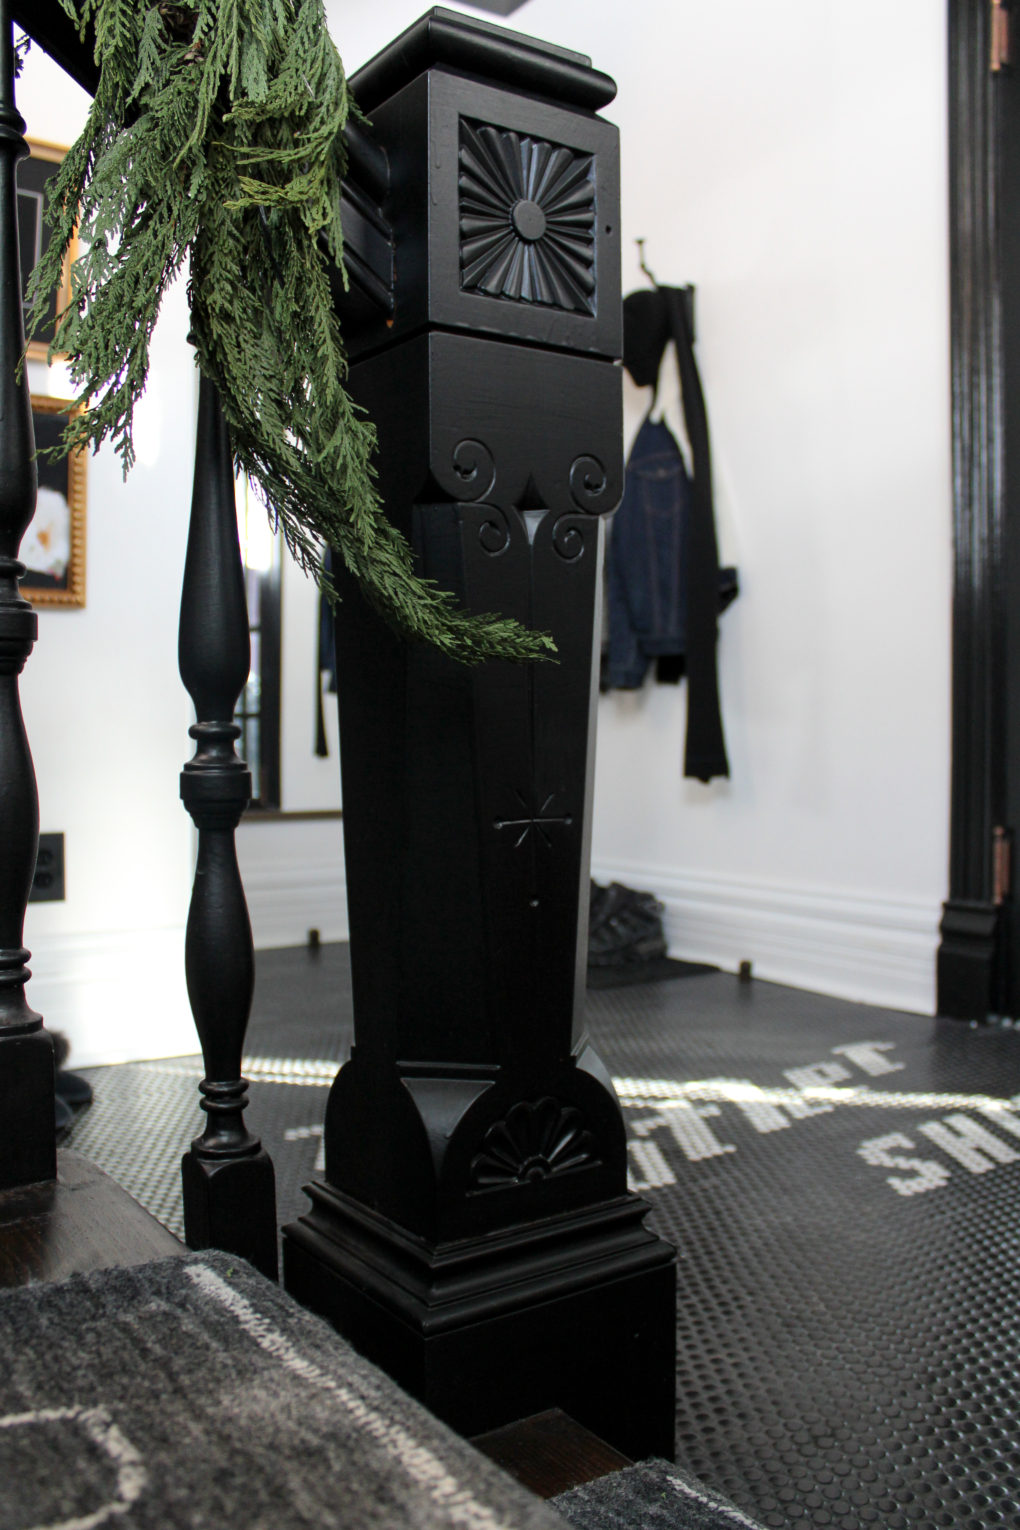
The design details on these newel posts actually bothered me when they were wood but really transformed from busy to interesting. And I kind of didn’t even notice how chic the caps on top were until they were painted.
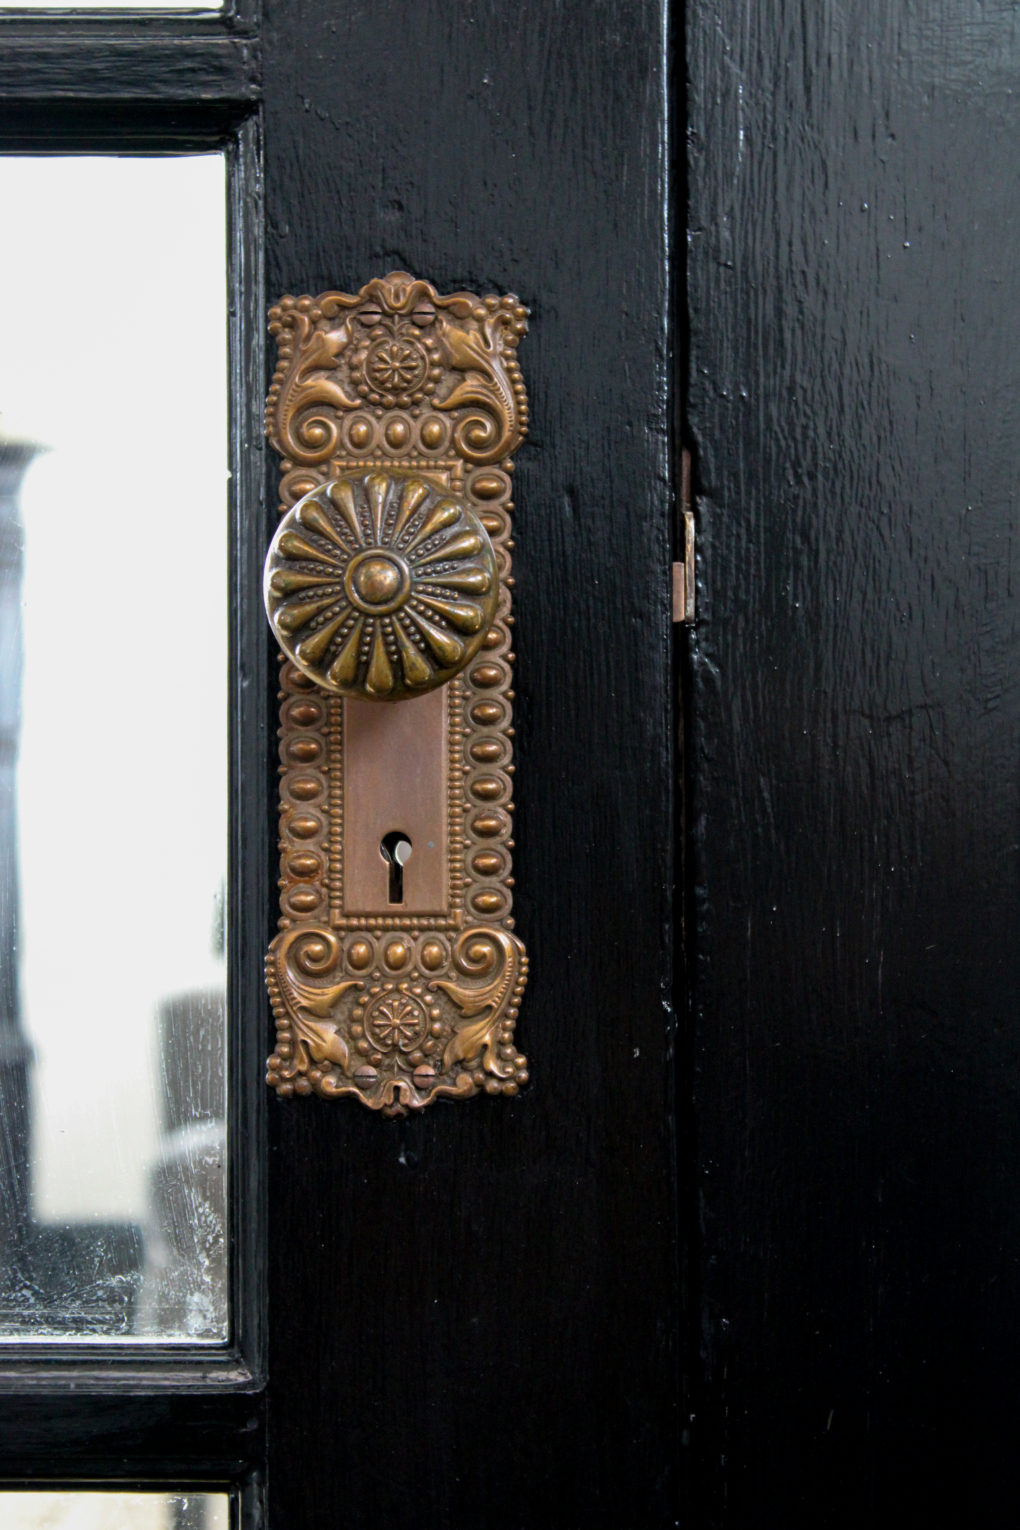
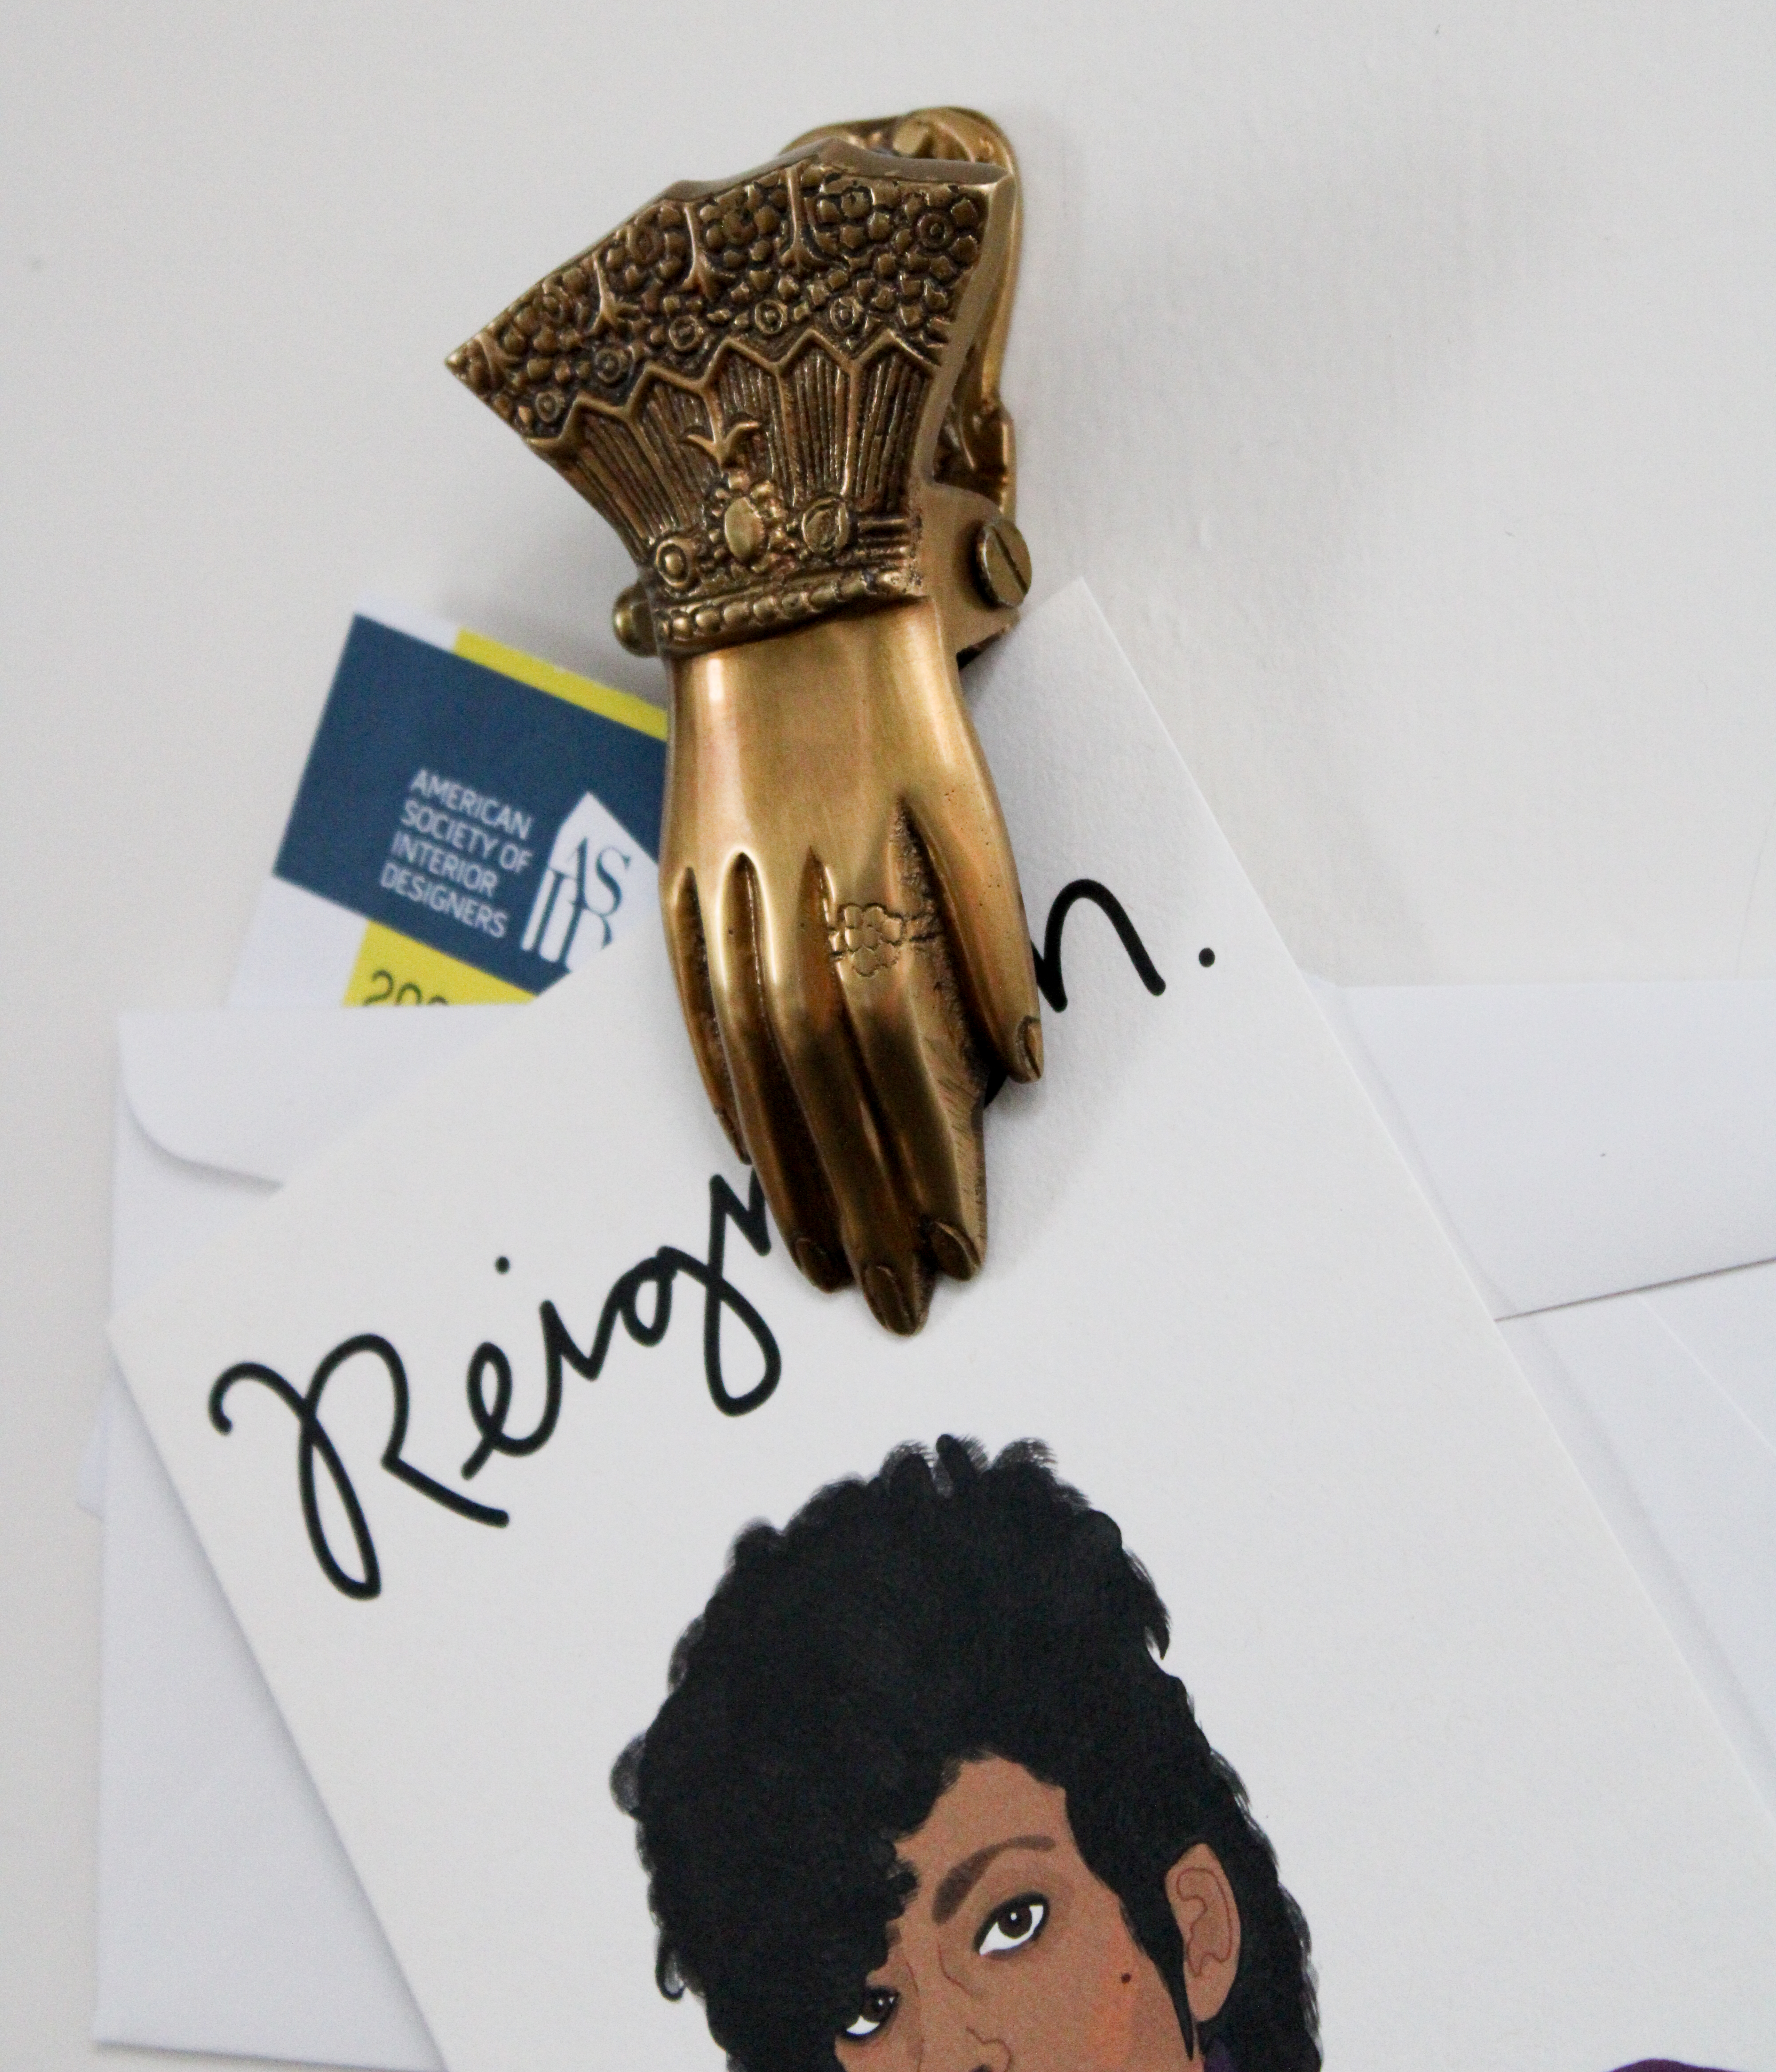
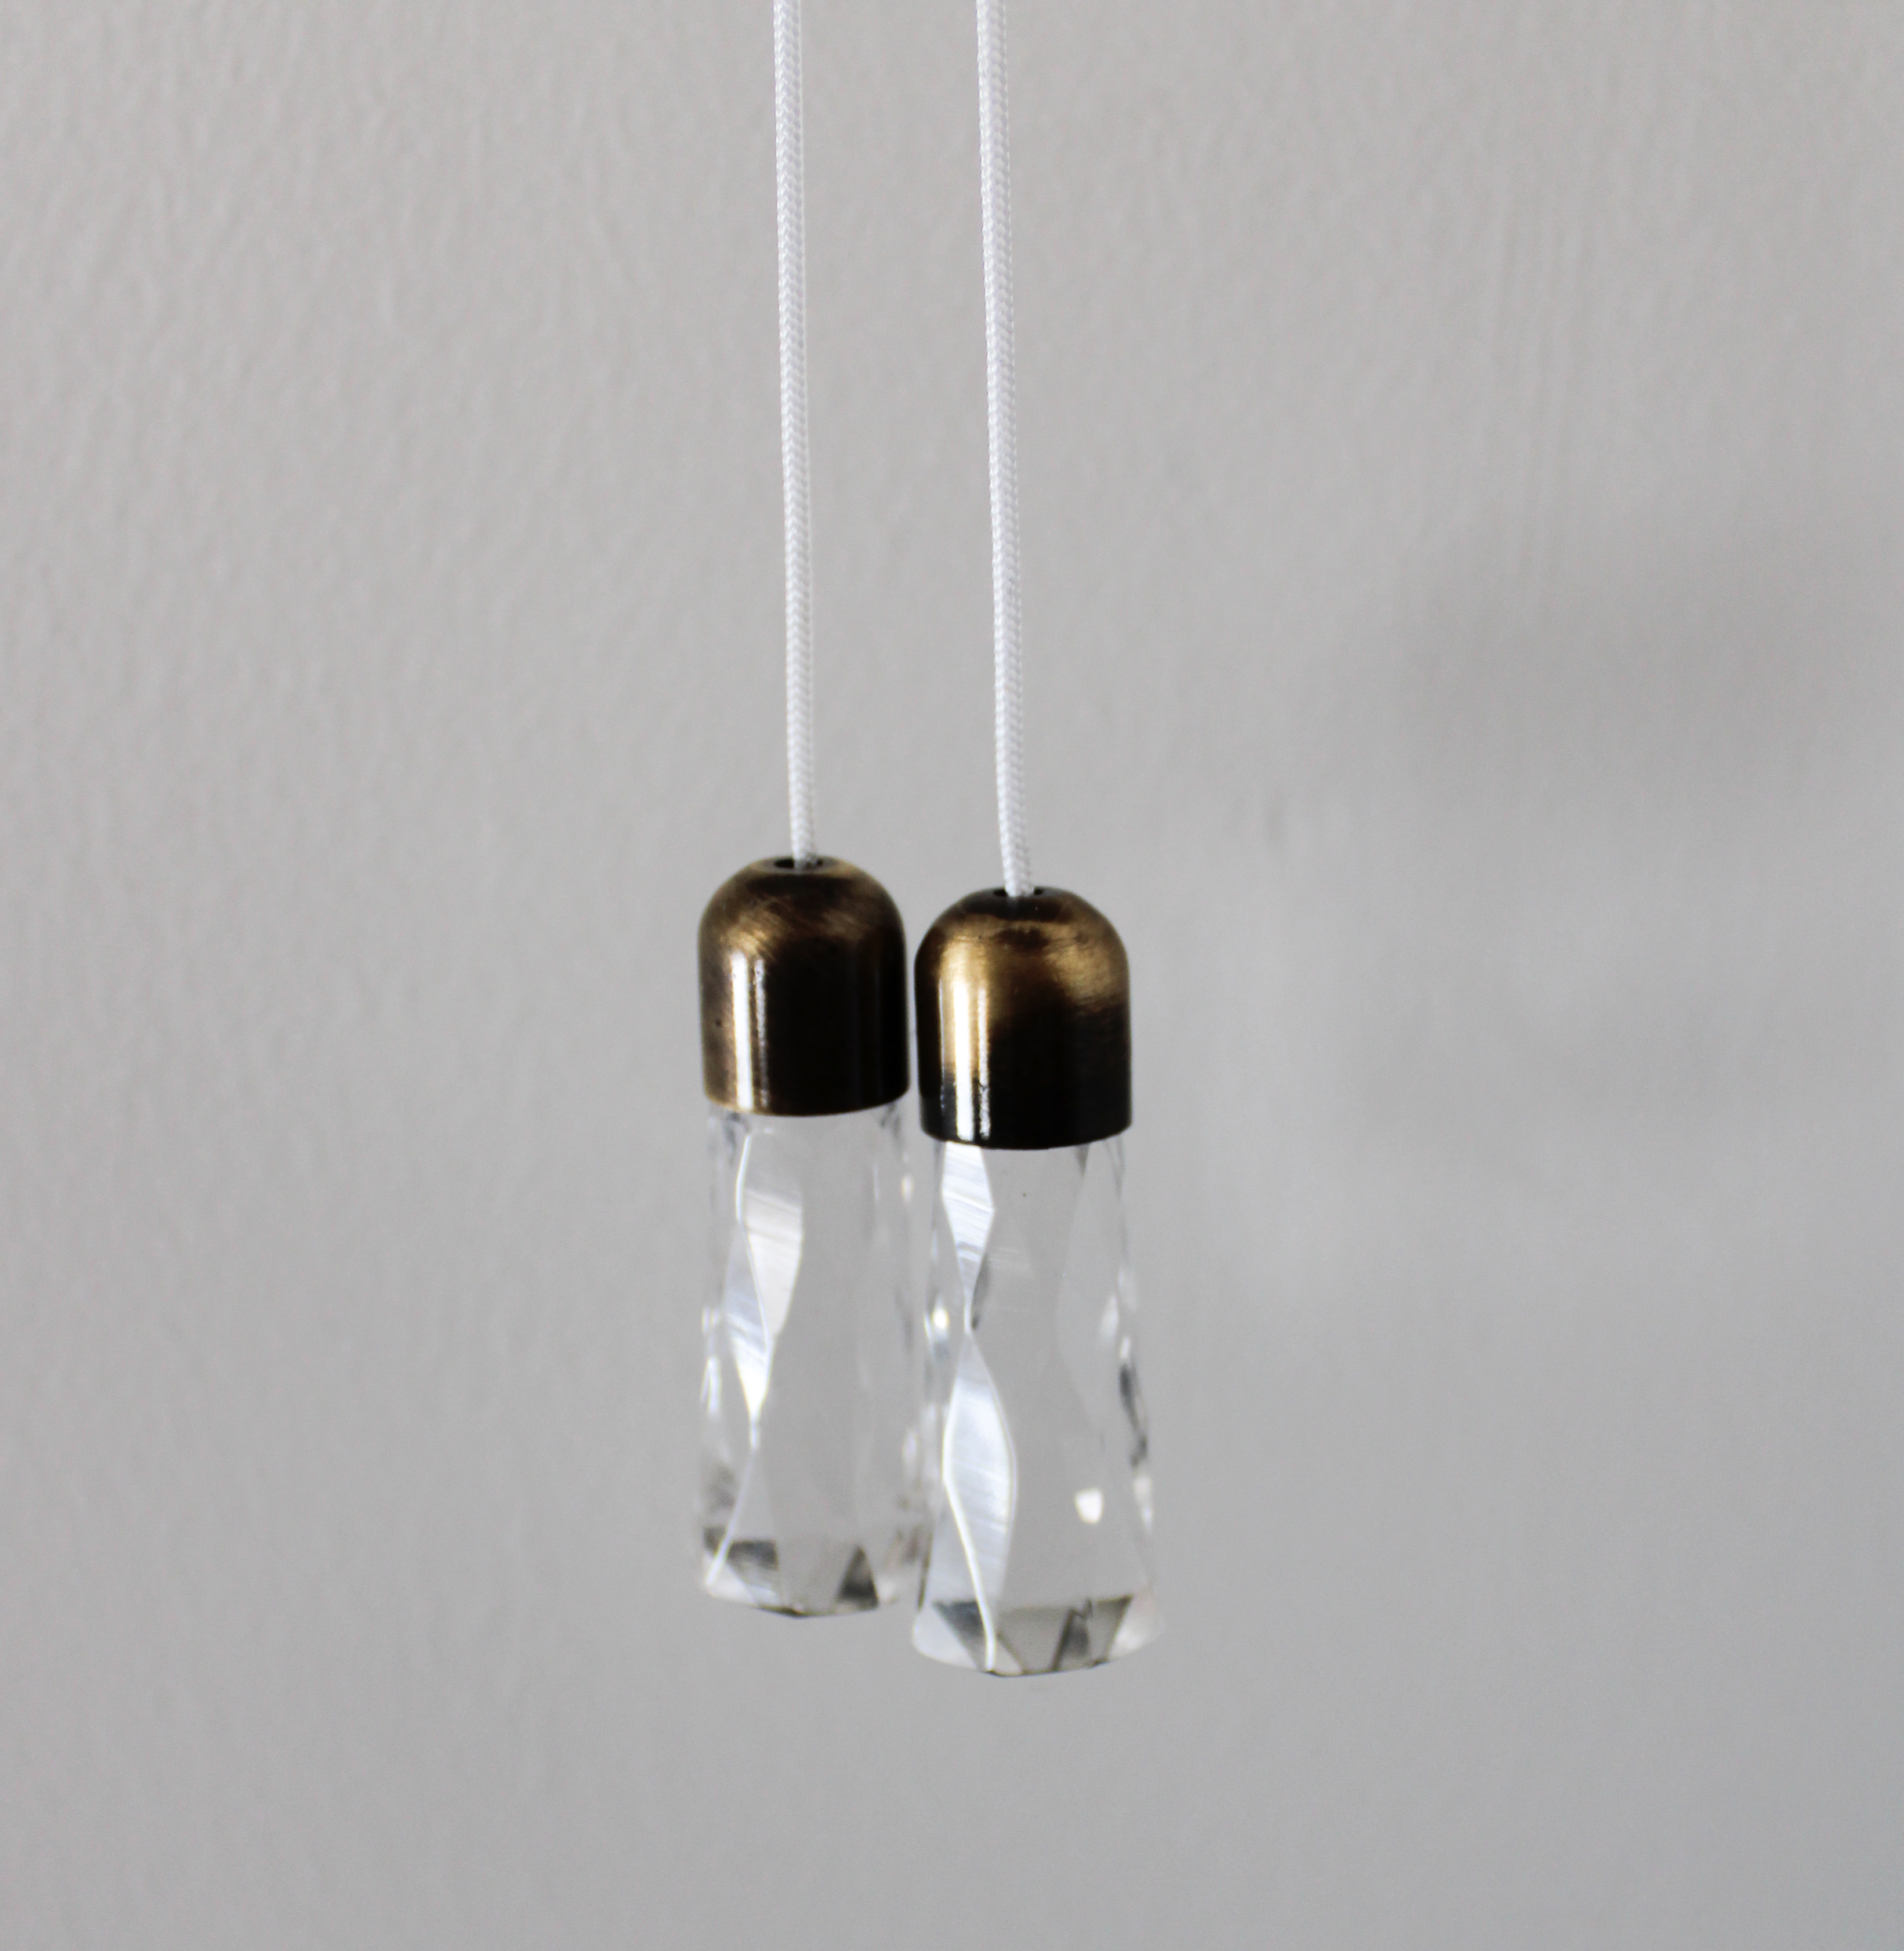
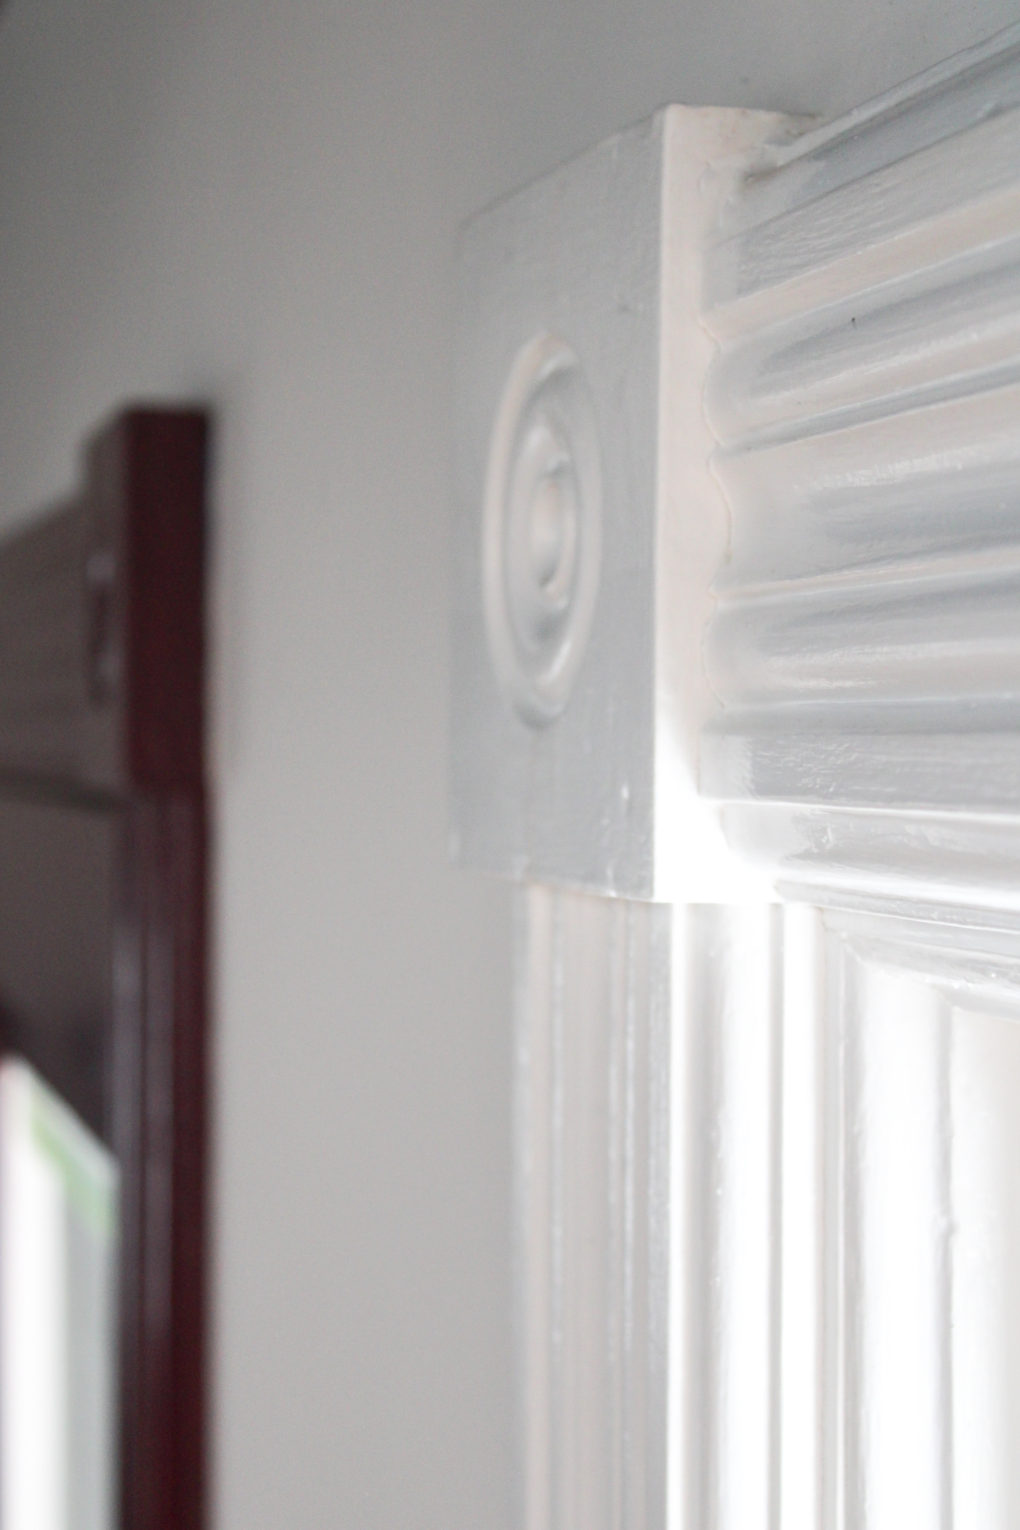
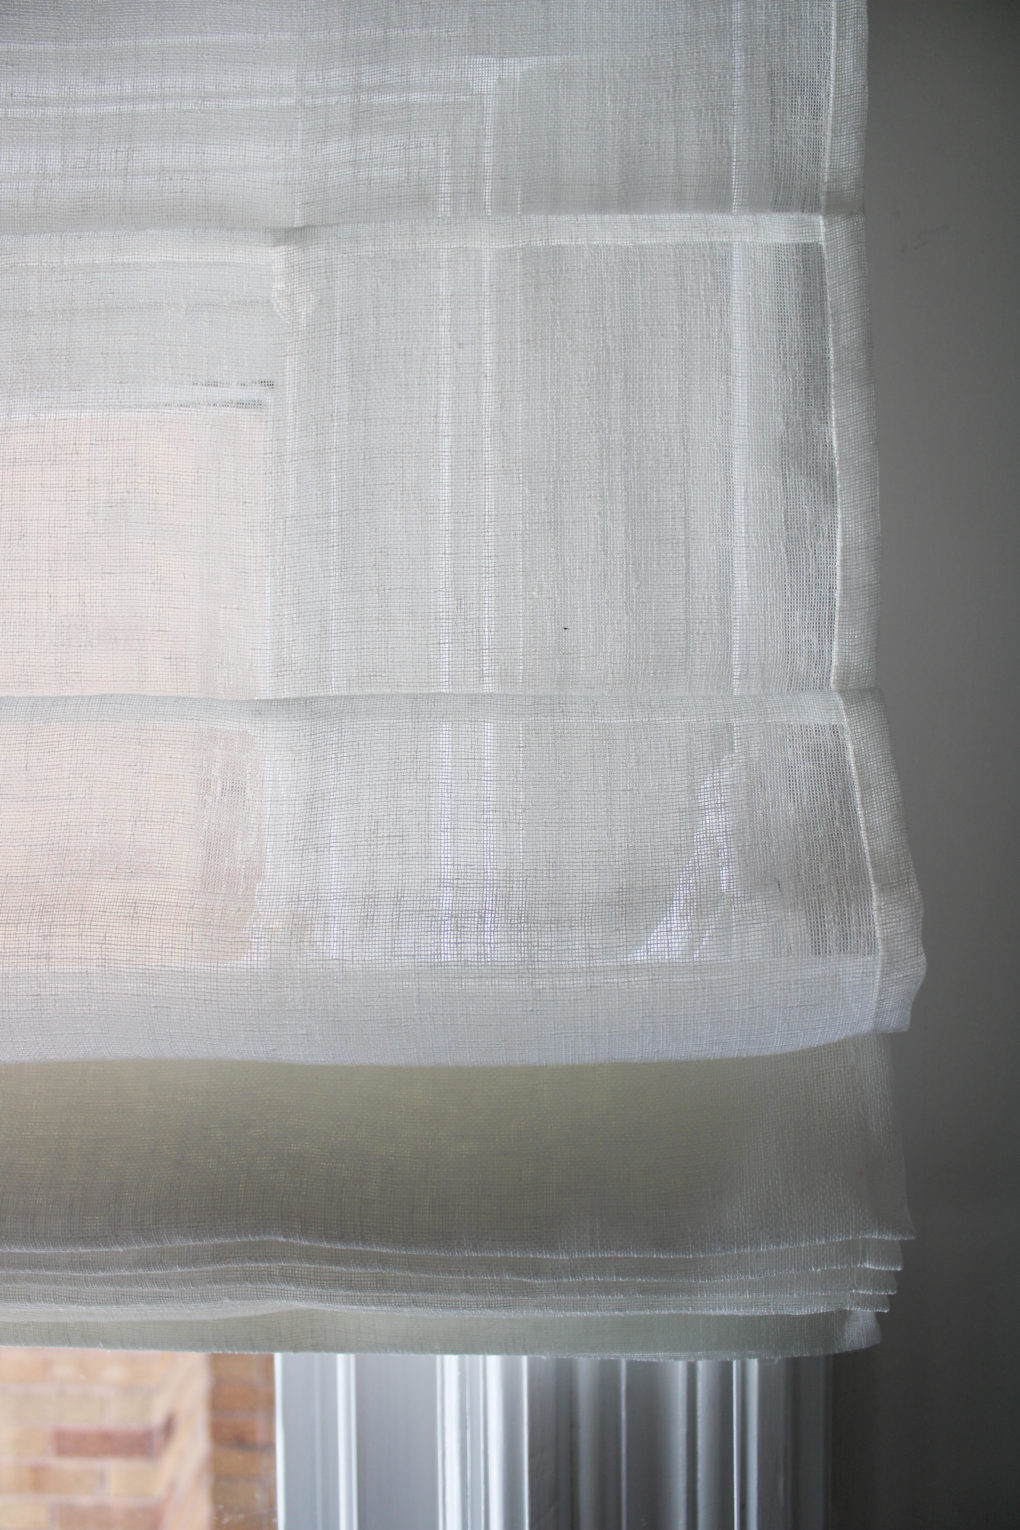
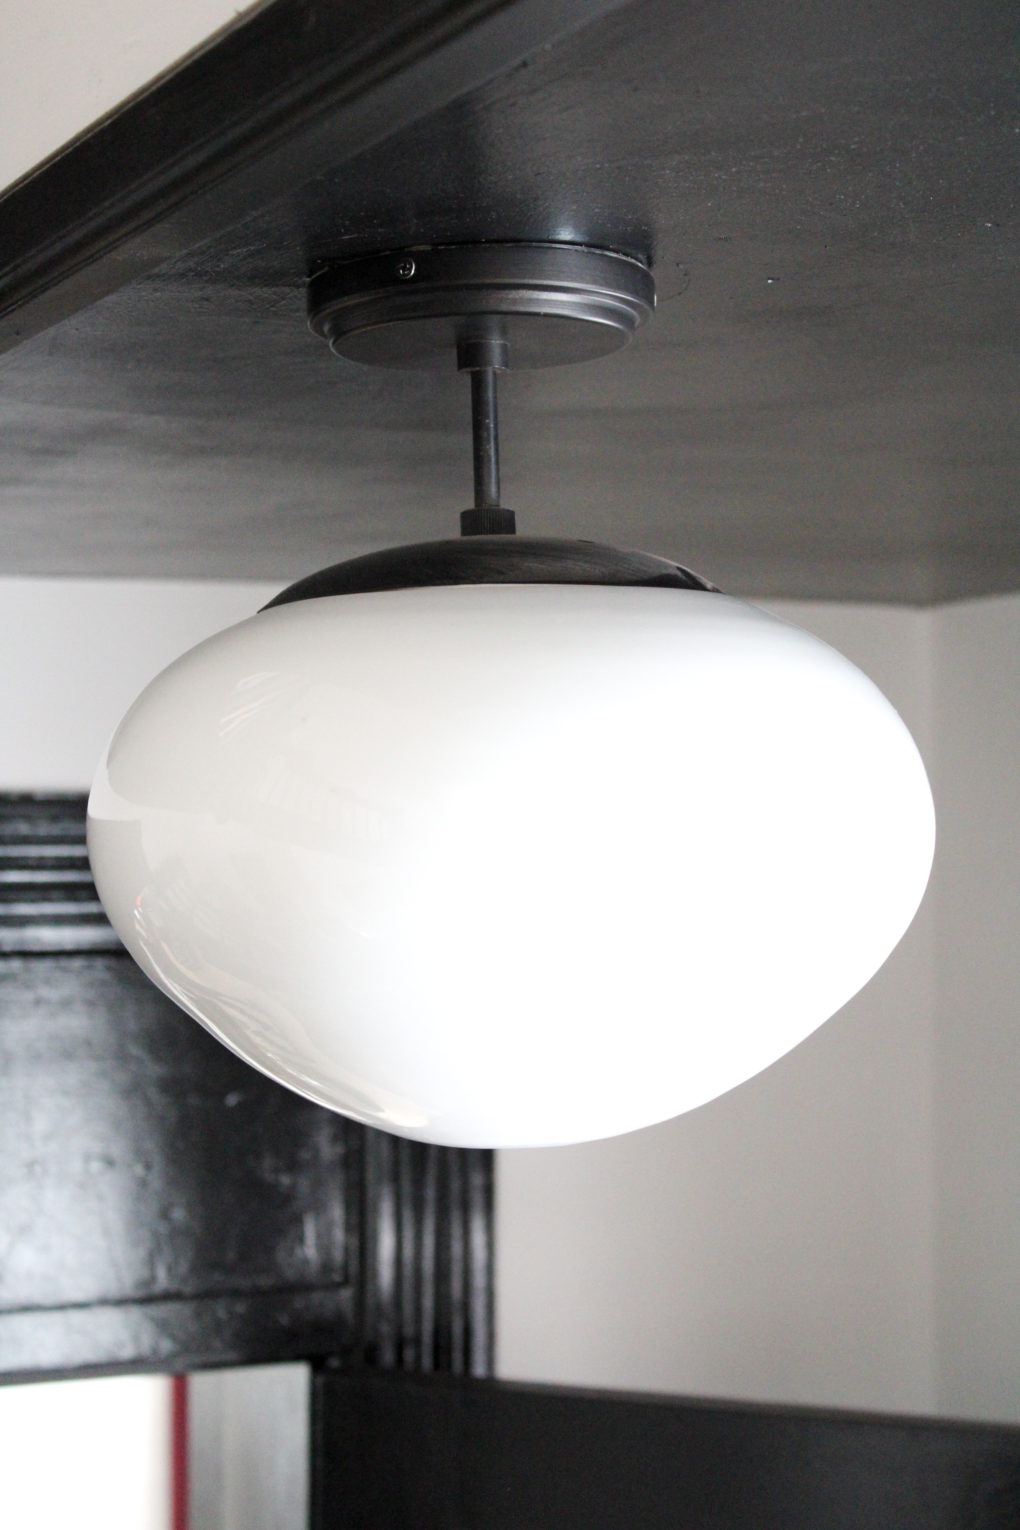
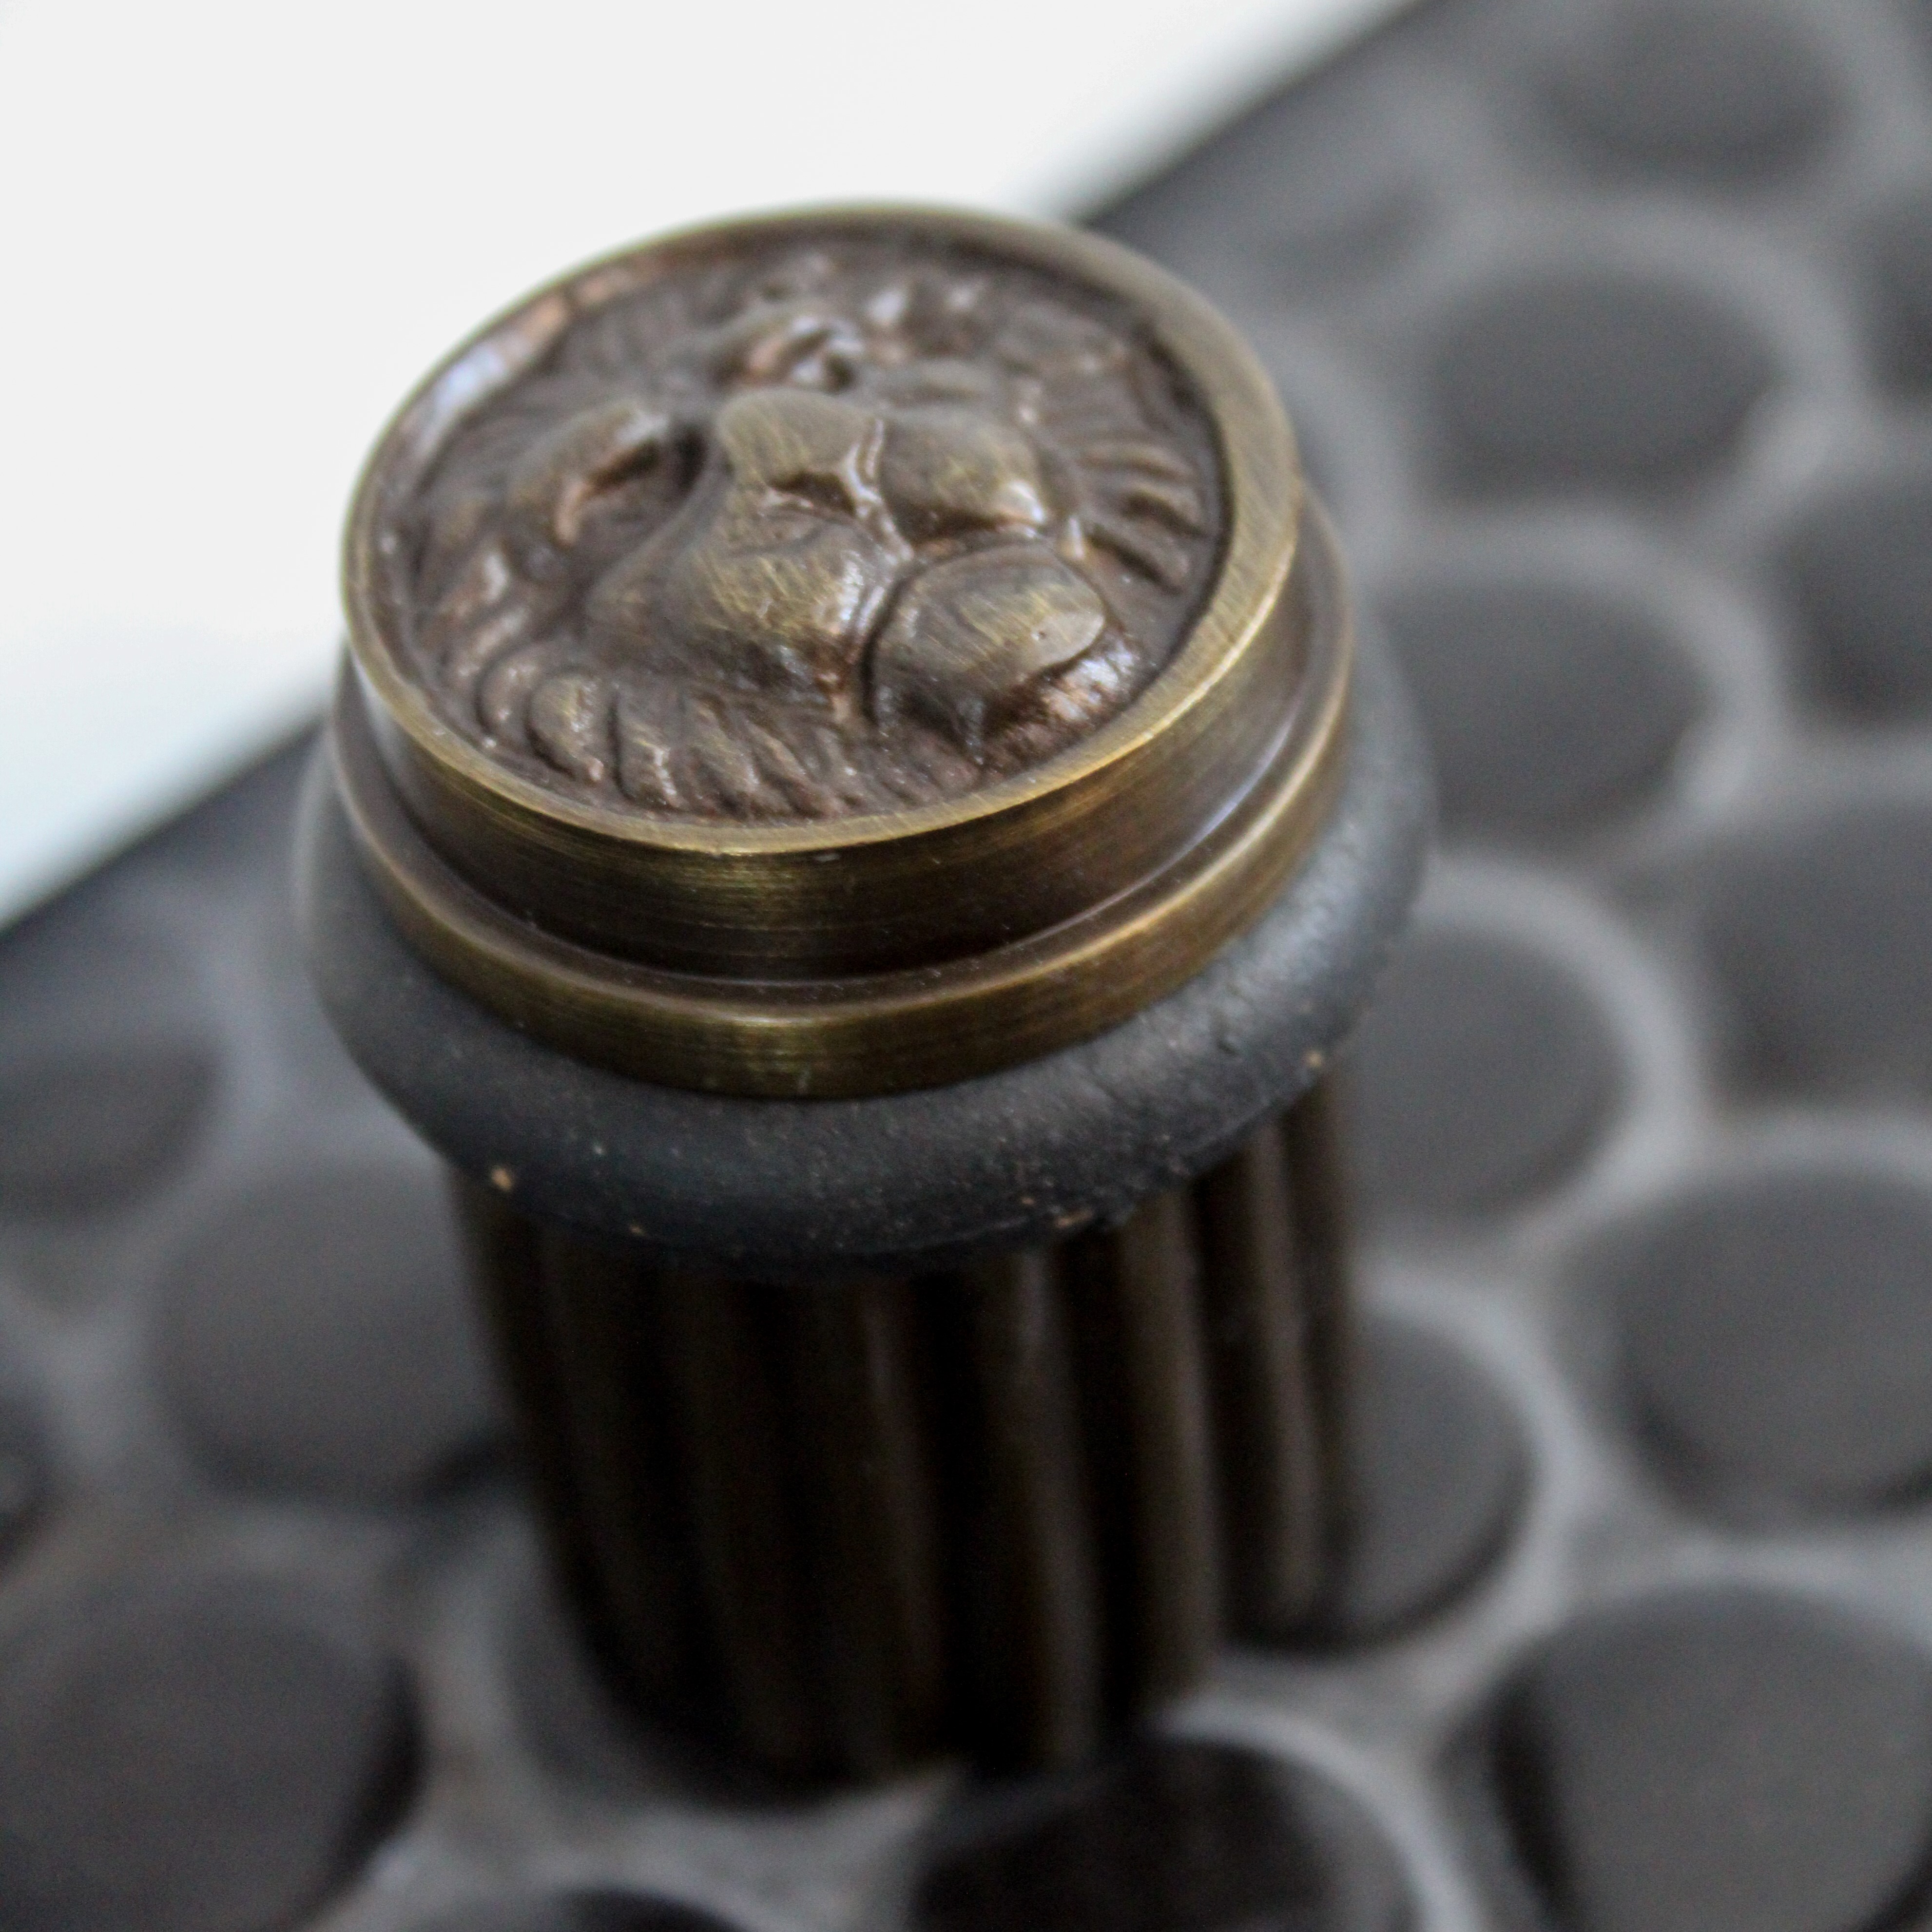
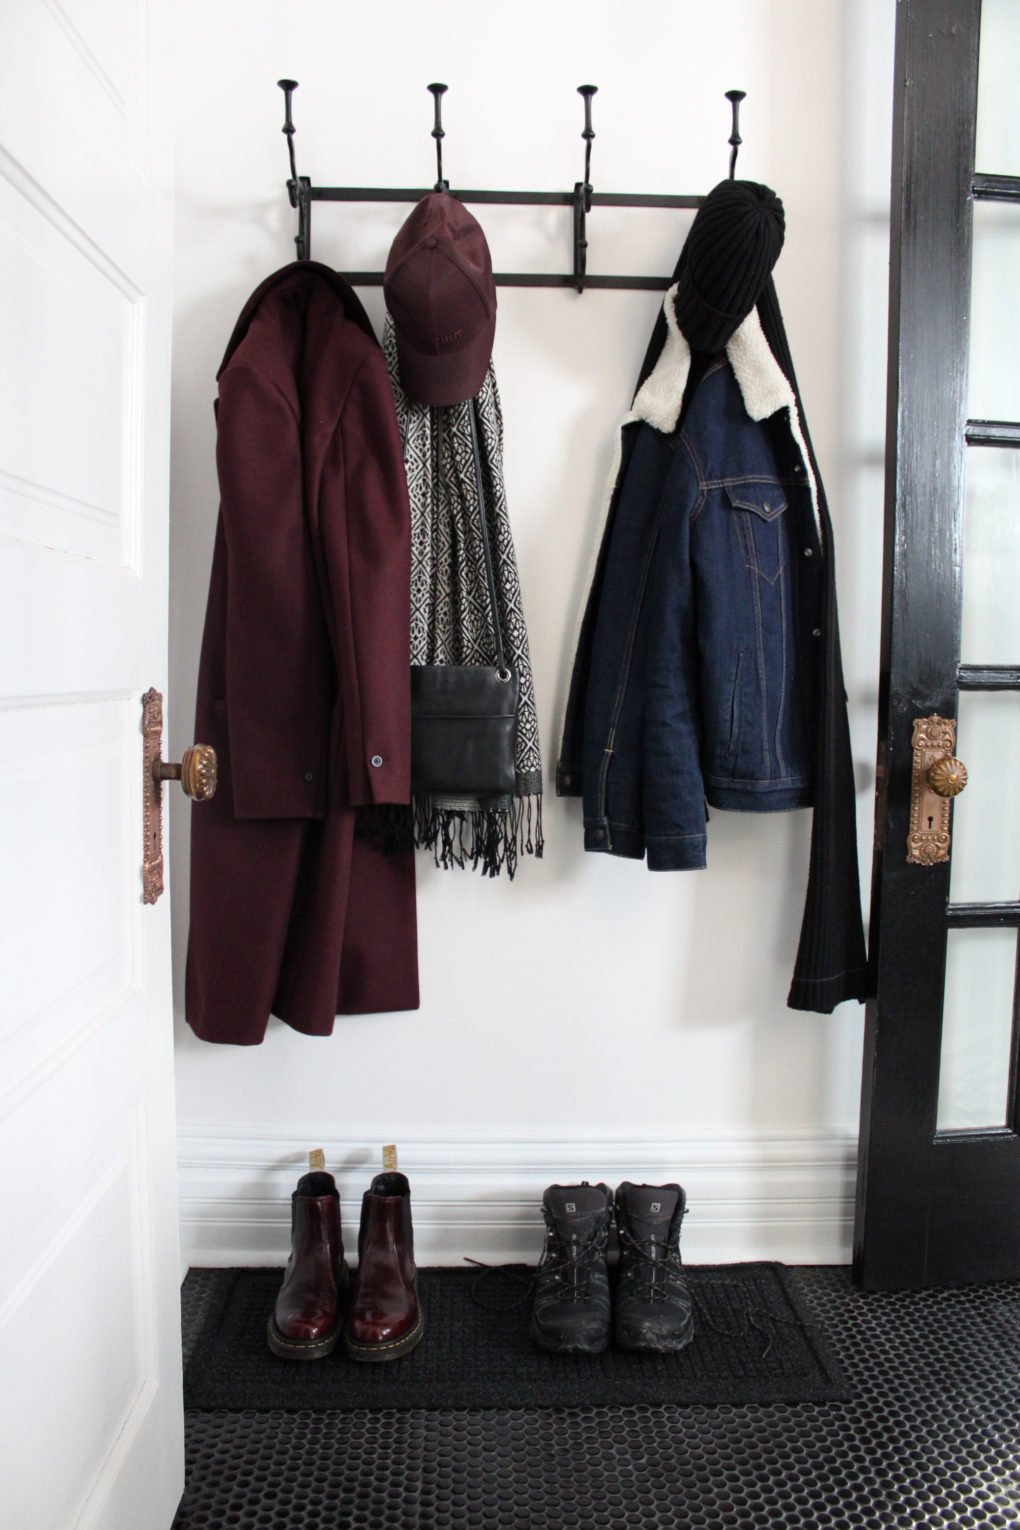
This lion-head floor-mounted door stop replaced a standard baseboard style.
The Afters
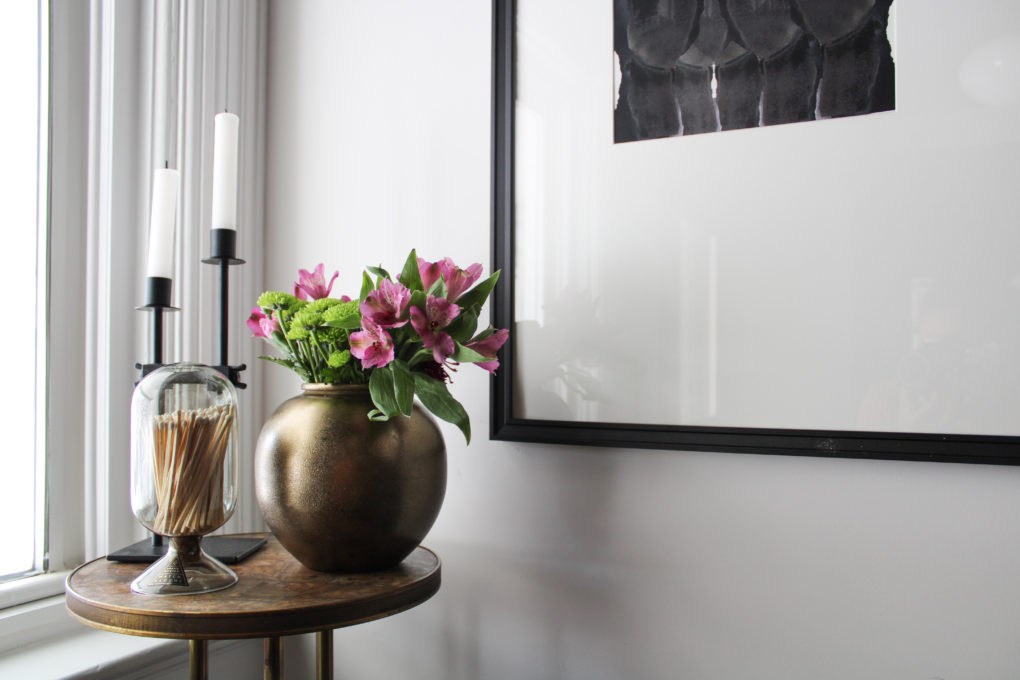
And here she is. An extremely quick, easy and emotionless design update with no swearing and no resulting bodily joint injuries. Please follow me on the socials for more truthful truths.
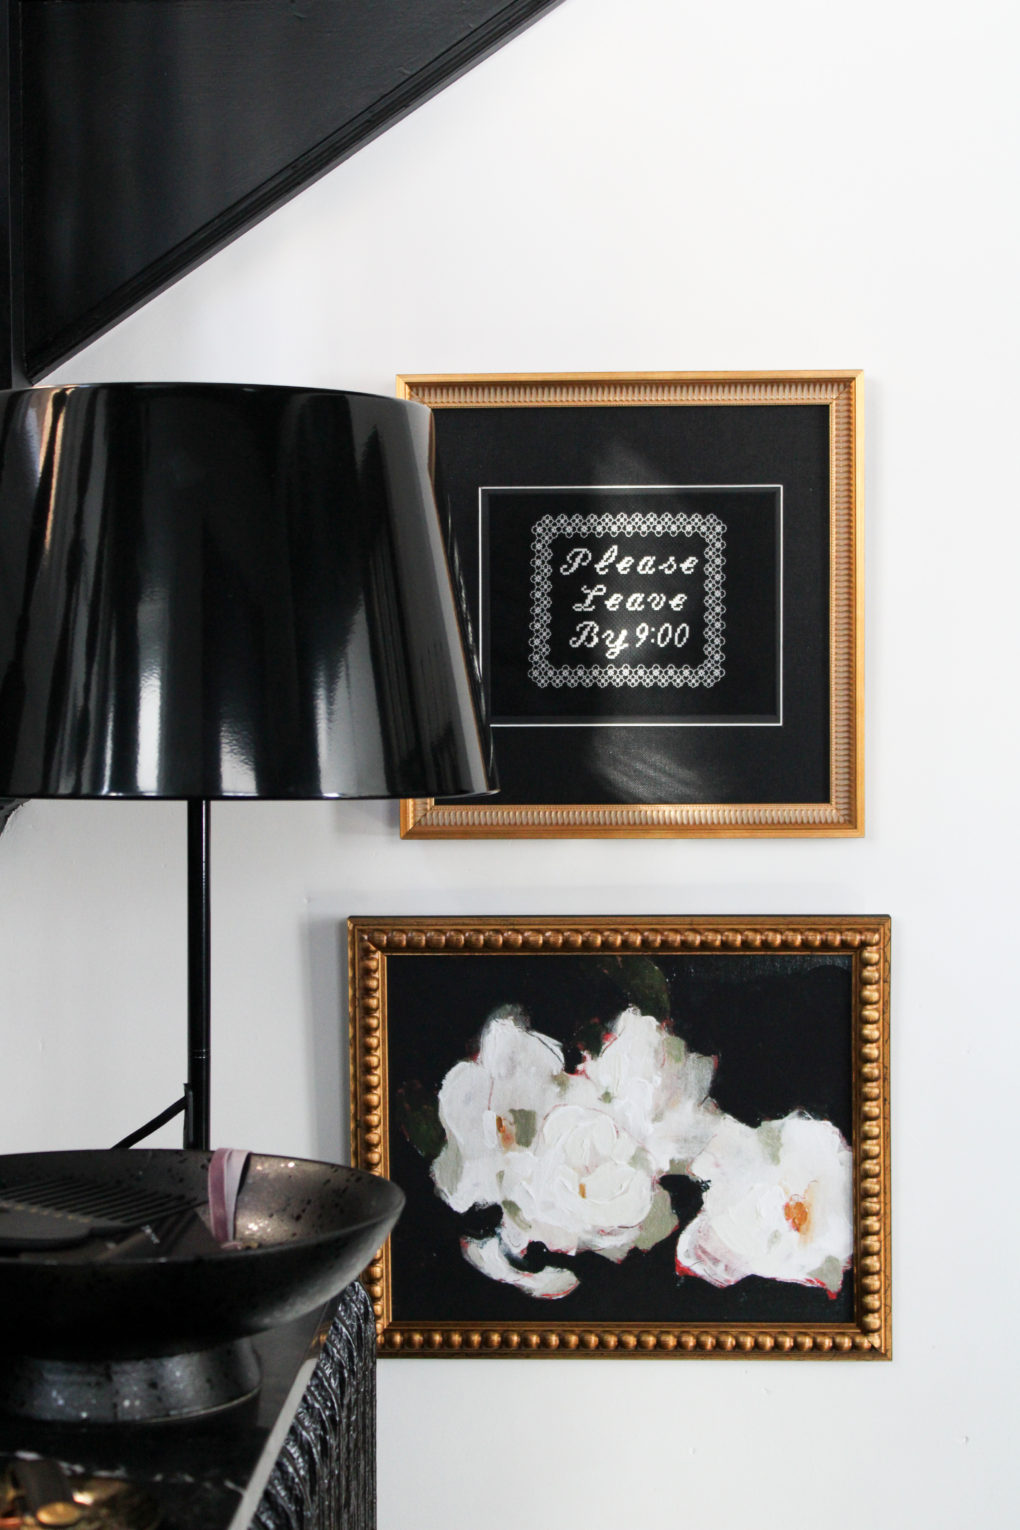
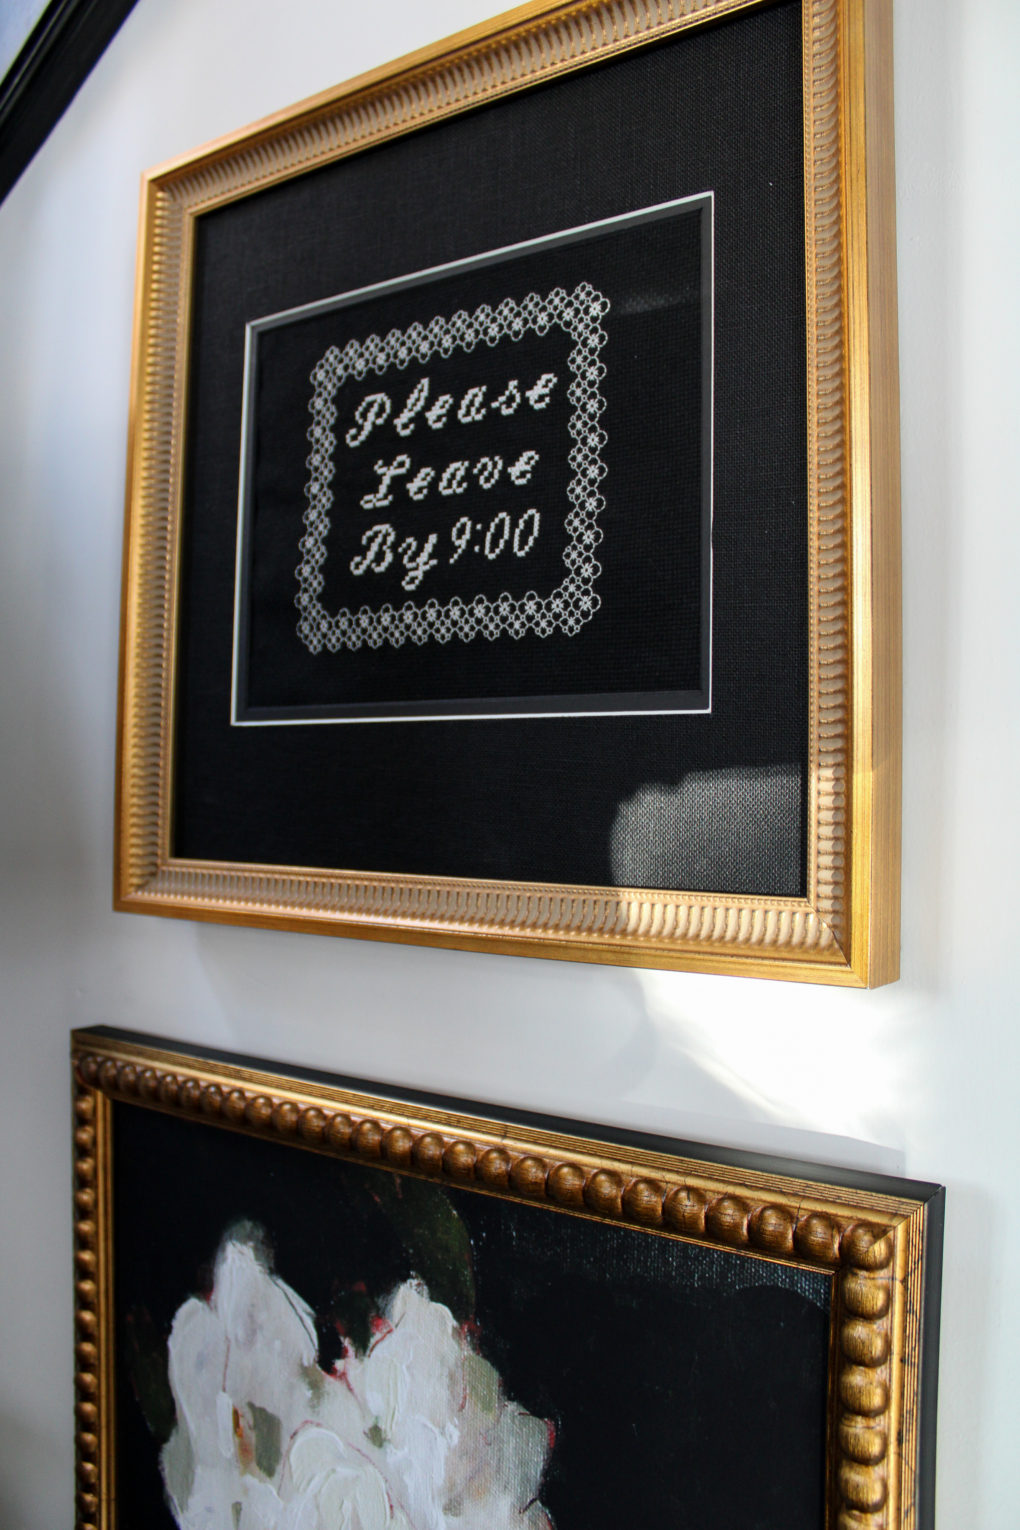
This cross-stitch was a handmade Christmas gift from my friend Jen. Blame her.


In all sincerity, I hope that aside from scratching your design itch, I’ve made some space for you to extend a little grace with yourselves. Friends, you don’t have to be perfect or even smooth! And you don’t have to pretend you were after you’ve come through the other side.
Whatever you are doing right now is enough and I am cheering you on. Be safe. Be cool to yourself.
See you at the Mothership!




This. Is. Awesome.
Love all the pics and info about the process and the nitty gritty of it all. The end result is SO cool and so you.
You did such a fantastic job!!!
Thanks Megan! You’re very discerning 😉 so that means a lot.
That’s one mother of a foyer—so fabulous in a that special AngeFabulousness kind of way—I’m copying this link and sending it out to the world as they must see what is possible!
I love your authentic aesthetic ; it feels as if you make spaces breathe again.
Thank you for sharing your world of coolness!
TeenaBean
Thanks Teen. Miss you.
The Mother Ship has arrived and she’s beautiful. I love that “please leave by 9:00 sign”.
This is amazing and your journey to get here is hella entertaining. Can’t wait to see your next project.
Thanks so much for taking the time to read it so I wasn’t typing into the void, lol. Preshiate you. 😉
That floor! Ohmigoodness. LOVE.
Jessica! Thanks for reading.
There is not one thing that you did that I don’t just love/attention to detail amazing. You are a true designer/artist-a real DIY beauty!
Thank you!
“Lush, but won’t disappear earring backs.“
That’s my second favorite sentence.
You got it so right on paint finish, dust corners and the details on the wood.
…then I called Betsy. 🙂
Jaw-droppingly gorgeous! I can’t get over the stunning tile, especially that font!
I thoroughly enjoy the entertaining way you describe the process, making it sound like it could be accomplished by mere mortals (even though we know better).
Thank you. I’m so glad you enjoyed the tale and that it seemed do-able. It really was!